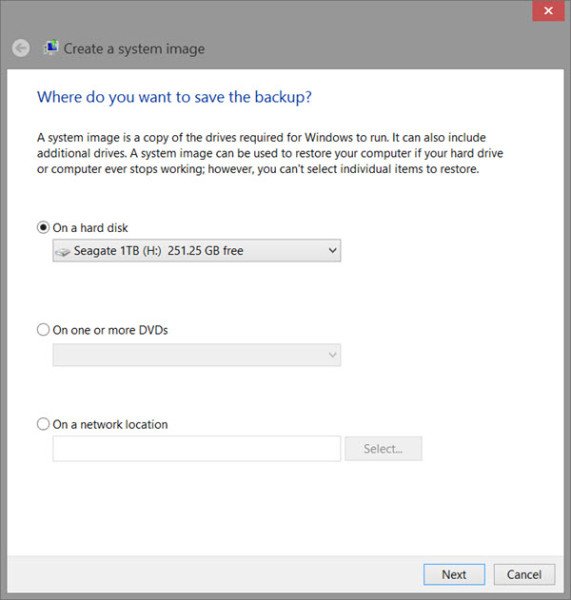
Create multiple System Images on a single external drive in Windows 10
It is recommended that you create a System Image of your computer periodically as a part of your backup plan. If you have an existing system image for a computer and try creating a new one for the same computer, the new system image will overwrite the existing one. In this post, we will show you how to create and keep multiple system image versions on the same external drive and avoid having a large number of frequent restore points on your PC.

Create multiple System Images on a single external drive
Keep in mind that you can only include drives formatted with the NTFS file system in a system image. Also, you cannot restore a 64-bit system image on a 32-bit system and you cannot restore a 64-bit system image with a 32-bit Windows 10 installation DVD/USB or System Repair Disc, and vice-versa. A system image that was created on a computer using UEFI can only be restored on a computer using UEFI and cannot be restored on a computer using legacy BIOS.
To create multiple system images on a single external drive, do the following:
- Power on your Windows 10 computer.
- Plug in the external USB drive.
- Press Windows key + E to open File Explorer.
- Navigate to the backup location for where you saved a system image that you want to keep before creating a new system image.
System Images are saved in the format below:
drive letter:WindowsImageBackupcomputer nameBackup YYYY-MM-DD HHMMSS
- Right-click the WindowsImageBackup folder, and click Rename.
- Rename it to something like WindowsImageBackup-Copy-1 and hit Enter.
- Click Yes if prompted by UAC.
You now have a different system image version that you can leave at this location to be able to keep multiple versions – just easily change the 1 to 2, 3, 4, and so on for each new system image that you make a copy of.
At any time, when you want to restore a system image in a renamed WindowsImageBackup-Copy-1 folder in the future, then you must rename the current WindowsImageBackup folder first, then rename the WindowsImageBackup-Copy-1 folder back to WindowsImageBackup in order to be able to restore it. The WindowsImageBackup folder must be in the root directory of the drive, and not within another folder.
Read: Windows cannot find a system image on this computer.
Hope you find this post helpful enough!


