How to reset GPU Preferences for Apps to Default in Windows 10
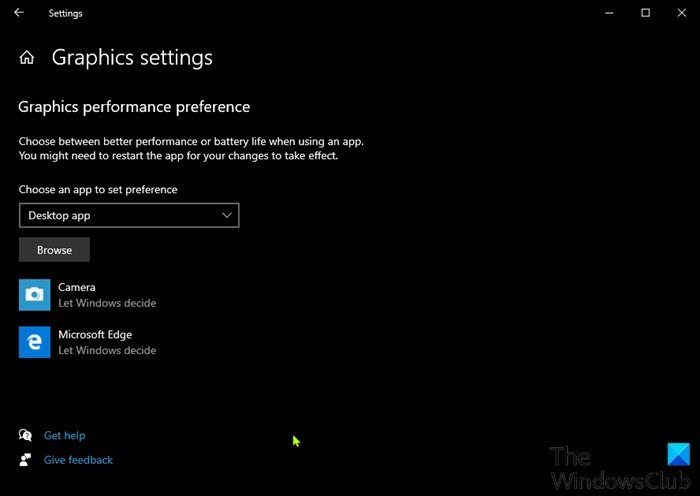
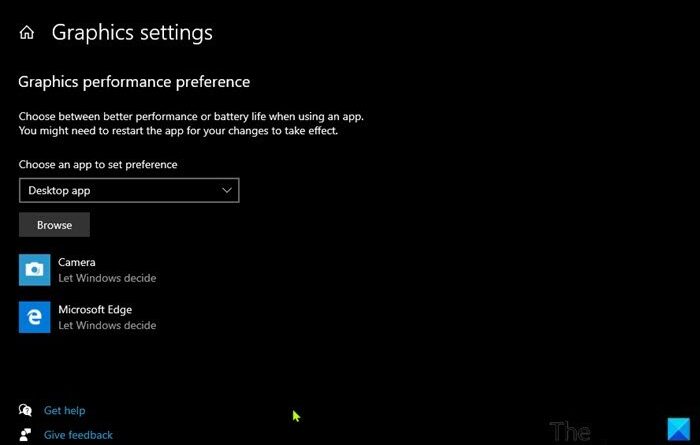
Microsoft has now introduced a new Graphics settings page for Multi-GPU systems that allows you to manage the graphics performance preference of your apps. In this post, we will show you how to reset GPU Preferences for apps to default in Windows 10.
Preferences may provide better app performance or save battery life. Choices may not take effect until the next time the app launches.
Applications are always allowed to have the ultimate choice of which GPU to use, so you may see additional applications that do not follow the preferences you set. In that case, look for a setting within the application itself to choose a preference.
Reset GPU Preferences for Apps to Default
You can accomplish this task in either of two ways;
- Via Registry Editor
- Via Settings app
Let’s see a description of the process in relation to each of the methods.
1] Reset GPU Preferences for Apps via Settings app

To reset GPU preferences for apps via the Settings app, do the following:
- Press the Windows key + I to open Settings.
- Select System.
- Click on Display on the left pane.
- Scroll down and click on the Graphics settings link on the right pane.
- Click on a listed default app you want to reset the GPU performance preference.
- Click on Reset/Remove.
2] Reset GPU Preferences for Apps via Registry Editor
Since this is a registry operation, it is recommended that you back up the registry or create a system restore point as necessary precautionary measures. Once done, do the following:
- Press Windows key + R to invoke the Run dialog.
- In the Run dialog box, type
notepadand hit Enter to open Notepad. - Copy and paste the code below into the text editor.
Windows Registry Editor Version 5.00

[-HKEY_CURRENT_USERSOFTWAREMicrosoftDirectX]
- Now, click the File option from the menu and select Save As button.
- Choose a location (preferably desktop) where you want to save the file.
- Enter a name with .reg extension (eg; Reset_GPU_Pref_AllApps.reg).
- Choose All Files from the Save as type drop-down list.
- Double-click the saved .reg file to merge it.
- If prompted, click on Run > Yes (UAC) > Yes > OK to approve the merge.
- You can now delete the .reg file if you like.
That’s it!


