NVIDIA Low Latency Mode not showing up on Windows 10
[ad_1]
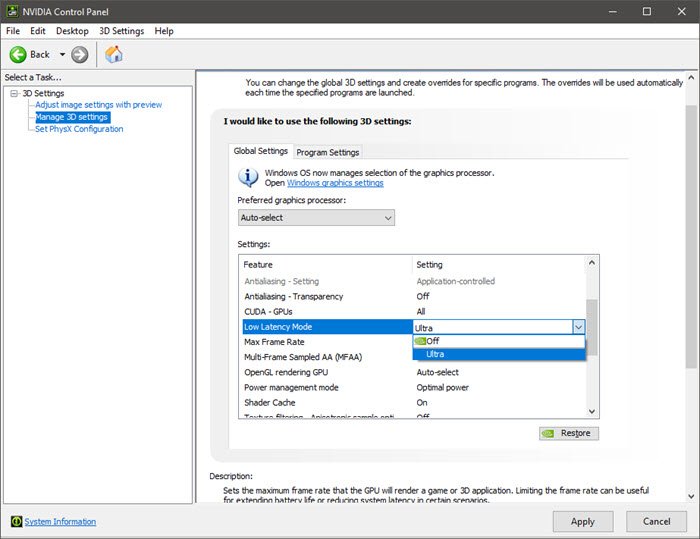
The NVIDIA Ultra Low Latency Mode in the NVIDIA Control Panel tweaks how the handling of frame buffering, along with sharper scaling for pixel art and retro games. In this post, we will offer suggestions you can try if you notice that the NVIDIA Low Latency Mode is not showing up on Windows 10.
NVIDIA Low Latency Mode not showing up
If you’re faced with this issue, you can try the suggestions outlined below and see if that helps to resolve the issue.
- Check your hardware
- Update NVIDIA graphics driver
- Rollback NVIDIA graphics driver
- Use NVIDIA Inspector
Let’s take a look at the description of the process involved concerning each of the listed solutions.
1] Check your hardware
As indicated on NVIDIA forums, there is no low latency mode setting on MSHybrid notebooks/PCs with SLI configuration. Scalable Link Interface (SLI) is a brand name for a multi-GPU technology developed by NVIDIA for linking two or more video cards together to produce a single output. SLI is a parallel processing algorithm for computer graphics, meant to increase the available processing power.
2] Update NVIDIA graphics driver
You’ll need version 436.02 or newer of the NVIDIA graphics driver to take advantage of this feature. You can update your graphics driver through the GeForce Experience application or download the latest graphics driver directly from NVIDIA’s website.
3] Rollback NVIDIA graphics driver
On NVIDIA forums, some PC users reported that after updating the NVIDIA graphics driver, they could not find the low latency mode in the NVIDIA Control Panel. In this case, the logical step to take is to rollback the NVIDIA graphics driver.
4] Use NVIDIA Inspector

If you don’t want to rollback the NVIDIA graphics driver and you’re sure the low latency mode setting was available prior to updating the graphics driver, you can download and use NVIDIA Inspector – a free, lightweight program that primarily reads out driver and hardware information related to your graphics card (or GPU).
Many settings in NVIDIA Inspector have more options than the same settings do in the NVIDIA Control Panel.
From within the NVIDIA Profile Inspector window, you can easily change your graphics card’s global settings. These are the settings that will take effect in all your games; unless a certain game has its own profile with different settings.
To change a setting, simply click on the setting, and a drop-down arrow will appear on the right side of the setting, near the list of codes on the extreme right of the window. Clicking this arrow will display all the available options for an individual setting. Clicking your desired option will select that option.
To save your settings, click the Apply changes button at the top-right corner of the window.
Hope this helps!


