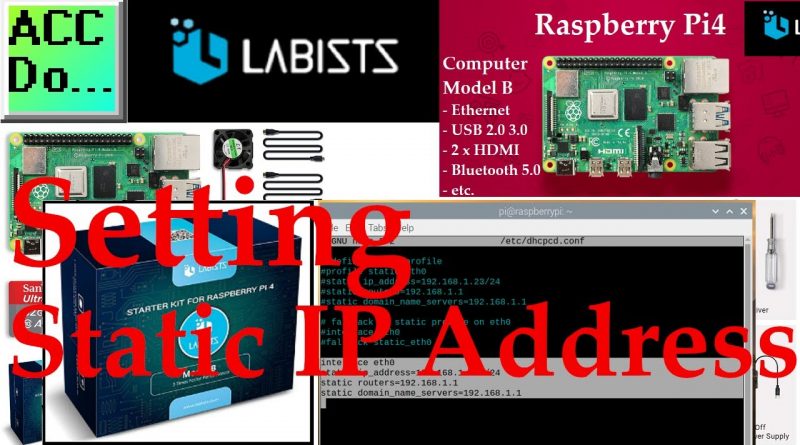
Raspberry Pi Setting Static IP Address
There are two ways to set a static IP address for our Raspberry Pi 4 Model B.
The first is to use the MAC (Media Access Control) address value and set the IP address using your router software.
The MAC address can be found by using the ifconfig in terminal mode and press enter. Here is a video on this procedure.
The second method to set the IP address is to use the DHCP client daemon (dhcpcd).
sudo service dhcpcd status
This command will show you if the dhcpcd is running. If not then use the following commands to start and run the service at startup.
sudo service dhcpcd start
sudo systemctl enable dhcpcd
Edit the DHCP Client Daemon by using the following command:
sudo nano /etc/dhcpcd.conf
Add the following lines to the configuration file.
interface eth0
static ip_address=192.168.1.134/24
static routers=192.168.1.1
static domain_name_servers=192.168.1.1
Note: /24 represents the mask of 255.255.255.0
Save the changes with ‘Ctrl + O’ and then press the enter key.
Close the configuration file with ‘Ctrl + X’.
Restart to adopt the newly assigned static IP address in the network: sudo reboot
Here is a link to using terminal mode on the Raspberry Pi.
https://www.raspberrypi.org/documentation/usage/terminal/
https://amzn.to/2Q9auRV
The starter kits come with everything that you will need to get started using your raspberry pi.
– Raspberry Pi 4 Model B 4GB RAM with 1.5GHz 64-bit Quad-core CPU
– USB-C Power Adapter Specially Designed for Raspberry Pi 4 B 4 GB RAM
– Set of 3 Premium Copper Heat Sinks Assures Excellent Thermal Delivery
– 32GB Class 10 MicroSD Card Preloaded with NOOBS
– LABISTS Premium Black Case (High Gloss) for Pi 4B
– LABISTS Mini Silent Fan
– Two Micro HDMI to HDMI Cables
– One LABISTS Screwdriver
– USB Card Reader Dongle
– LABISTS Raspberry Pi Quick-Start Guide
This low-cost small computer plugs into a computer monitor. A keyboard and a mouse can be attached via USB ports.
The Raspberry Pi has quickly become a fixture in the industrial environment when utilizing the internet of things. (IoT)
We will be utilizing this computer to poll and log information from our PLCs using Modbus and MQTT protocols.
Node-RED will be the IoT enabling software that will allow us to utilize this hardware.
Purchase Raspberry Pi 4 Starter Kit
Amazon USA
https://amzn.to/3y1AAXZ
Amazon Canada
https://amzn.to/33ubjb1
Raspberry Pi 4 Specifications:
System-on-a-chip: Broadcom BCM2711
CPU: Quad-core 1.5GHz Arm Cortex-A72 based processor
GPU: VideoCore VI
Memory: 1/2/4GB LPDDR4 RAM
Connectivity: 802.11ac Wi-Fi / Bluetooth 5.0, Gigabit Ethernet
Video and sound: 2 x micro-HDMI ports supporting 4K@60Hz displays via HDMI 2.0, MIPI DSI display port, MIPI CSI camera port, 4 pole stereo output, and composite video port
Ports: 2 x USB 3.0, 2 x USB 2.0
Power: 5V/3A via USB-C, 5V via GPIO header
Expandability: 40-pin GPIO header
#shorts
ACC Automation
https://accautomation.ca/
source
ip address


