Screen flickering at a higher Refresh Rate on PC [Fix]
You can change the refresh rate of your monitor in Windows 11/10 Settings. Some users reported that switching to a higher refresh rate causes frequent flickering on the screen. There can be multiple causes of this problem. If your screen keeps flickering at a higher refresh rate, the solutions provided in this article will help you.

Screen flickering at a higher Refresh Rate on Windows 11/10
The following suggestions will help you resolve the problem if your screen keeps flickering at a higher refresh rate.
- Update your monitor firmware
- Change your cable
- Update or reinstall the graphics card driver
- Change NVIDIA Power Management Settings (if applicable)
- Disable Gsync and Vsync
- Disable FreeSync on your monitor (if applicable)
- Troubleshoot in a Clean Boot state
- Your monitor may be faulty
Let’s see all these fixes in detail.
1] Update your monitor firmware
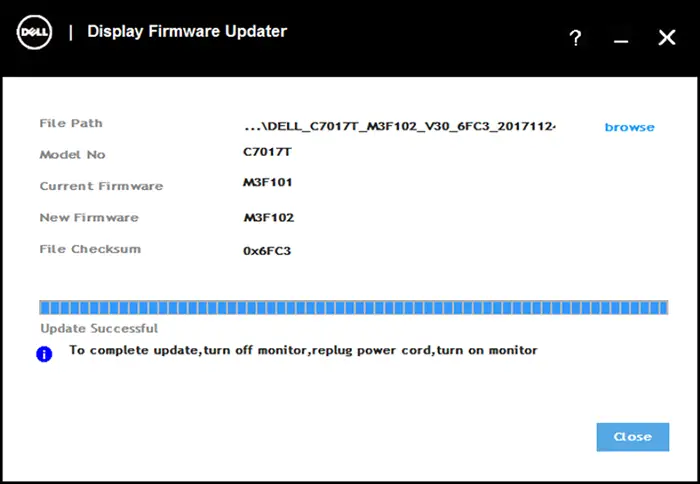
The problem might be occurring due to the outdated firmware of your monitor. Update your monitor firmware to the latest version and see if it helps. To update your monitor firmware, refer to your monitor’s user manual or contact its support.
2] Change your cable
If updating the monitor firmware does not help or your monitor firmware is already up to date, the problem may be with the cable connecting your computer and your display. I suggest you change your cable and see if it helps.
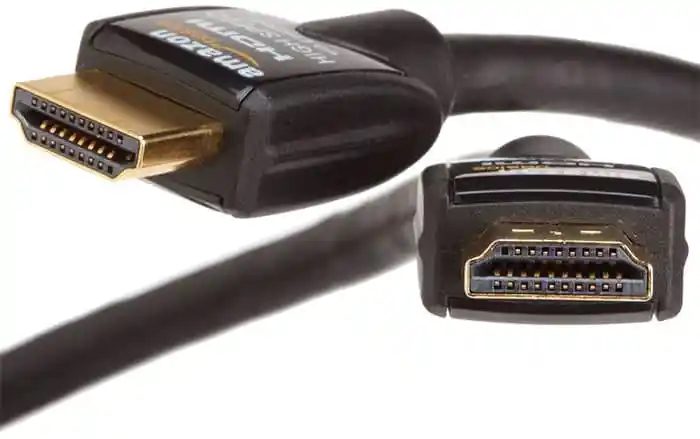
It is also possible that the cable you have used to connect your monitor to your computer does not support higher refresh rates. Use a high-quality cable that supports higher refresh rates.
3] Update or reinstall the graphics card driver
A corrupt or outdated graphics card driver is also responsible for screen flickering issues on a Windows computer. Update your graphics card driver. Download its latest version from the official website of your computer manufacturer, then install it manually. If installing the latest version of your graphics card driver does not work, you can perform a Clean Installation of the graphics card driver. It may help.
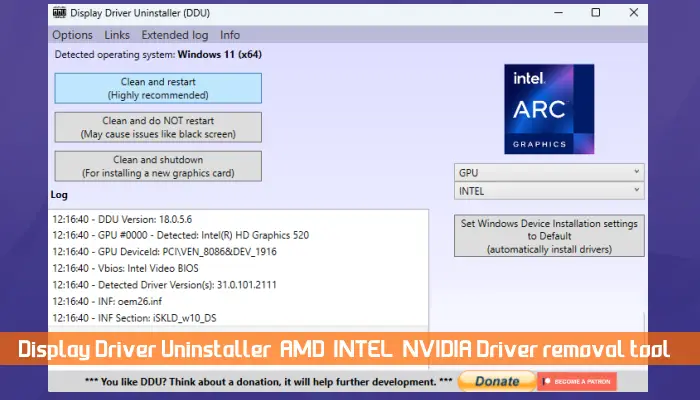
The clean installation of the graphics card driver completely removes its current version from your computer, so you can do a fresh installation. To perform a Clean Installation of the graphics card driver, you have to install a third-party tool called DDU (Display Driver Uninstaller). First, download and save the graphics card driver from the official manufacturer’s website, then run the DDU utility to completely remove the GPU driver. Now, run the installer file to fresh install the GPU driver.
4] Change NVIDIA Power Management Settings (if applicable)
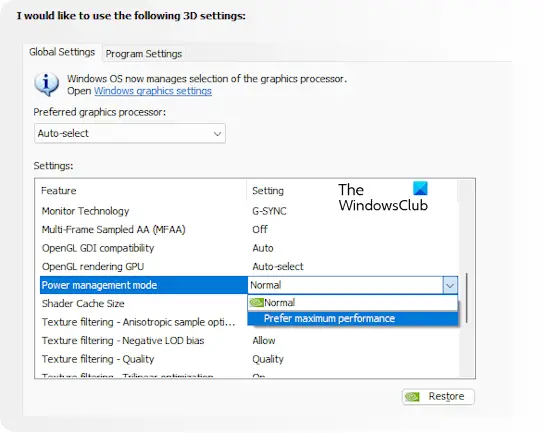
In the NVIDIA Control Panel, change the Power Management Mode from Normal to Prefer maximum performance. The following steps will guide you on this:
- Open NVIDIA Control Panel.
- Select Manage 3D Settings from the left side.
- Select the Global Settings tab on the right side.
- Now, click on the Power management mode drop-down menu and select the Prefer maximum performance option.
- Click Apply to save the changes.
5] Disable Gsync and Vsync
If you have an NVIDIA graphics card, you can try to disable Gsync for your monitor and see if it helps. Follow the instructions written below:
- Open NVIDIA Control Panel.
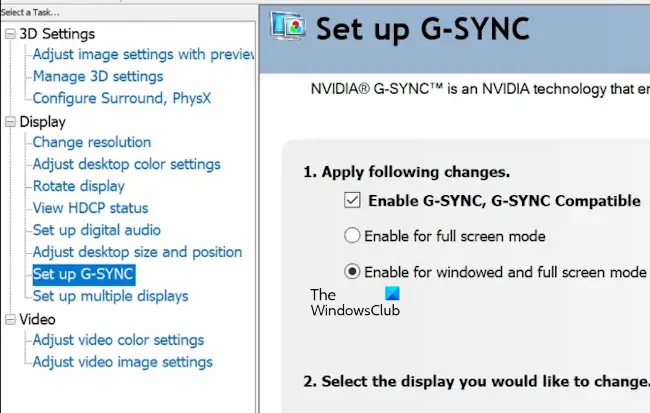
- Expand the Display section and select the Set up G-SYNC option.
- Uncheck the Enable G-SYNC checkbox on the right side.
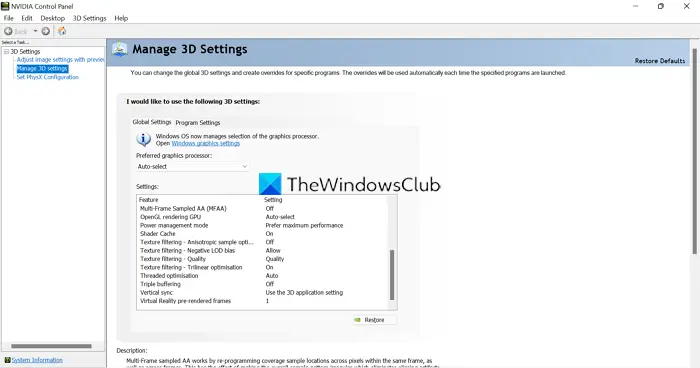
Now, check if the problem is fixed. If the issue persists, check if the Vsync feature is enabled. If yes, disable it too.
6] Disable FreeSync on your monitor (if applicable)
If your monitor supports the FreeSync technology, check if it is enabled or not. If the FreeSync feature is enabled on your monitor, disable it. Refer to the user manual of your monitor to know whether your monitor has this feature and how to disable it.
7] Troubleshoot in a Clean Boot state
A third-party background application or service might be interfering with your PC and causing the screen to flicker at a high refresh rate. To check this, start your computer in a Clean Boot state.
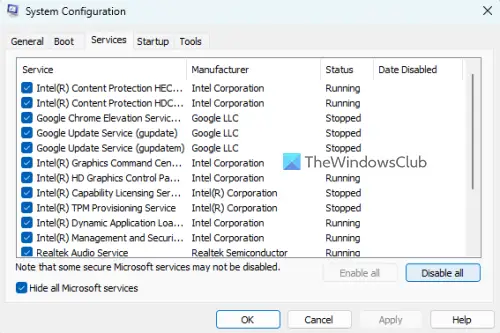
After entering the Clean Boot state, select a higher refresh rate for your monitor and see what happens. If your display does not flicker this time, the cause of this problem is a third-party background application or service. Now, you need to discover that problematic third-party background application or service.
8] Your monitor may be faulty
If you have tried all the fixes explained above but the problem is not fixed, your monitor might be faulty. You need to contact a computer repair technician for further assistance.
That’s it. I hope this helps.
Can refresh rate cause flickering?
A low refresh rate can cause flickering, but other causes are also responsible. When your screen flickers, first select a higher refresh rate and see if this fixes the issue. Outdated or corrupted graphics card drivers are also responsible for screen flickering issues.
What is the minimum refresh rate to avoid flickering?
Refresh rate is the frequency at which the display screen is retracted to prevent the image from flickering. The selected frequency of refresh rate refreshes the image a number of times per second. For example, a 60 Hz refresh rate refreshes the image 60 times per second. The suggested minimum refresh rate for analog display is 80 Hz and digital display is 75 Hz. However, screen flickering also does not occur at 60 Hz.
Read next: Screen flickering when moving the mouse in Windows.
