Install Oracle 19c Database in Oracle Linux 7 step by step
if you like my videos you can follow me Zulqarnain Hayat and sub me on you tube
Hit like on my Facebook Page
https://www.facebook.com/zhayatali
Hit like on my twitter Page
Download oracle 19c
https://www.oracle.com/database/technologies/oracle19c-linux-downloads.html
Outcome:
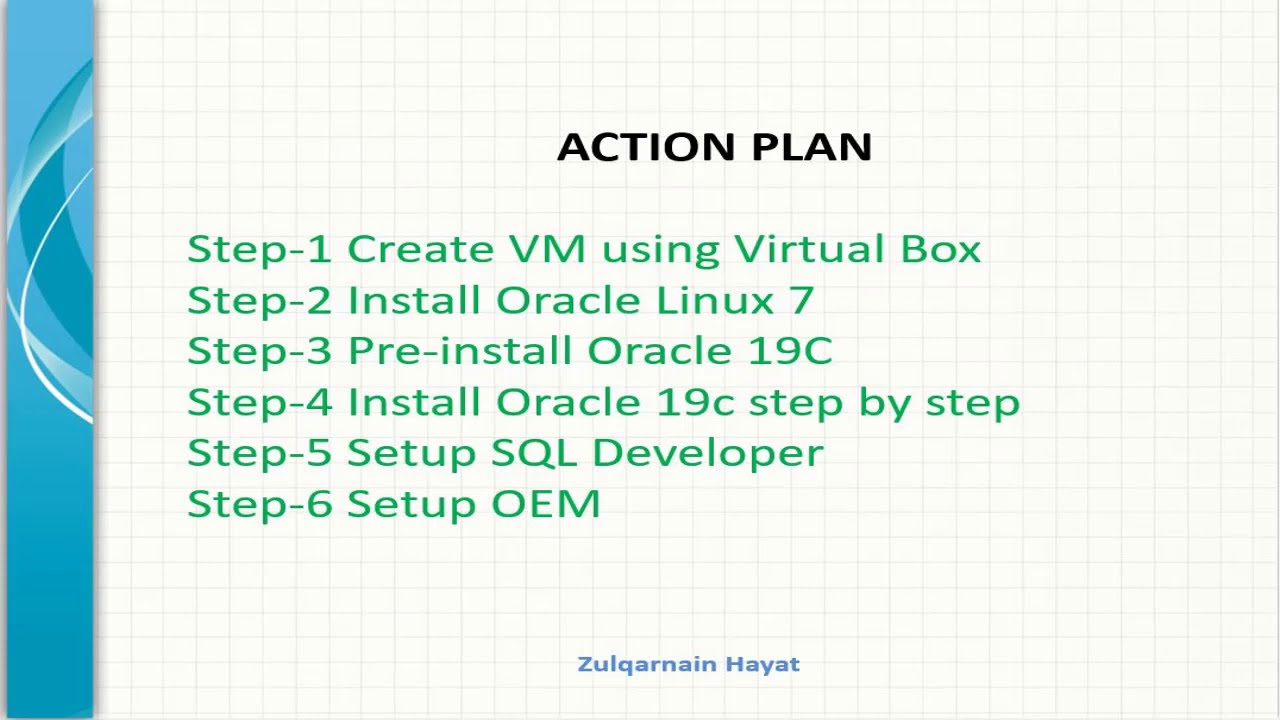
ACTION PLAN
Step-1 Create VM using Virtual Box
Step-2 Install Oracle Linux 7
Step-3 Pre-install Oracle 19C
Step-4 Install Oracle 19c step by step
Step-5 Setup SQL Developer latest
Step-6 Setup OEM
Also added step for silent oracle 19c installation.
Step-1
Download oracle software
https://www.oracle.com/database/technologies/oracle19c-linux-downloads.html
Oracle Database 19c (19.3) for Linux x86-64
LINUX.X64_193000_db_home.zip
Step-2
if you have centos you can migrate to Oracle linux
curl -O https://linux.oracle.com/switch/centos2ol.sh
sh centos2ol.sh
yum upgrade
Step-3 Oracle Installation Prerequisites
note : Disable SELINUX
vi /etc/selinux/config
SELINUX=disabled
yum install -y oracle-database-preinstall-19c
yum update -y
Step-4 Create the following directory
mkdir -p /u01/app/oracle/product/19.0.0/dbhome_1
mkdir -p /u01/oradata
chown -R oracle:oinstall /u01
chmod -R 775 /u01
Step-5 Enviroment variables
su – oracle
vi .bash_profile
Add below Oracle setting
# Oracle Settings
export TMP=/tmp
export TMPDIR=$TMP
export ORACLE_HOSTNAME=ora19c
export ORACLE_UNQNAME=ora19c
export ORACLE_BASE=/u01/app/oracle
export ORACLE_HOME=$ORACLE_BASE/product/19.0.0/dbhome_1
export ORA_INVENTORY=/u01/app/oraInventory
export ORACLE_SID=ora19c
export PATH=/usr/sbin:/usr/local/bin:$PATH
export PATH=$ORACLE_HOME/bin:$PATH
export LD_LIBRARY_PATH=$ORACLE_HOME/lib:/lib:/usr/lib
export CLASSPATH=$ORACLE_HOME/jlib:$ORACLE_HOME/rdbms/jlib
Note: exit from oracle than su – oracle to load ENV
step- 6 Unzip software and install
cd $ORACLE_HOME
unzip -oq LINUX.X64_193000_db_home.zip
step-7 Response files
cd /u01/app/oracle/product/19.0.0/dbhome_1/install/response
./runInstaller -silent -responseFile /u01/app/oracle/product/19.0.0/dbhome_1/install/response/db_install.rsp
Run the root scripts
As a root user, execute the following script(s):
1. /u01/app/oraInventory/orainstRoot.sh
2. /u01/app/oracle/product/19.0.0/dbhome_1/root.sh
step-7 # Configure Oracle Net
cd /u01/app/oracle/product/19.0.0/dbhome_1/assistants/netca
cp netca.rsp netca.rsp_bkp
netca -silent -responseFile /u01/app/oracle/product/19.0.0/dbhome_1/assistants/netca/netca.rsp
lsnrctl status
step-8 # Configure database
mkdir /u01/app/oracle/oradata
mkdir /u01/app/oracle/flash_recovery_area
cd /u01/app/oracle/product/19.0.0/dbhome_1/assistants/dbca
cp file from attached email dbca.rsp to the /u01/app/oracle/product/19.0.0/dbhome_1/assistants/dbca
dbca -silent -createDatabase -responseFile /u01/app/oracle/product/19.0.0/dbhome_1/assistants/dbca/dbca.rsp
that’s it.
================
-~-~~-~~~-~~-~-
Please watch: “Setup a Site to Site IPSec VPN with Strongswan on Ubuntu”
-~-~~-~~~-~~-~-
linux download


