Configure DFS server in Windows Server 2019
Donate Us : paypal.me/MicrosoftLab
Configure DFS server in Windows Server 2019
1. Prepare
– DC31 : Domain Controller(Yi.vn) | DC33,34,35 : File Servers, IP 10.0.0.33,34,35
– DC32 : DFS server, IP 10.0.0.32 | WIN1091 : Client
2. Step by step : Collect all shared folder on File Servers into one Namespaces : \Yi.vnDATA on DC32
– DC33,34,35 : Create and share folders named DATA_DC33, DATA_DC34, DATA_DC35
– WIN1091 : Search – \10.0.0.33, 34, 35 // Connect to File Servers DC33,34,35 – multiple the connections
– DC32 : Install and configure DFS
+ Server manager – Manage – Add Roles and Features – Next to Server Roles – File and Storage Services
– File and iSCSI Services – Select : DFS Namespaces, DFS Replication – Add Features – Next and Install – Close
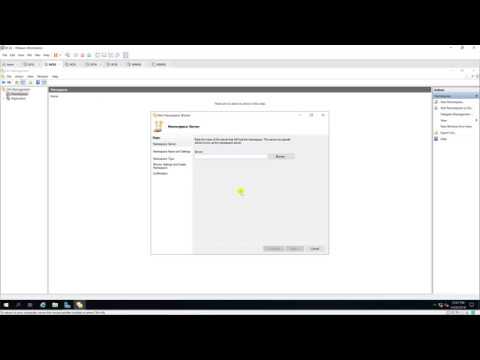
+ Server manager – Tools – DFS Management – Right-click Namespaces – New Namespaces… – Namespace Server
– Server : DC32 – Name : DATA – Next and Create – close
+ Right-click \Yi.vnDATA – New Folder… – Name : DC33 – Add… – Path to folder target :\10.0.0.33DATA_DC33
– OK (do the same for DC34, DC35 )
– WIN1091 : Search – \Yi.vnDATA – Show all – OK
————————–******************** Youtube.com/c/MicrosoftLab ********************————————-
windows server


