Reset Quick Actions in Action Center in Windows 10
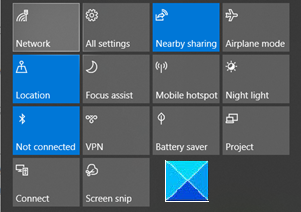
If you want to get quick access to commonly used apps and settings in Windows 10, then Action Center is the place to go. Here, you can find all your app notifications, as well as quick actions. Most users prefer its default setup, but it can be customized. If you find it difficult to manage the changed setup, you can revert to the original. See how to reset Quick Actions in the Action Center.
Reset Quick Actions in Action Center in Windows 10

After modifying the Action Center, if the customized settings do not match your preferences, you can switch back to the original settings. In earlier versions of Windows, there was no way to see lapsed notifications you might have missed. However, with the rollout of Action Center, this problem was fixed.
- Open Registry Editor.
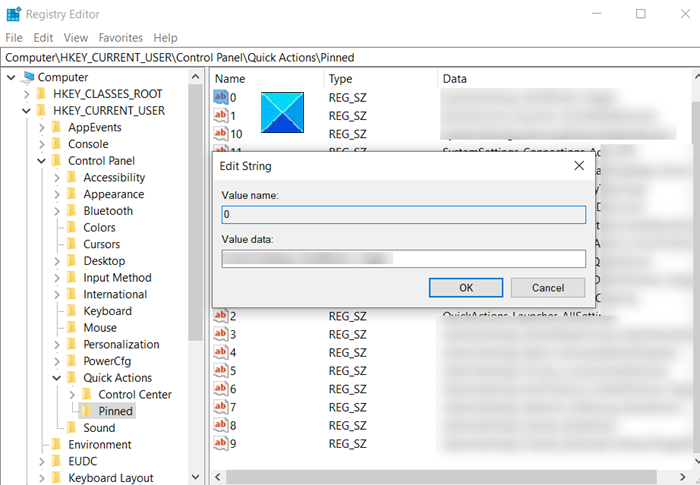
- Navigate to the following location –
HKCUkey. - On the right, you’ll see button actions whose values are stored in the String values from 0 to 3
- Change the string value of each of these buttons to empty.
- Exit the Registry Editor.
- Restart your PC.
Quick Actions in the Action Center will reset itself to their default actions.
Please note that making changes to the Registry Editor incorrectly can have serious consequences. Create a Registry backup before proceeding further and avoid any event of misfortune.
Press Win+R in combination to open the Run dialog box.
Type Regedit in the empty field of the box and hit Enter.

When the Registry Editor opens, navigate to the following path address –
HKEY_CURRENT_USERControl PanelQuick ActionsPinned.
Then, switch to the right-pane and change the string value of each of these buttons to empty.

The action when confirmed will reset Quick Actions in Action Center to their default actions.
To allow the changes to take effect, simply restart your computer. the Action Center buttons will be configured to their default settings.
That’s all there is to it!


