How to install Openstack in Virtual Box( Ubuntu 18.04)
In this video, you can find the step by step procedure to install openstack in ubuntu 18.04 in openstack
Steps to install openstack on Ubuntu 18.04 in Virtual box
=========================================================
1)First install virtual box
https://www.virtualbox.org/wiki/Downloads
2)Download Ubuntu 18.04 ISO
https://releases.ubuntu.com/18.04/
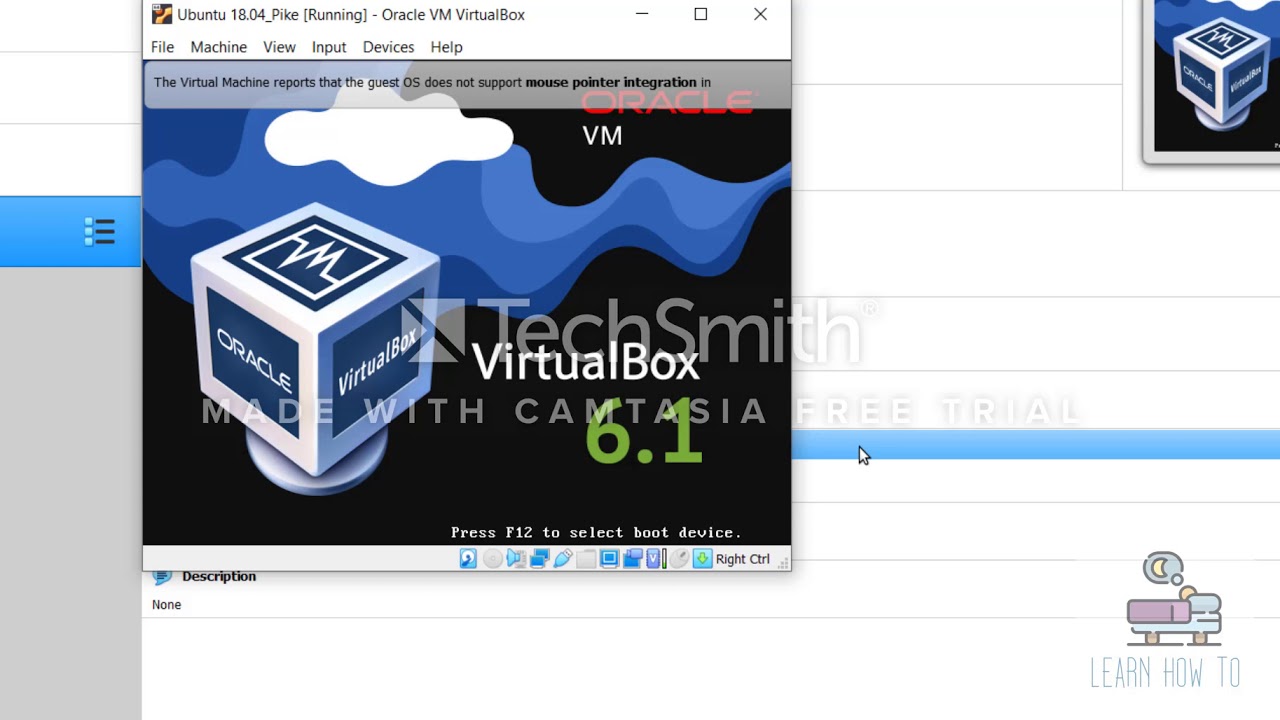
3)Create Ubuntu 18.04 VM in Virtual box
4 GB RAM +
2 vCPUs
Hard disk capacity of Min 10 GB
4)After succesful installation of ubuntu start Openstack installation
Execute below steps in terminal:
sudo su
apt update -y && apt upgrade -y
sudo reboot
sudo useradd -s /bin/bash -d /opt/stack -m stack
echo “stack ALL=(ALL) NOPASSWD: ALL” | sudo tee /etc/sudoers.d/stack
sudo su – stack
If git not installed:
=======================
sudo apt install git -y
=======================
git clone https://github.com/openstack-dev/devstack.git -b stable/pike devstack/
cd devstack/
ifconfig
If it did not work:
==========================
sudo apt install net-tools
==========================
[[local|localrc]]
ADMIN_PASSWORD=secret
DATABASE_PASSWORD=$ADMIN_PASSWORD
RABBIT_PASSWORD=$ADMIN_PASSWORD
SERVICE_PASSWORD=$ADMIN_PASSWORD
HOST_IP=10.0.2.15
RECLONE=yes
EOF
./stack.sh
If stack.sh failed with permission error:
====================
FORCE=yes ./stack.sh
====================
After succesful installation of Openstack access the Horizon dashboard with below URL:
http://10.0.2.15/dashboard
by LearnHowTo
openstack


