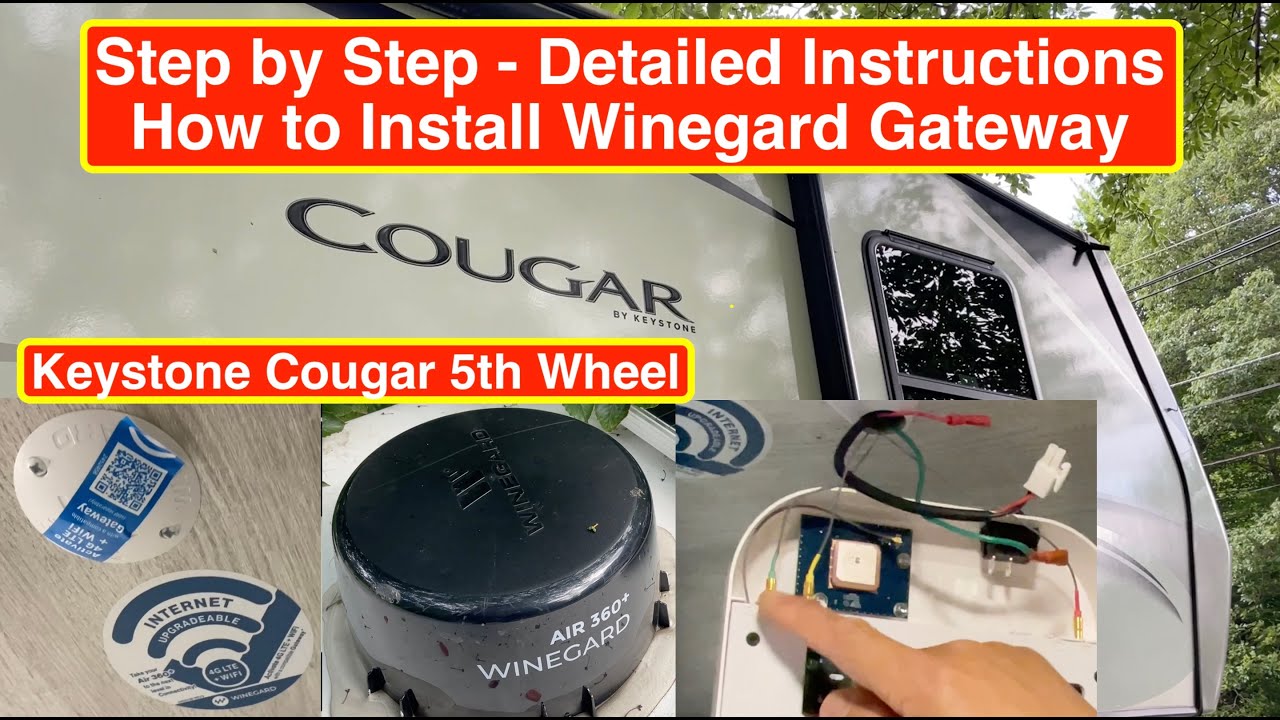
Step by Step How to Install Winegard Gateway 4G LTE with 360+ Connect V2 in a Keystone Cougar RV
Add internet to your RV! This video will show you in detail How to install a Winegard Gateway 4G LTE with 360+ V2 Connect V2 in your RV! Step by Step instructions on how to install a Winegard gateway 4g lte in your 5th wheel Keystone Cougar. My cougar 290 RLS came with the Winegard 360+ pre installed and all I had to do was buy the Winegard gateway 4G LTE Router. In the bedroom ceiling of this 5th wheel RV, you will see a plastic cap where the 3 wires from the Winegard 360+ antenna and a 12 volts power source.
Note: At the end of this video, there is a 3-minute clip where I explained the advantages and why I like this gateway router. One of the benefits is that it boosts wifi signal and pull weak campground wifi signal!
For consideration of your time, I fast-forwarded clips where I can. I only did a few in real time during delicate parts!
As an Amazon Affiliate, we earn a few cents here and there to help fund our next video project.
This is my Amazon Associate link for the tools and parts used in this video:
Winegard 360+ V2 1 qty:
Winegard gateway 4G LTE Router 1 qty:
http://www.amazon.com/dp/B07XLTRJ72/ref=nosim?tag=cbatilohowto-20
3M Double Sided Tape Industrial Strength 1 qty:
http://www.amazon.com/dp/B00CC14L96/ref=nosim?tag=cbatilohowto-20
I placed the links above for your convenience and if you prefer items to be shipped to you.
Here is the step by step instructions ( detailed instructions ) covered in this video:
1. Un-screw the plastic cap – factory-ready Winegard Prep!
2. Pull all the wires out (12volts positive and negative wire AND the 3 wires from the Winegard 360+ Antenna). Be careful handling the antenna wires… they are very thin… handle with care.
3. Remove the mounting bracket from the Winegard gateway.
4. Use or remove the standard SIM card that came with the gateway
4. Stop by at your cell provider’s store. Mine is AT&T. *The only RV Data plan left is the “pre-paid” version. I was not able to add it to my existing cell phone’s data plan. I opted for a 50 GB per month without auto payment. This way, it is almost pay-per-use. Install your new sim card! SIM card’s size is standard aka mini.
5. Find a suitable spot for the mounting bracket. I used double-sided tape (doubled up – two stacks) and screws. Line the hole of the mounting bracket with the ceiling hole where the wires are coming from)
6. Pre-wire all! Splice the negative wire of the “whip” of the cable that came with the Winegard gateway with the negative of the RV. Get yourself another wire to splice the positive of the RV. Connect a female quick connect on the other end. Add shrink heat wrap to it (insulate).
7. I covered a summary on “how to wire” everything.
8. Tuck all the wires back in the hole.
9. Optional: I installed the on and off switch onto the Winegard gateway itself using Dremel and exacto knife.
10. Connect all the skinny Winegard 360+ wires using the stoplight mnemonic. Red, yellow, and green.
11. *Make sure the switch is in the OFF position! Connect the two positive wires to the switch (the outside prong is the RV’s positive aka power source. The center prong of the switch is from the red wire of the whip.
12, Slide the Winegard gateway router to the mounting bracket.
13. Power it on! Wait 3-5 minutes a new WIFI ID containing “Winegard” and connected to it. The wifi ID and wifi password is on the sticker located on the back of the Winegard gateway. That is the sticker I blurred out in this video. Note: I changed the WiFi ID and Password anyway… but best to NOT make it visible…
Happy and Safe Travels!
Thank you for watching!
All products featured in this video were purchased with my own money.
This is NOT a sponsored video. All products featured in this video were purchased with my own money. Help us fund our channel’s next video by using the AMZN links above. Price is the same whether you use the link or not. As an Amazon Affiliate, we earn a few cents here and there to help fund our next video project. I am an Amazon Affiliate.
4g lte


Just browsing YouTube looking for 360+ hook up instructions and found you. We recently bought 2023 290RLS, and I'm looking forward to seeing some of your videos on mods and improvements.
For this switch, it doesn’t matter which spade you use for power. It’d only matter if there was a third terminal.
Seen a couple other Gateway install videos..glad I watched this one too for the tape tip, and the switch placement (brilliant!). Dunno why Winegard doesn’t manufacture it with the switch in the unit like that… Was really not looking forward to cutting a ceiling hole for the switch and doing finicky crimping work standing on my tippy toes…
What size was the green wire you used ? Thank you
Very good and clear.
Thank you for you detailed video, as the Gateway owner's manual is a bit complicated to understand. Installing the switch into the Gateway is a great idea. Thanks for illuminating much frustrating.
thanks for the instal, I ordered mine and the instal was nice. I do have a problem. It would drop the hot spot every now and then for no reason. Did you ever encounter this?
Thank you so much for the walk-thru steps!!! Was under the impression the Winegard cover was the 4G device… 🤦♂️
Didn’t realize I had to purchase something else. Oh well… gotta have it. Now I understand what to do, and what’s needed to complete the job.
Thank you for the help.
Can you install a Dish Satellite roof mounted without it affecting this wingard installation… how is that done
Man thank you very much. I am so pleased with your instructions. I hadn’t done any electrical since shop class in the 70’s. Was thinking about paying to have it done until I watched your video. Fantastic!!!
It would have been nice if you provided the data signals that you now get from using the wineguard..
Very helpful video, thank you!
Why the tape? It screws to the ceiling.
We installed ours using this method, no complications it turned on. However, it shows our wifi but keeps saying “No internet connection” we have paid the bill for our carrier. Not sure how to fix it?
Thanks for the great step-by-step instructions and the switch hack!!! Of course my install wasn't as easy as yours. When I took the cap off on the ceiling, the RV power wire was the only thing attached to the loosely fastened zip tie. I had to fashion a wire coat hanger with a small magnet on the end to fish out the WiFi wires. Besides using t-tap connectors to splice the wires, I followed everything you did which made it super easy to install
Worked perfectly even the on off switch hack. Thanks!!!
Hello I am an Electrician for the last 35 years and I feel compelled to tell you and all the people that are coming here to DIY their gateway. Low dc voltage equals High dc current which = Heat. I would not😊 advise anyone to just wrap around each other then tape it off. The heat that is created by the poor connection is only going to cause more heat so on and so forth until there is a failure. Odds are yours might keep working but a thousand people copying this style of wiring someone is going to have a catastrophic failure at some point. Either solider the wires or use wire nuts. Good luck to all. Please don’t take this wrong your video really Helped me and many others as well.
Mr.Batilo. Thank You!! As before you are my inspiration to DIY. I had the same idea about the switch in which I didn't want to start adding more holes in the NEW RV. So, I especially liked your approach to the switch on the unit. Like I said you rock. I enjoy my RV Cougar a lot. No matter how big or small they are, they are well built RV's compared to others. However, check out slider rollers that go under your slider. Easy to install but it's the only design flaw cougar had. See you tube videos on slider failure. You will be interested on this. Again, thanks. Please continue to show your RV upgrades.
Great video. Thanks for the step by step. Most thorough video I've seen. Really like the switch location.