How to Uninstall , or remove VirtualBox from Linux Ubuntu
How to Uninstall VirtualBox on Ubuntu
VirtualBox is a popular virtualization software that allows users to run multiple operating systems on a single machine. While it’s a powerful tool, there may come a time when you no longer need it or wish to free up system resources.
In this guide, we’ll walk you through the steps to uninstall VirtualBox from your Ubuntu system.
Let’s get started.
Step 1: Backup Your Virtual Machines
Before uninstalling VirtualBox, ensure that you’ve backed up any important virtual machines (VMs).
This will allow you to restore them later if needed.
• Open VirtualBox.
• Select the VM you want to backup.
• Right-click on it and choose ‘Export Appliance’.
• Follow the on-screen instructions to save the VM.
Step 2: Remove VirtualBox
To remove VirtualBox from your Ubuntu system, follow these steps:
Open the Terminal.
Enter the following command to remove VirtualBox:
sudo apt-get purge virtualbox*
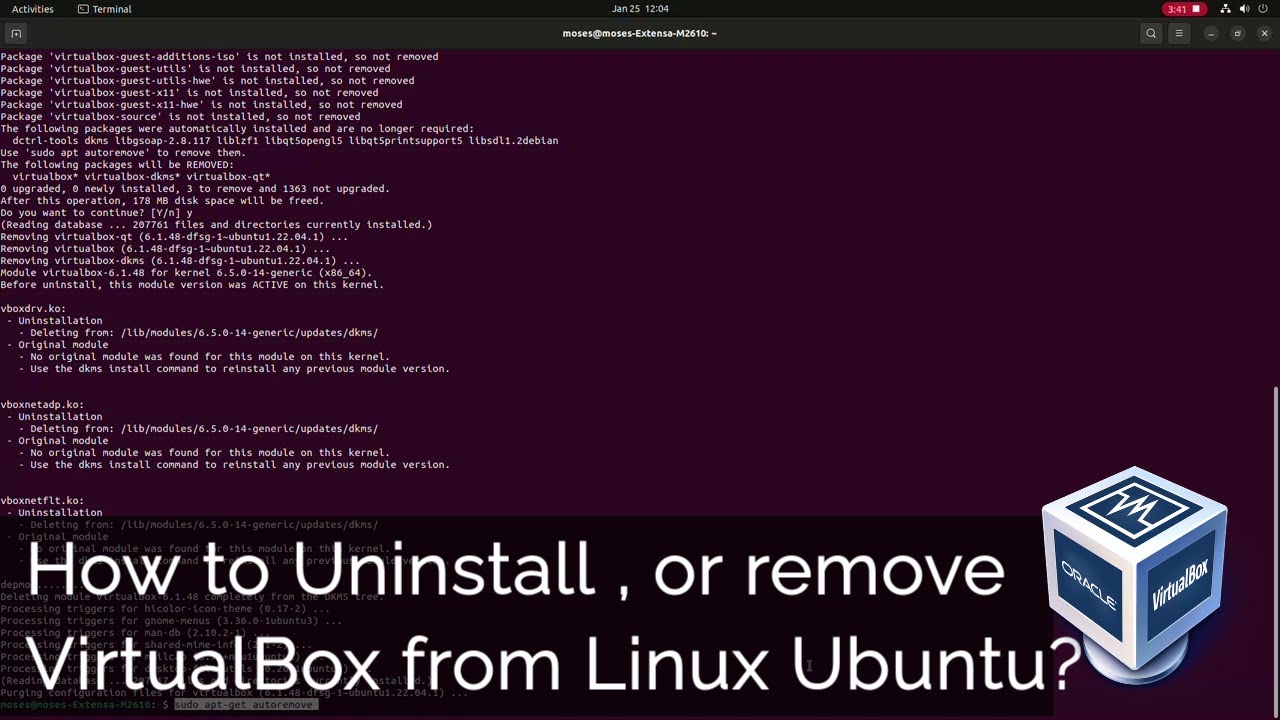
Step 3: Remove Additional VirtualBox Packages
Sometimes, VirtualBox may have additional packages installed. To ensure a complete removal, execute the following command:
sudo apt-get autoremove
Step 4: Remove VirtualBox User Data
If you want to remove all VirtualBox-related user data, including VMs, execute the following command:
rm -r ~/.config/VirtualBox/
Step 5: Update the System
After uninstalling VirtualBox, it’s a good practice to update the system repositories. Execute the following command:
sudo apt-get update
Commands Mentioned
• sudo apt-get purge virtualbox* – Removes VirtualBox and its related packages.
• sudo apt-get autoremove – Removes any unnecessary packages.
• rm -r ~/.config/VirtualBox/ – Deletes VirtualBox user data.
• sudo apt-get update – Updates system repositories.
ubuntu