AWS 171-[SERV]-Lab – Creating Amazon EC2 Instances
#AWS 171-[SERV]-Lab – Creating Amazon EC2 Instances
Check out my GitHub Repository – https://github.com/MFMKURIA/More-AWS-…
Portfolio
1. http://markfrancismk.sciawareness.com…
2. https://d2taxcp5hluc5o.cloudfront.net/
Detailed Step-by-Step Guide for AWS Lab: Creating Amazon EC2 Instances
Lab Overview
This lab will guide you through launching an Amazon EC2 instance using the AWS Management Console, connecting to it via EC2 Instance Connect, and launching another EC2 instance using the AWS CLI. By the end of this lab, you’ll be able to:
1. Launch an EC2 instance using the AWS Management Console.
2. Connect to the EC2 instance using EC2 Instance Connect.
3. Launch an EC2 instance using the AWS CLI.
Prerequisites
– AWS account
– Basic understanding of AWS services
Estimated Duration
Approximately 45 minutes.
Accessing the AWS Management Console
1. Start Lab: Click the “Start Lab” button to begin.
2. Lab Status: Wait until you see the “Lab status: ready” message, then close the Start Lab panel.
3. Open AWS Console: Click the AWS link next to Start Lab to open the AWS Management Console. You will be automatically signed in.
Task 1: Launching an EC2 Instance using the AWS Management Console
1. Open EC2 Console:
– In the AWS Management Console, type `EC2` in the search bar and select EC2 to open the Amazon EC2 Management Console.
2. Launch Instance:
– Click the “Launch instance” button.
Step 1: Choose Name and Tags
– Name: Enter `Bastion host` for the Name field.
Step 2: Choose an AMI
– AMI: Under the Application and OS Images (Amazon Machine Image) section, ensure that Amazon Linux 2 is selected.
Step 3: Choose an Instance Type
– Instance Type: Select `t3.micro` from the Instance type dropdown list.
Step 4: Configure a Key Pair
– Key Pair: Choose `Proceed without key pair (Not recommended)` as you will use EC2 Instance Connect.
Step 5: Configure Network Settings
– Network Settings: Click “Edit”.
– VPC: Select `Lab VPC` from the VPC dropdown list.
– Subnet: Ensure `Public Subnet` is selected.
– Auto-assign Public IP: Ensure `Enable` is selected.
– Security Group: Select `Create security group` and configure as follows:
– Security Group Name: `Bastion security group`
– Description: `Permit SSH connections`
Step 6: Add Storage
– Storage Configuration: Keep the default 8 GiB disk volume.
Step 7: Configure Advanced Details
– IAM Instance Profile: Select `Bastion-Role`.
Step 8: Launch Instance
– Review: Review the instance configuration details and click “Launch instance”.
– View Instances: Click “View all instances”.
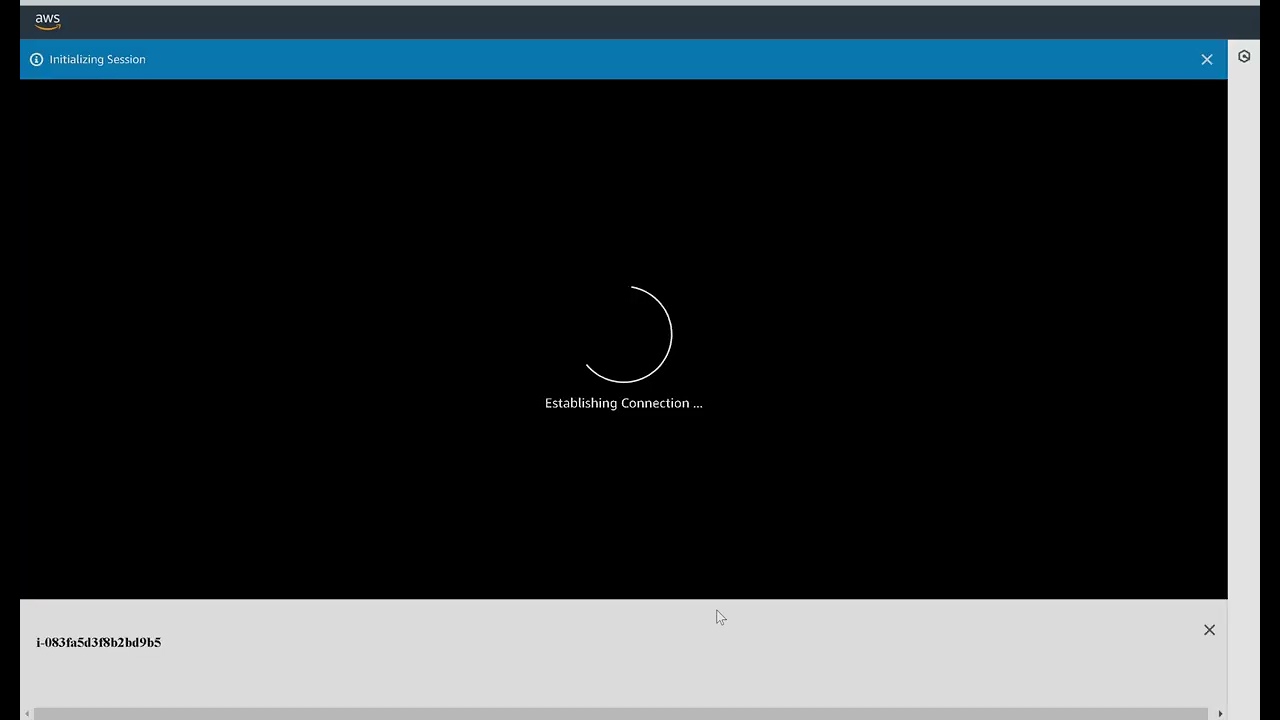
Task 2: Logging into the Bastion Host
1. Select Instance: In the EC2 Management Console, select the Bastion host instance.
2. Connect: Click “Connect” and then “Connect” again on the EC2 Instance Connect tab.
Task 3: Launching an EC2 Instance using the AWS CLI
1. Retrieve AMI ID:
– Run the following script in your EC2 Instance Connect session:
“`bash
AZ=`curl -s http://169.254.169.254/latest/meta-data/placement/availability-zone`
export AWS_DEFAULT_REGION=${AZ::-1}
AMI=$(aws ssm get-parameters –names /aws/service/ami-amazon-linux-latest/amzn2-ami-hvm-x86_64-gp2 –query ‘Parameters[0].[Value]’ –output text)
echo $AMI
“`
2. Retrieve Subnet ID:
– Run the following command:
“`bash
SUBNET=$(aws ec2 describe-subnets –filters ‘Name=tag:Name,Values=Public Subnet’ –query Subnets[].SubnetId –output text)
echo $SUBNET
“`
3. Retrieve Security Group ID:
– Run the following command:
“`bash
SG=$(aws ec2 describe-security-groups –filters Name=group-name,Values=WebSecurityGroup –query SecurityGroups[].GroupId –output text)
echo $SG
“`
4. Download User Data Script:
– Run the following command to download the script:
“`bash
wget https://aws-tc-largeobjects.s3.us-wes…
“`
– View the contents:
“`bash
cat UserData.txt
“`
5. Launch the Instance:
– Run the following command:
“`bash
INSTANCE=$(
aws ec2 run-instances
–image-id $AMI
–subnet-id $SUBNET
–security-group-ids $SG
–user-data file:///home/ec2-user/UserData.txt
–instance-type t3.micro
–tag-specifications ‘ResourceType=instance,Tags=[{Key=Name,Value=Web Server}]’
–query ‘Instances[].InstanceId’
–output text
)
echo $INSTANCE
“`
6. Wait for Instance to be Ready:
– Check the status of the instance:
“`bash
aws ec2 describe-instances –instance-ids $INSTANCE
“`
– Retrieve the instance state:
“`bash
aws ec2 describe-instances –instance-ids $INSTANCE –query ‘Reservations[].Instances[].State.Name’ –output text
“`
7. Test the Web Server:
– Retrieve the public DNS name:
“`bash
aws ec2 describe-instances –instance-ids $INSTANCE –query Reservations[].Instances[].PublicDnsName –output text
“`
– Copy the DNS name and paste it into a web browser. You should see the web page.
by Mark Mungai Kuria
linux dns configuration