Add, Move and Modify Image or Picture in Microsoft Publisher
If you are interested in creating a brochure, flyer, or calendar in Microsoft Publisher, photos are a great way to make your publication more attractive to the eye. There are several ways to do all of these tasks in Publisher, so from within this article, we are going to talk about how to better manage pictures, among other things.
Add, Move and Modify Pictures in Microsoft Publisher
On the Insert menu tab, there are four illustration tools, namely:
- Pictures: allows you to insert images from your computer or other computers you are connected to.
- Online Pictures: find and insert pictures from online sources.
- Shapes: insert ready-made shapes, such as circles, squares, and arrows.
- Picture Placeholder: insert an empty picture frame to reserve space for pictures you want to add later. You can insert an image into the picture frame by clicking the picture icon.
We are going to discuss how to use each of the illustration tools. Learning how to use them effectively will improve your creativity when creating content. In this post we will cover the following topics:
- How to insert pictures or Images
- How to Place an image within an image
- All the tools to modify your images
- How to modify your images using the Adjust Group tools
- How to modify images using Picture Styles
- How to use the Arrange Group
- How to use the Crop Group
- How to make use of the Size Group
- How to resize a picture easily in Publisher
- How to move a picture
Time to look at how to modify images in Publisher more deeply.
1] How to insert pictures or Images
Adding images to a document is the first step in creating a masterpiece, and as such, you should learn of everything it entails.
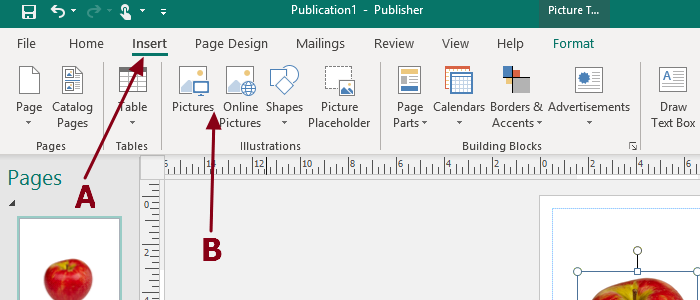
Click Insert Tab, then select Pictures or Online Pictures in the Illustrations Group. Finally, click Insert to complete the adding of pictures to your document.
2] How to Place an image within an image
Have you ever wanted to place an image within another image? It is not a difficult task, contrary to popular beliefs. Let us look at how to do this.
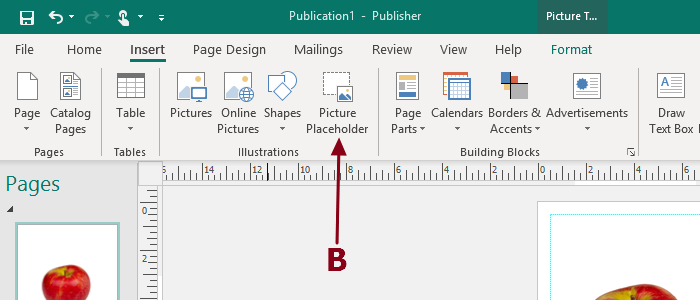
Again, select the Insert Tab, then click on the Picture Placeholder. A picture frame will pop up. Click on it. An insert picture dialog box will appear, giving you options to select from File, Bing (online), or OneDrive. Select your option and choose the picture you want. From there, click insert, an image will appear in the picture you’ve added before.
3] All the tools to modify your images
In Microsoft Publisher, there are tools to change your images. These are:
The Adjust Group
- Corrections: Improve the brightness and contrast of the picture.
- Recolor: Recolor the image to give it a stylized effect, such as grayscale or a washout effect.
- Compress Picture: Compress pictures in the document to reduce its size.
- Change Picture: Remove or replace the selected picture while maintaining the size position of the photo.
- Reset Pictures: Discard the formatting changes you made to your picture.
The Picture Styles Group
- Picture Borders: Specify the border used around the perimeter of the picture. Choose a non-default text wrapping such as square and tight to enable his feature.
- Picture Effect: Apply a visual effect to the picture, such as shadows, glow, reflection, and 3D rotation.
- Caption: Apply a caption to the selected picture.
Arrange Group
- Arrange Thumbnails: send selected pictures to the scratch tiled as thumbnails.
- Wrap Text: change the way text wrap above objects.
- Bring Forward: bring the selected object forward one level so that it is hidden behind fewer items.
- Send Backward: send the selected object back one level so that it is hidden behind more objects.
- Align: change the placement of your selected object on your page.
Crop Group
- Crop: Produce a picture to a shape such as a triangle or a circle.
- Fit: Resize the photo so that the entire picture displays inside the picture area while maintaining the original aspect ratio.
- Clear Crop: Remove cropping from the selected photo.
Size Group
- Shape Height: change the height of the shape or picture.
- Shape Width: change the width of the shape or image.
4] How to modify your images using the Adjust Group tools
Not everyone knows how adjust pictures in Microsoft Publisher. Worry not, however, because it is not hard to understand.
Corrections
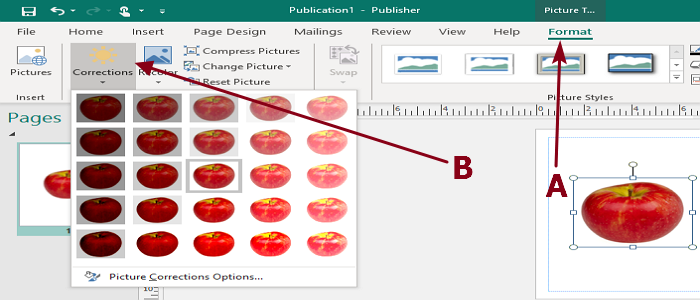
On the Format Tab, select corrections. Choose your option or select picture correction options for more alternatives.
Recolor
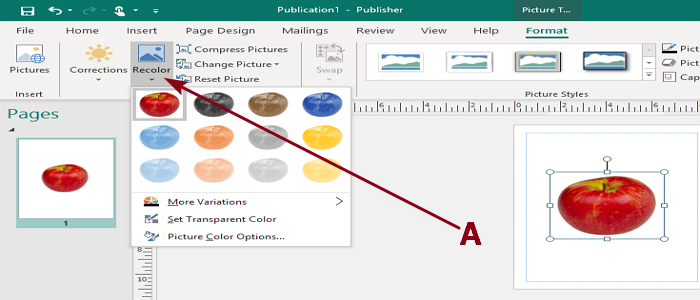
On the Format Tab, click Recolor. From there, choose the style you want. On the bottom of the Recolor dialog box, there are alternatives such as More Variations, Set Transparent Color, and Picture Color Options.
Compress Pictures
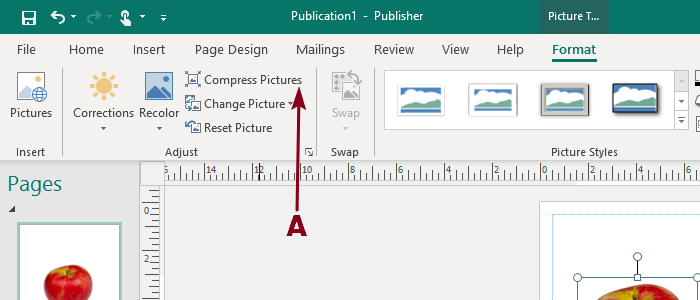
Select Compress Pictures from the Ribbon menu. Choose from the available options. Select compress to make your images smaller in size.
Change Picture
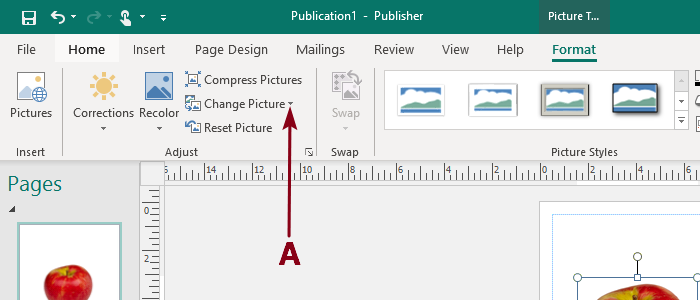
Click on the Change Picture section, then right away two options should pop up. They are Change Picture and Remove Picture. Select Change Picture, then choose from the options available to insert a new image in order to replace the old one.
Reset Picture
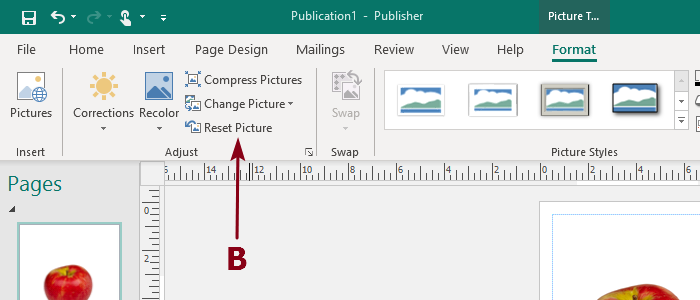
Select the Format Tab via the Ribbon, then complete the task by clicking on Reset Picture to set things back to normal.
5] How to modify images using Picture Styles
Adding effects, borders, and captions to your photos is very important in certain aspects, therefore, it is essential all users know how to do it all.
Picture Borders
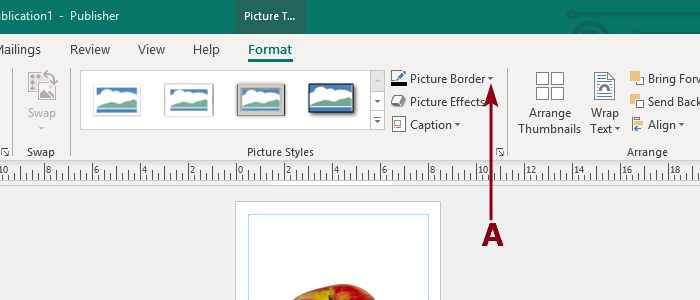
On the Format Tab click on Picture Border. Select Scheme Colors or Standard Colors to color the borders. Choose More Outline Colors for color options. You can check out other alternatives such as Tints, Weight, Dashes, Arrows, and Pattern.
Picture Effect
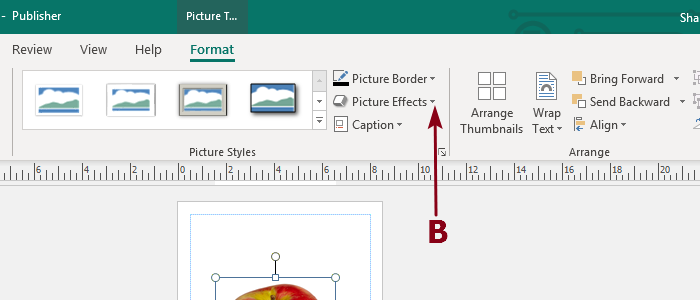
Select the Format Tab. From there, please click on Picture Effect. You should see several effects, and it is possible to choose any one of them.
Caption

On the Format Tab, select Caption. There will be templates showing different styles and positions to place your caption. Choose the one that brings your document to life.
6] How to use the Arrange Group
Arranging your pictures in a particular thumbnail style is pretty cool and could make your Publisher document pop when mixed with your creative freedom.
Arrange Thumbnail
Click Arrange thumbnails. This will send selected pictures to the scratch area tiles as thumbnails.
Wrap Text
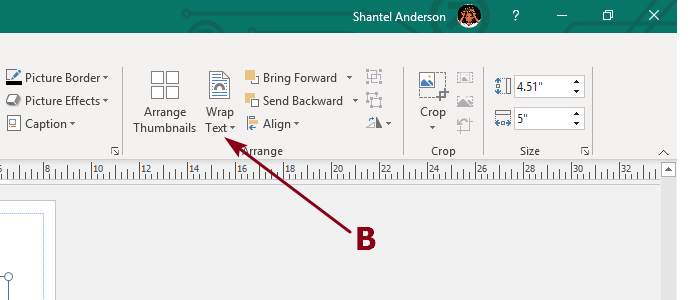
To move forward, please click on the Format Tab, then select Wrap Text. Choose from the options that appear.
Bring Forward
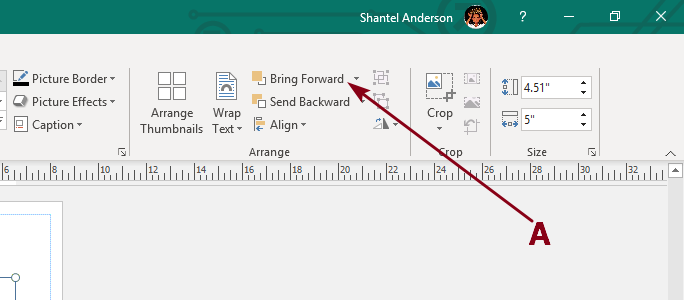
Click on Bring Forward. Two options will pop up, Bring Forward and Bring Front. Bring Forward bring the selected object forward one level so that it is hidden behind fewer items, and Bring Front the selected object before all others. Select your choice.
Send Backward
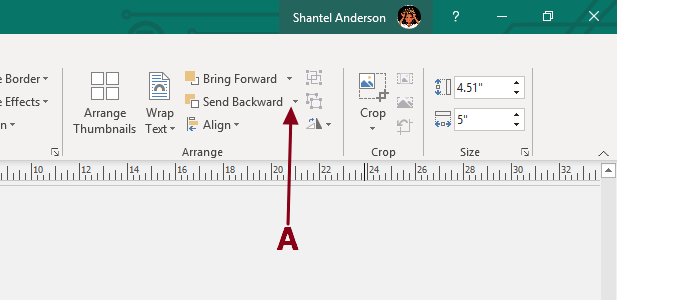
Click on Send Backward. Two options will pop up and these are Send Backward and Send to Back.
Send Backward is designed to send the selected object back one level so that it is hidden behind more objects.
Send to Back is all about sending the selected object behind all other objects. Choose the one that makes more sense for your project.
Align
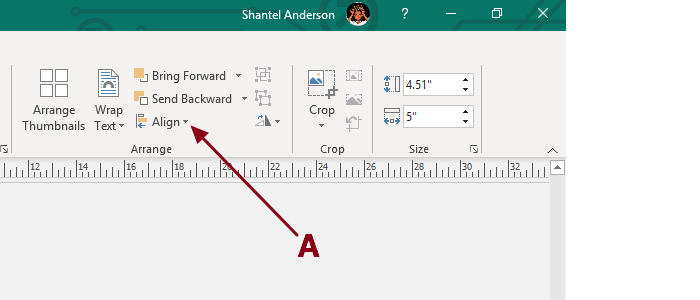
On the Format tab, select Align. From here, decide how you want to adjust your image.
7] How to use the Crop Group
If you want to crop images, then there is no need to leave Publisher to use a standalone photo editor.
Crop

Click the Format Tab. Click on the bottom arrow of Crop; you will see selections such as Crop and Crop to Shape. Select any one of those options.
Fit
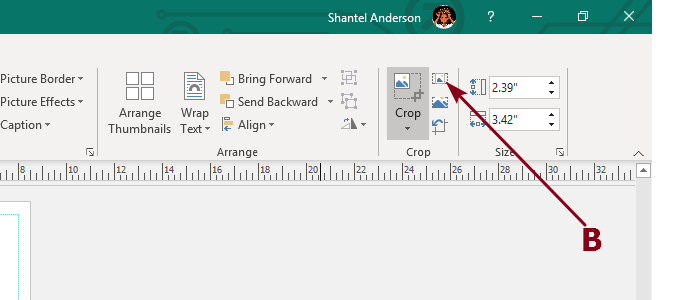
Click on the Format Tab, and beside Crop, please select Fit and that is it.
Fill
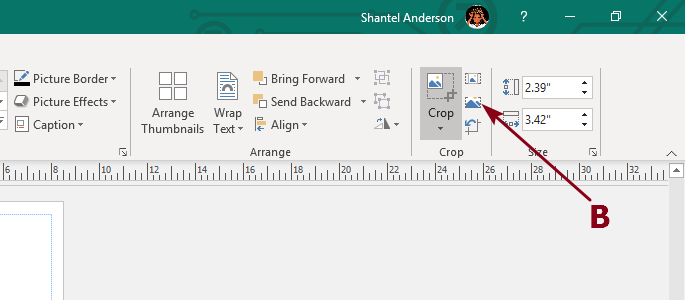
Again, you will want to choose the Format Tab, and from that tab, you should see Fill. Click on it to complete your task.
Remove Crop
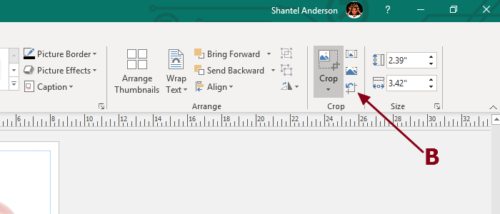
If you want to remove a crop, you will be required to click on the Format Tab. Finish by selecting Remove Crop.
8] How to make use of the Size Group
We must say that not everyone uses the Size Group, but those who will always recommend it. Master this feature to make your work easier.
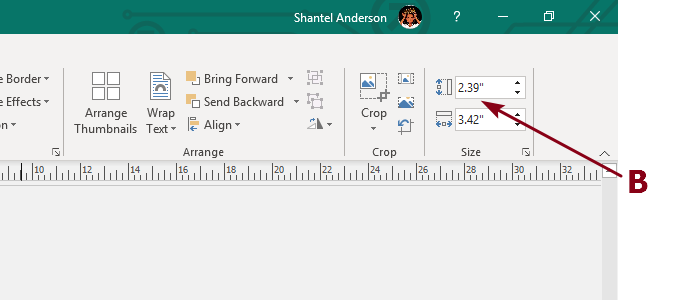
As always, click on the Format Table tab then choose numbers for Shape Height and Shape Width.
9] How to resize a picture easily in Publisher
Click into the picture then look for squares around the frame. Click and drag a framing square, and from there drag the corner out to enlarge. Finally, drag the corner in to shrink the size.
10] Moving a Picture
Place the mouse pointer over the picture and look for a cross-like move arrow tool. Click and drag your shape to a new spot.
Let us know in the comments if you have any problems and will definitely get back to you in a most timely fashion.


