Advanced Setup of hMailServer E-Mail Server — Create and Apply SSL Cert
#hMailServer #SSL #PKI
Full steps can be found at https://i12bretro.github.io/tutorials/0135.html
Prerequisites
– A XCA PKI database https://youtu.be/ezzj3x207lQ
Create Your SSL Certificate
01. Launch XCA
02. Open the PKI database if it is not already (File ≫ Open DataBase), enter password
03. Click on the Certificates tab, right click on your Intermediate CA certificate
04. Select New
05. On the Source tab, make sure Use this Certificate for signing is selected
06. Verify your Intermediate CA certificate is selected from the drop down
07. Click the Subject tab
08. Complete the Distinguished Name section
internalName: Email Server SSL
countryName: US
stateOrProvinceName: Virginia
localityName: Northern
organizationName: i12bretro
organizationUnitName: i12bretro Certificate Authority
commonName: smtp.i12bretro.local
09. Click the Generate a New Key button
10. Enter a name and set the key size to at least 2048
11. Click Create
12. Click on the Extensions tab
13. Select End Entity from the type list
14. Click Edit next to Subject Alternative Name
15. Add any DNS or IP addresses that the certificate will identify
smtp.domain
imap.domain
pop3.domain
16. Update the validity dates to fit your needs
17. Click the Key Usage tab
18. Under Key Usage select Digital Signature, Key Encipherment
19. Under Extended Key Usage select Web Server Authentication
20. Click the Netscape tab
21. Select SSL Server
22. Click OK to create the certificate
Exporting Required Files
01. In XCA, click on the Certificates tab
02. Right click the SSL certificate ≫ Export ≫ File
03. Set the file name with a .crt extension and verify the export format is PEM (*.crt)
04. Click OK
05. Click the Private Keys tab
06. Right click the private key generated for the SSL certificate ≫ Export ≫ File
07. Set the file name with a .key extension and verify the export format is PEM private (*.pem)
08. Click OK
Setting Up SSL in hMailServer
01. Launch hMailServer Administrator
02. Select localhost ≫ Click Connect ≫ Login with the administrative password
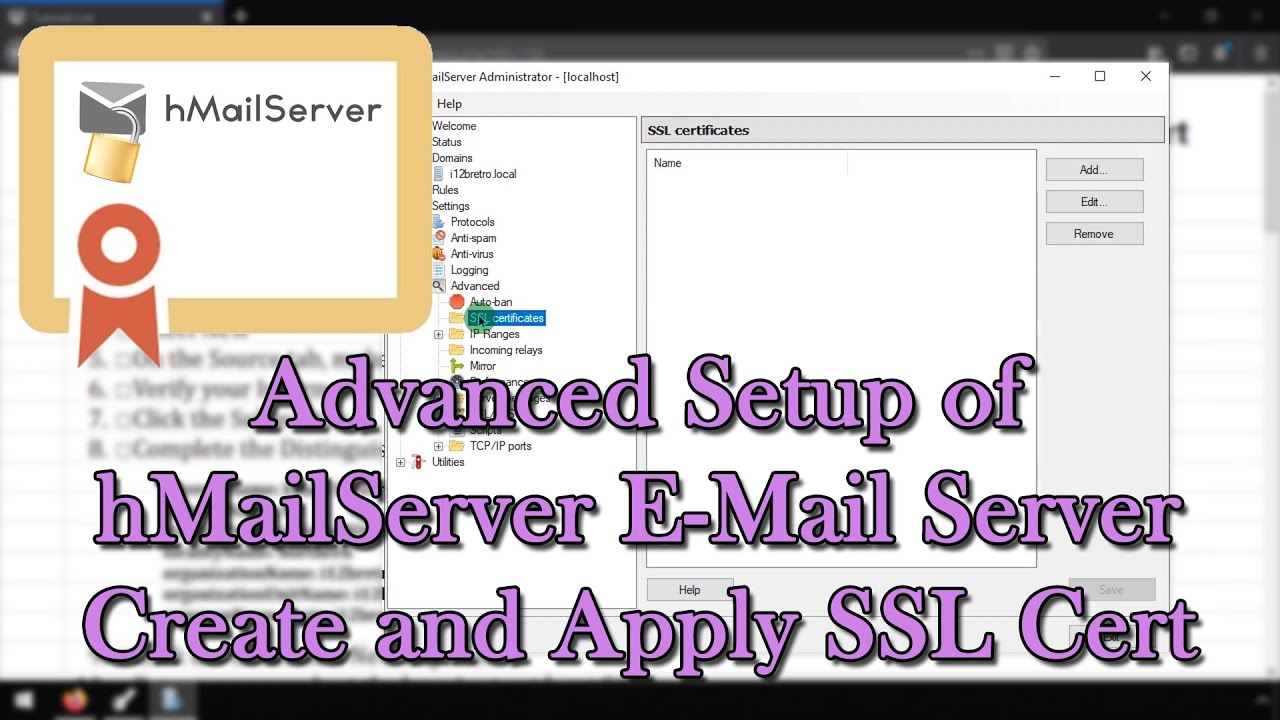
03. Expand Settings ≫ Advanced ≫ SSL Certificates ≫ Click Add…
04. Give the certificate a friendly name
05. Browse to the certificate and key files exported earlier
NOTE: The .crt and .key files need to stay on the file system to be read by hMailServer. I place them in the hMailServer installation directory in a real world scenario
06. Click Save
07. Expand Settings ≫ Advanced ≫ IP Ranges
08. Select the LAN IP Range created previously
09. Check the Require SSL/TLS for authentication box
10. Click Save
11. Expand Settings ≫ Advanced ≫ TCP/IP Ports
12. Click on 0.0.0.0 / 25 / SMTP
13. Update the port to 465, Select SSL/TLS from the Connection Security dropdown, Select the SSL certificate imported previously
14. Click Save
15. Click No to the popup to restart the service
16. Click on 0.0.0.0 / 143 / IMAP
17. Update the port to 993, Select SSL/TLS from the Connection Security dropdown, Select the SSL certificate imported previously
18. Click Save
19. Click Yesto the popup to restart the service
Setting Up SSL in the Client
01. Launch Thunderbird
02. Right click on the e-mail address setup previously ≫ Settings ≫ Server Settings
03. Set Connection security to SSL/TLS
04. Verify the port updated to 993
05. Click Outgoing Server (SMTP)
06. Set Connection security to SSL/TLS
07. Verify the port updated to 465
08. Click OK
09. Click OK
10. Click Tools ≫ Options ≫ Advanced ≫ Security ≫ Manage Certificates
11. Click Import…
12. Browse to the CA-chain.pem file exported earlier
13. Click OK
Testing Your New E-Mail Server
01. In hMailServer Administrator, Expand Utilities ≫ Server sendout
02. Select Specific domain and select the domain created earlier from the dropdown
03. Fill out the form to send a test e-mail ≫ Click Send
04. Back in Thunderbird, click the Get Messages button
05. The test email should arrive in the inbox
### Connect with me and others ###
★ Discord: https://discord.com/invite/EzenvmSHW8
★ Reddit: https://reddit.com/r/i12bretro
★ Twitter: https://twitter.com/i12bretro
by i12bretro
linux smtp server


can u help ,
where should i find .xdb file
Can u tell me any remote desktop server for armbian with wayy less delay i tried nomachine its soo laggy i tried x11vnc its decent but still laggy i tried tightvncserver its hella laggy i tried vino server worse than tightvncserver last but not least i tried temaviewer soo far the best but i cant use it on my ipad i have ipad 2 and it has ios 9.3.5 iam using an older version of temviwer on my ipad and it says ur partner is using a newer version of teamviewer