Blue Screen after installing new CPU or GPU on Windows PC [Fix]
A computer becomes slow if it has insufficient hardware resources. A hardware upgrade is a permanent solution to increase a computer’s performance. You can upgrade necessary hardware to boost the performance of your system, like CPU, GPU, RAM, and SSD. Sometimes, upgrading hardware causes issues on a Windows computer. Some users face such an issue. They encounter frequent Blue Screen errors after installing a new CPU or GPU. This article lists some possible solutions to this problem.
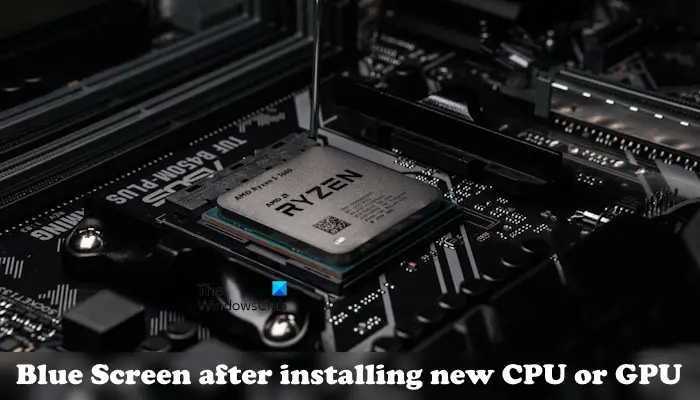
Fix Blue Screen after installing a new CPU or GPU
If you see a Blue Screen after installing a new CPU or GPU on your Windows 11/10 computer, use the following suggestions to resolve this problem.
- Is the CPU or GPU compatible with your computer motherboard?
- Check if any pins of your CPU are bent
- Clear CMOS
- Disabled the Intel Turbo Boost option (if applicable)
- Reseat RAM and check your RAM health
- Perform a clean installation of the graphics card driver
- Change the HDMI or DisplayPort cable
- Update BIOS and chipset drivers
- Check CPU and GPU temperature
- The new CPU or GPU may be defective
Below, I have explained all these fixes in detail.
1] Is the CPU or GPU compatible with your computer motherboard?
Hardware incompatibility is the major cause of the Blue Screen errors after installing new hardware. Therefore, ensure that the CPU or GPU you have installed is compatible with your computer motherboard.
2] Check if any pins of your CPU are bent
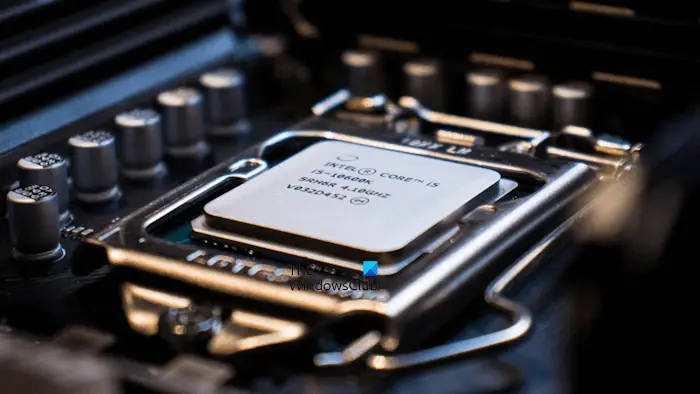
It is possible that some of the CPU pins were bent during the installation process. If this happened, it might be the cause of the BSOD error. Check this. You have to open your computer case or laptop. If you find any CPU pins bent, fix them.
3] Clear CMOS
After installing new hardware, like a CPU or GPU, you should reset the BIOS settings to the default. If you have not done this yet, do it now. Clearing CMOS will also reset your BIOS settings to the default values.
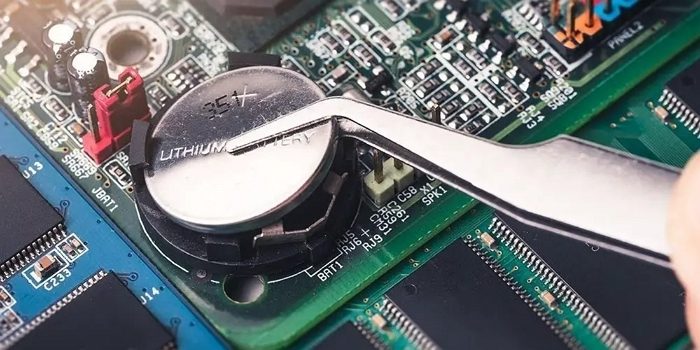
First, turn off your computer and unplug the power cable to avoid electric shock. Now, locate the CMOS battery on the motherboard. It is a small coin-shaped battery. Remove it gently and wait for a few minutes. After that, reinstall the battery correctly. Now, turn on your computer and see if the Blue Screen error occurs.
4] Disabled the Intel Turbo Boost option (if applicable)
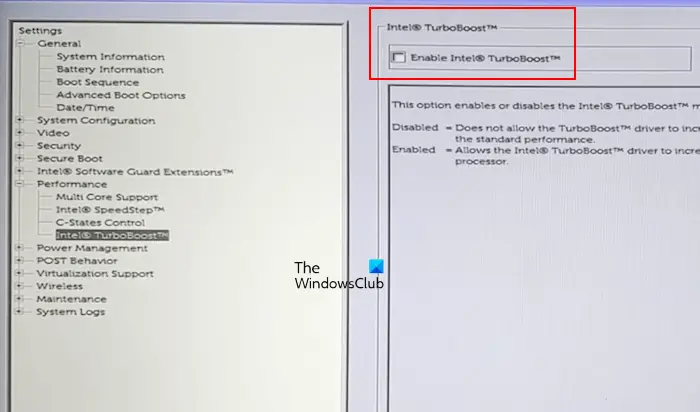
Some CPUs have a Turbo Boost option. This feature can be enabled and disabled in BIOS. The Intel Turbo Boost option is available under the Performance section in BIOS. However, it may be different for laptops of different brands. You can check the supported Turbo Boost processors on the official Intel’s website.
5] Reseat RAM and check your RAM health
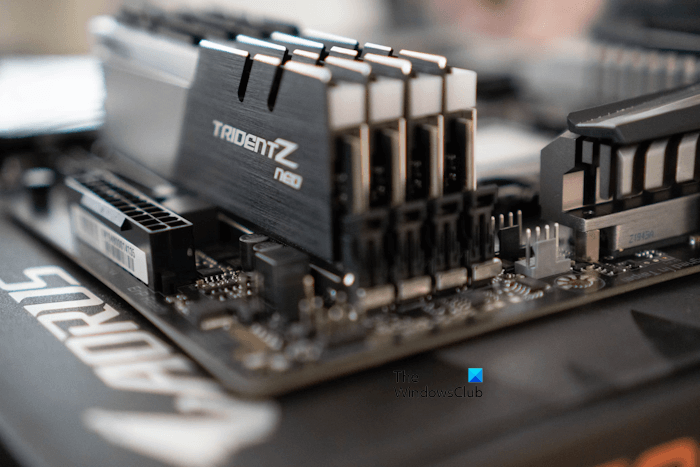
The problem might also be occurring due to RAM. Open your computer case and remove the RAM sticks one by one. Now, clean them and clean the RAM slots as well. Reinstall the RAM sticks and turn on your computer. Checking the RAM health can also be beneficial at this stage. You can use the built-in Memory Diagnostic Tool to test your RAM health.
6] Perform a clean installation of the graphics card driver
If you do not completely uninstall the currently installed graphics card driver before installing the new graphics card, problems can occur. Have you done this? If not, do this now. Perform the clean installation of your graphics card driver.
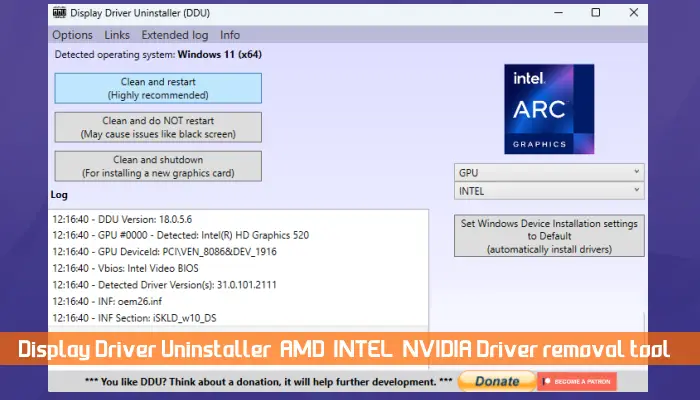
First, download the latest version of your graphics card driver from the official website of the GPU manufacturer. Now, install DDU (Display Driver Utility) on your computer. Use this tool to completely remove your graphics card driver. Now, run the installer file to install the latest version of your new graphics card driver. This should fix the issue.
7] Change the HDMI or DisplayPort cable
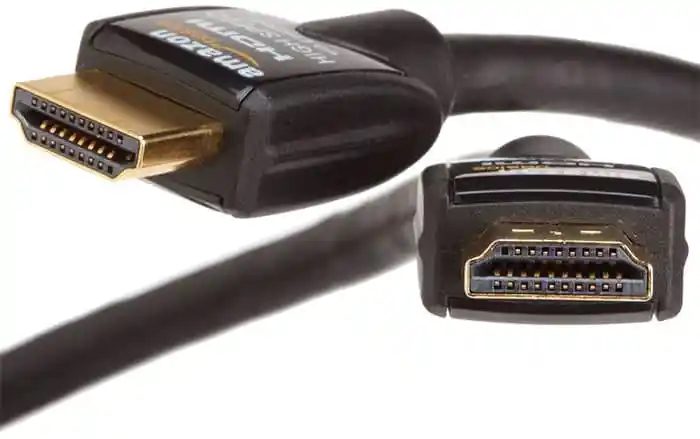
The problem may also be associated with the cable used to connect your graphics card to your monitor. Use another cable and see if it helps. You can also replace the HDMI cable with the DisplayPort cable and vice versa (if applicable).
8] Update BIOS and chipset drivers
It is also necessary to update BIOS firmware to the latest version and install the latest version of the chipset driver after you install new hardware, like CPU, GPU, etc. The latest version of the BIOS firmware and chipset driver are available on the official website of your computer manufacturer. Download the latest version of BIOS firmware and chipset driver from there and install them manually.
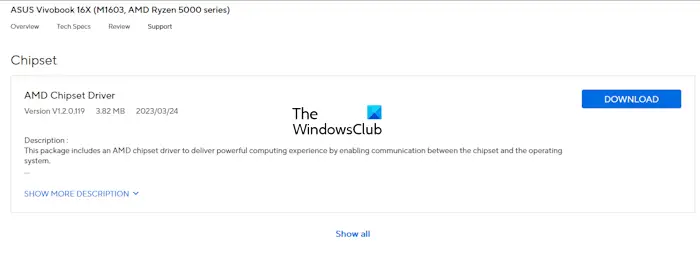
If you have installed the beta version of BIOS firmware, I suggest you switch to the stable version, as the beta version is unstable and may cause issues.
9] Check CPU and GPU temperature
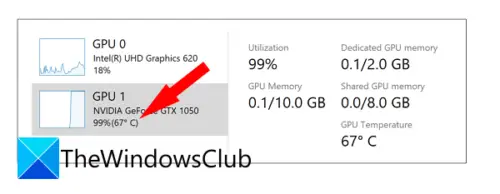
High CPU or GPU temperature is one of the possible causes of the Blue Screen errors on a Windows computer. Monitor your CPU and GPU temperature. You can use the built-in tool, Task Manager to monitor your GPU temperature. or install third-party tools to monitor your CPU temperature and GPU temperature.
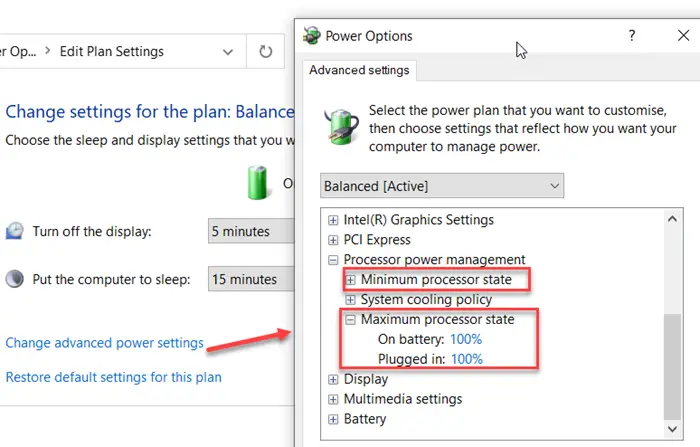
If you notice high CPU and GPU temperatures, first, you need to fix this. You can take some steps to lower your GPU temperature, like under-volting the GPU, disabling overclocking, etc. One more thing that you can do to reduce your CPU temperature is to lower the maximum processor state. Try this. If this causes issues, revert the changes.
10] The new CPU or GPU may be defective
These changes are rare. However, this can be the case with you. The new CPU or GPU you have installed on your system might be defective. You should contact support for further assistance.
That’s it. I hope this helps.
Can a new GPU cause BSOD?
A new GPU can cause BSOD errors if it is defective or incompatible with your computer motherboard. However, there are several other causes of a BSOD error. Hence, you need not jump to the conclusion without troubleshooting.
Will resetting the PC fix the blue screen?
Resetting a PC can fix the Blue Screen error if the BSOD error occurs due to software issues, like corrupted system image files, bad sectors on a hard drive, etc. However, resetting the PC will not help if the BSOD error occurs due to a hardware fault.
Read next: Laptop BSOD when plugged in.


