Can’t switch Windows Insider Channel on Windows 11
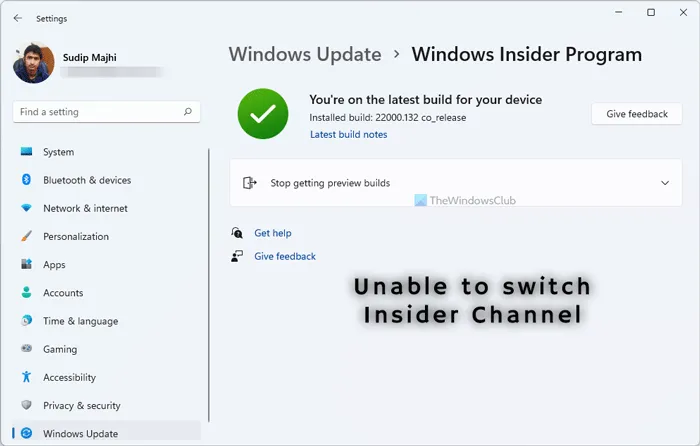
If you cannot switch Windows Insider Channel on Windows 11, here is a simple fix for you to get rid of this issue. You need to execute a command in Command Prompt to get back all the missing options in the Windows Settings panel in Windows 11.

Can you change Windows Insider Channel?
Yes, you can change Windows Insider Channel on Windows 11 without any issue. Whether it is Windows 11 or Windows 10, you can switch between different Insider Channels using the Windows Settings panel.
Like Windows 10, you can opt for and switch between Dev and Beta Channel in Windows 11. All you need is a Microsoft account with either channel enabled. It is possible to change Insider Channel in Windows 11 from Windows Settings. For that, you need to go to Windows Update > Windows Insider Program > Choose your Insider settings and select a Channel. However, there could be times when you might not find the Choose your Insider settings menu in Windows Settings panel.
How do I change my Insider Channel??
To change your Insider Channel on Windows 11, as already explained, you need to open Windows Settings and go to Windows Update > Windows Insider Program > Choose your Insider settings. Then, you can choose between Dev and Beta Channel.
Why Windows Insider Program is not working?
There could be various reasons why the Windows Insider program is not working on your computer. You must opt for Windows Insider Channel before getting the Insider build updates on your computer. If you unroll your current device from getting Insider Preview builds, you will get the same issue.
There are mainly two reasons why you are getting this problem. One, it is a bug. If so, you may be able to fix it by restarting your computer or updating it to the next build of Windows 11. The second reason is it got hidden by mistake. If that happens, you can get back the option using Command Prompt.
Can’t switch Windows Insider Channel on Windows 11
To fix can’t switch Windows Insider Channel issue on Windows 11, follow these steps:
- Search for cmd in the Taskbar search box.
- Click on the Run as administrator option.
- Click the Yes option.
- Enter this command: bcdedit /set flightsigning on
- Restart your computer and change Insider Channel.
To learn more about these steps, continue reading.
At first, you need to open Command Prompt with administrator permission. For that, search for cmd in the Taskbar search box and click on the Run as administrator option. If the UAC prompt appears, click on the Yes option.
Once the elevated Command Prompt window is visible on your screen, enter the following command:
bcdedit /set flightsigning on
If everything goes right, you would be greeted with this message: The operating completed successfully. Following that, you need to restart your computer.
Then, open the Windows Settings panel by pressing Win+I, go to Windows Update > Windows Insider Program, and check if you can see the Choose your Insider settings option or not. From here, you choose either Dev Channel or Beta Channel.
That’s all! Hope this guide helped you.
Read: How to Download Windows 11 Insider Preview ISO File.


