Configure DFS server in Windows Server 2016
Donate Us : paypal.me/MicrosoftLab
Configure DFS server in Windows Server 2016
1. Prepare
– DC21 : Domain Controller ; IP 10.0.0.21
– DC23,24,25 : File Servers ; IP 10.0.0.23,24,25
– DC22 : DFS server ; IP 10.0.0.22
– WIN1091 : Client ; IP 10.0.0.91
2. Step by step : Collect all shared folder on File Servers into one Namespaces : \pns.vnDATA on DC22
– DC23,24,25 : Create and share folders named DATA_DC23, DATA_DC24, DATA_DC25
– WIN1091 : Search – \10.0.0.23, 24, 25 // Connect to File Servers DC23,24,25 – multiple the connections
– DC22 : Install and configure DFS
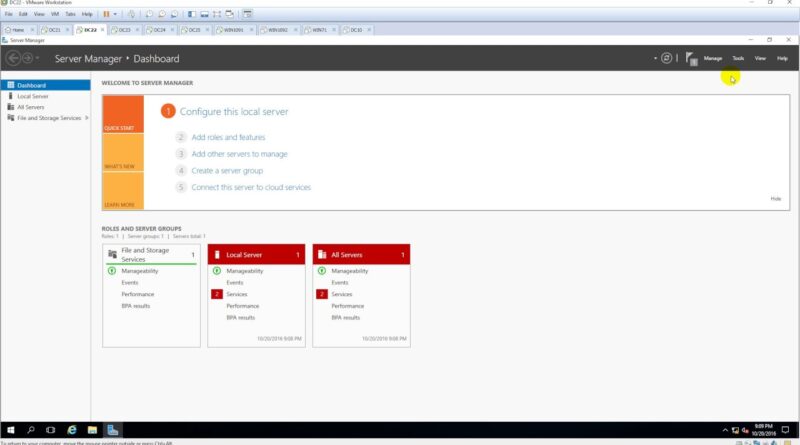
+ Server manager – Manage – Add Roles and Features – Next to Server Roles – File and Storage Services
– File and iSCSI Services – Select : DFS Namespaces, DFS Replication – Add Features – Next and Install
– Close
+ Server manager – Tools – DFS Management – Right-click Namespaces – New Namespaces… – Namespaces Server
– Server : DC22 – Name : DATA – Next and Create – close
+ Right-click \pns.vnDATA – New Folder… – Name : DC23 – Add… – Browse… – DC23 – DATA_DC23
– OK – OK (do the same for DC24, DC25 )
– WIN1091 : Search – \pns.vnDATA – Show all – OK
windows server


