Fix IO1_INITIALIZATION_FAILED Blue Screen error on Windows 10
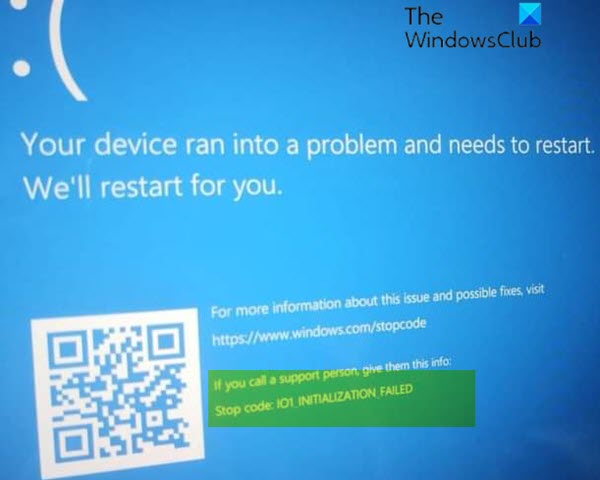
If you’re encountering IO1_INITIALIZATION_FAILED Blue Screen error on your Windows 10 device, then this post is intended to help you with the solutions that can help you fix this issue.

The IO1_INITIALIZATION_FAILED bug check has a value of 0x00000069. This bug check indicates that the initialization of the I/O system failed for some reason. Most likely, the setup routine has improperly installed the system, or a user has reconfigured the system.
This error appears mostly due to the instability of BIOS, damaged registry values, an abnormal change in default settings, driver issues, and faulty users’ data. Furthermore, you can expect the same snag because of downloading some unauthorized application, faulty and missing system files as well as bad sectors in the hard disk. Since the accurate cause is unknown like all other blue screen errors, it’s really hard to apply an appropriate workaround.
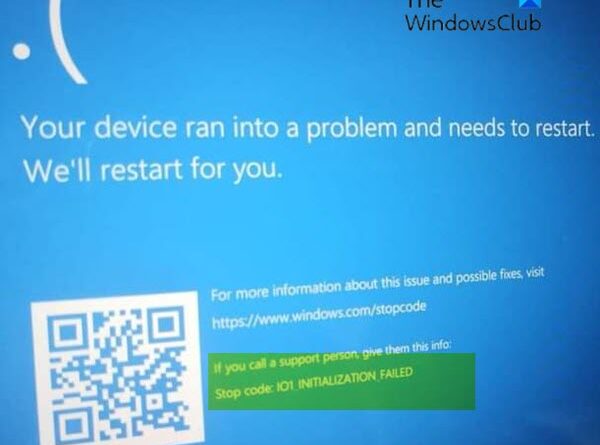
IO1_INITIALIZATION_FAILED BSOD
If you’re faced with this issue, you can try our recommended solutions below in no particular order and see if that helps to resolve the issue.
- Run the Blue Screen Online Troubleshooter
- Update drivers
- Rebuild BCD
- Change the Disk Controller mode to SATA or ATA from RAID/AHCI
- Set useplatformclock to True
- Perform System Restore.
Let’s take a look at the description of the process involved concerning each of the listed solutions.
If you can log in normally, good; else you will have to boot into Safe Mode, enter Advanced Startup options screen, or use the Installation Media to boot to be able to carry out these instructions.
1] Run the Blue Screen Online Troubleshooter
This solution requires you to the Blue Screen Online Troubleshooter from Microsoft. It helps beginners & novice users troubleshoot their Blue Screens and fix the stop error automatically.
2] Update drivers
Faulty or outdated drivers may cause this Blue Screen error as well.
In this case, you can either update your drivers manually via the Device Manager, you can get the driver updates on the Optional Updates section under Windows Update. You may also automatically update your drivers.
3] Rebuild BCD
You may need to rebuild BCD. BCD or Boot Configuration Data contains boot configuration parameters on how to start your OS. You may need to use the CMD via Advanced Startup Options.
4] Change the Disk Controller mode to SATA or ATA from RAID/AHCI
When the HDD controller mode is set to AHCI or RAID and the system lacks appropriate drivers, the system might encounter the error in Windows 10. In order to fix the problem, the disk controller must be interchanged to SATA or ATA.
For that, you have to access the BIOS and make the required changes by following proper guidelines. You can find the proper guidelines in the instruction manual of the motherboard supplied at the time of buying it or check on the internet.
5] Set useplatformclock to True
Do the following:
- Press Windows key + R to invoke the Run dialog.
- In the Run dialog box, type cmd and then press CTRL + SHIFT + ENTER to open Command Prompt in admin/elevated mode.
- In the command prompt window, type the command below and hit Enter.
bcdedit /enum
This command will indicate whether the useplatformclock is set to True. If that’s not the case, you can set it to true by typing the command below and hit Enter.
bcdedit /set useplatformclock true
This procedure will make sure HPET (High Precision Event Timer) is on. If this method fails to solve the problem, just try the next one.
6] Perform System Restore
If you noticed that the error started to occur recently, it’s entirely possible that the issue was facilitated by a change that your system has gone through recently.
At this point, if none of the above solutions worked for you, you can restore your system to an earlier point. This will restore your system to an earlier point when the system was working correctly.
Hope this helps!


