Fix PowerShell causing High CPU usage in Windows 11/10
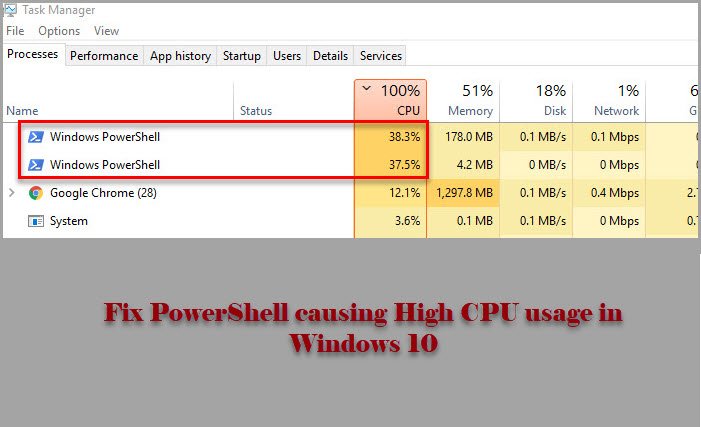
PowerShell is one of the most prominent command-line interpreters used by Windows users. It is optimized to work perfectly on Windows computers, however, many users have reported that it is causing High CPU usage. The most common cause of this unusual behavior is an outdated OS, but, we are going to give every possible solution to fix PowerShell causing High CPU usage in Windows 10.

PowerShell causing High CPU usage in Windows 11/10
Before looking at any of the mentioned fixes, you should check for updates. If the version on your computer is obsolete, download the update from microsoft.com. Do this and see if it fixes the issue for you.
If the issue persists, use the following solutions to fix PowerShell causing High CPU usage in Windows 10.
- Troubleshoot in Clean Boot State
- Run SFC and DISM
- Check for Virus and Malware
- Reinstall PowerShell
- Use Cloud Reset
- Repair Windows 10 using Installation Media
Let us talk about them in detail.
1] Troubleshoot in Clean Boot State
The problem can be because of another application triggering the PowerShell process. So, to know more about it, we need to troubleshoot in Clean Boot State and check which application is giving your CPU a hard time.
2] Run SFC and DISM
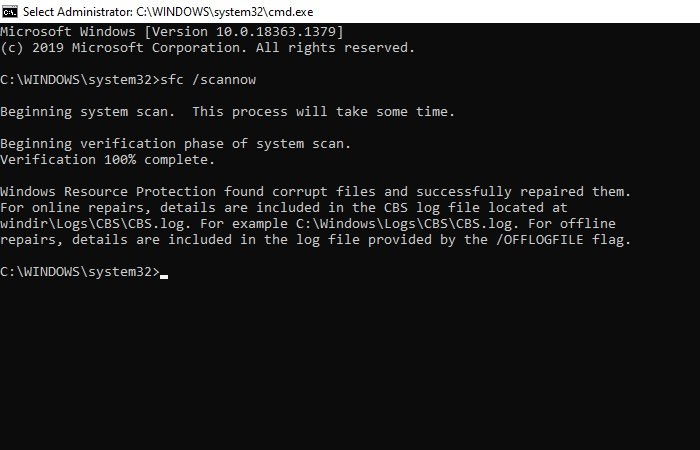
The problem can be because of a corrupted file system and to fix it we need to run two commands. Since PowerShell is giving you a hard time, we are going to use Command Prompt. So, launch Command Prompt as an administrator and run the following commands to run SFC and DISM.
sfc/ scannow
dism /online /cleanup-image /restorehealth
Now, check if the issue is fixed.
3] Check for Virus and Malware
Like any other high CPU usage problem, the one caused by PowerShell can be because of viruses and Malware. You can use any third-party application to scan your computer but we are going to use Windows Defender. So, if you want to use Windows Defender to scan your computer for viruses and malware, try the following procedure.
- Launch Settings by Win + I.
- Click Update & Security > Windows Security > Open Windows Security.
- Click Virus & threat protection > Scan Options > Microsoft Defender Offline Scan > Scan now.
Now, wait for the process to complete and remove all traces of virus and malware from your computer and see if the issue is fixed.
4] Reinstall PowerShell
If you are using PowerShell 7, you can uninstall it and then reinstall it.
5] Use Cloud Reset
Use the Cloud Reset option and see if that helps.
6] Repair Windows 10 using Installation Media
Last but not least, if nothing works, try repairing Windows 10 using Installation Media. This won’t delete any of your personal files and will fix the issue for you.
Hopefully, you are able to fix the PowerShell issue with the help of these solutions.
Read Next: Fix 100% Disk, High CPU, High Memory usage.


