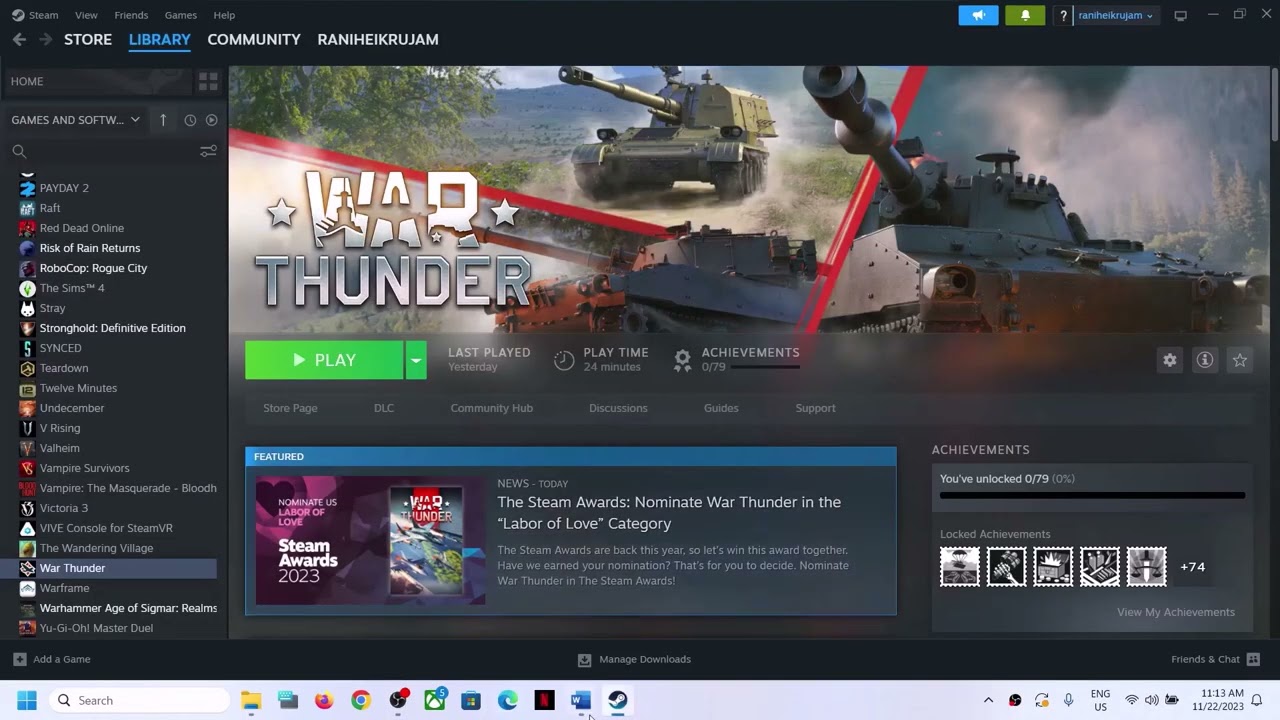
Fix War Thunder Not Loading/Stuck On Loading Screen On PC
Fix War Thunder Not Loading/Stuck On Loading Screen,Fix War Thunder Stuck On The Splash Screen
Step 1) Restart your PC
Step 2) Delete the content of cache folder in game installation folder
Step 3) Repair EasyAntiCheat
Step 4) Avoid Using Alt+ Tab
Step 5) Run the game as an administrator from the game installation folder, Try running the game in compatibility mode
Step 6) Verify the game files
Step 7) Try -dx11 or -dx12 in launch options
Step 8) Allow the game exe file to your antivirus program/Windows Security and Firewall
Step 9) Do a clean installation of graphics driver
https://www.nvidia.com/en-us/geforce/drivers/
https://www.amd.com/en/support
Step 10) Run the game on dedicated graphics card
Step 11) Increase the Virtual Memory:
View Advanced system settings
Initial Size: 1.5 x Total Ram
Maximum Size: 3 X Total Ram
Step 12) Install Visual C++ Files https://docs.microsoft.com/en-US/cpp/windows/latest-supported-vc-redist?view=msvc-160
Step 13) Update your Windows
Step 14) Disconnect Additional joystick, controllers. Unplug hotas, wheel, pedals, mouse, Razer Tartarus, disconnect all the addtional USB adapter connected to PC, Disable Steam Overlay, close all the overlay apps (Discord, GeForce Experience, Nvidia shadow play overlay, AMD overlay), Close all the overclocking app such as MSI Afterburner, riva tuner etc. Turn off Razer Synapse (razor lighting effects) and MSI Dragon Center, corsair software, end nahimic services & lightingservice.exe in task manager, remove the undervolt, perform clean boot
Step 15) Make sure date, time, time zone and region are correct on your computer
Step 16) Run these commands
ipconfig /flushdns
ipconfig /release
ipconfig /renew
netsh winsock reset
netsh int ip reset
netsh interface ipv4 reset
netsh interface ipv6 reset
netsh interface tcp reset
Step 17) Switch to a different network
Step 18) Use Ethernet connection
Step 19) Update System BIOS
Step 20) Try Windowed mode & lower down graphics settings
Step 21) Uninstall and reinstall the game to the different drive (Try SSD first)
how to repair windows 7