How To Change IP Address On Windows
How to Change IP Address on Windows
Looking to change your IP address on Windows? We’ve got you covered. Changing your IP address can help you overcome certain restrictions, protect your privacy, or troubleshoot network issues. With our step-by-step guide, you’ll learn how to change your IP address on Windows and gain more control over your network connection.
Why Change IP Address on Windows?
There are several reasons why you might want to change your IP address on Windows. It can help you bypass location-based restrictions, access blocked websites, secure your online activities, or resolve network conflicts.
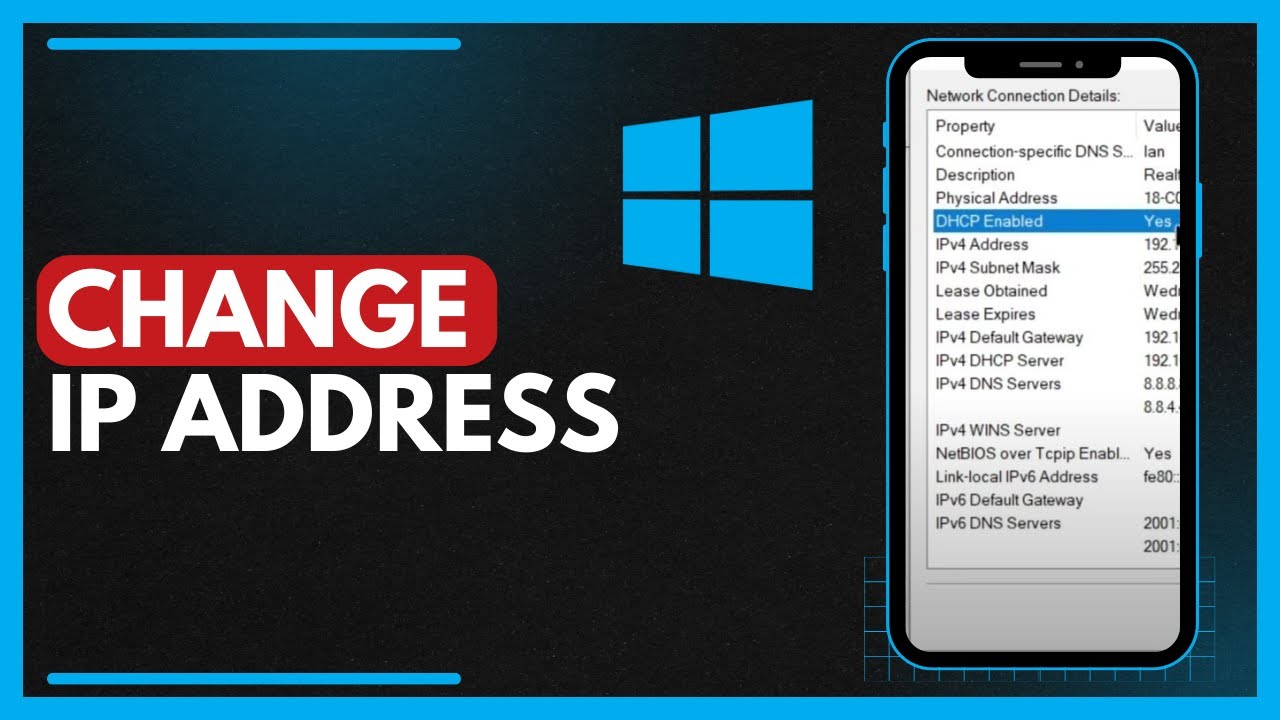
How to Change IP Address on Windows
To change your IP address on Windows, follow these simple steps:
Open Network Settings: Click on the Start menu, then click on the gear icon to open the Settings app.
Go to Network & Internet: In the Settings app, click on “Network & Internet”.
Select Network Connection: Under the “Status” tab, click on “Change adapter options”.
Access Adapter Properties: Right-click on your active network connection and select “Properties”.
Change IP Address: In the Properties window, select “Internet Protocol Version 4 (TCP/IPv4)” and click on “Properties”.
Enter New IP Address: In the TCP/IPv4 Properties window, select “Use the following IP address” and enter the new IP address, subnet mask, default gateway, and DNS server.
Apply Changes: Click on “OK” to save the changes and close the windows.
After following these steps, your IP address will be changed on Windows, and you’ll have a new network identity. Remember to note down your previous settings in case you need to revert back or encounter any issues.
Conclusion
Changing your IP address on Windows can provide you with more control over your network connection and help you overcome certain restrictions. With our easy-to-follow guide, you can quickly change your IP address and enhance your online experience. If this video has helped you out, please like the video and subscribe to our channel.
ipv4