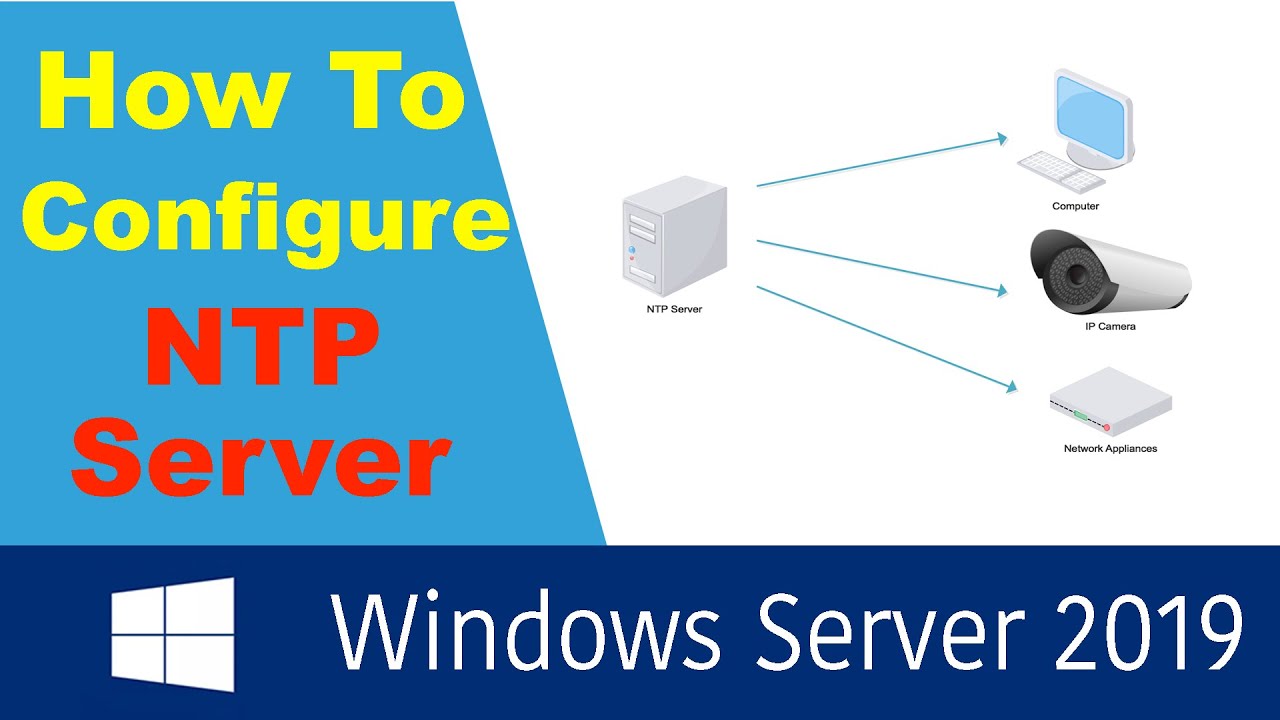
How To Configure NTP Server in Windows Server 2019
How To Configure NTP Server in Windows Server 2019
– Step 1: Open up Registry Editor
Click on the start icon in your Server and search for “Run” application. From the “Run” application, type in “regedit” and hit “Enter”. This will fire up our Registry Editor as shown below.
– Step 2: Go to the NtpServer Path
Follow the following Registry tree to arrive where our target configuration lies. Computer – HKEY_LOCAL_MACHINE – SYSTEM – CurrentControlSet – Services – W32Time – TimeProviders – NtpServer.
– Step 3: Enable NtpServer
Double click on “Enabled” file which will open a small window. On the window, there is a part called “Value data”. Change the value from 0 to 1 as illustrated below. Click “OK” after changing.
– Step 4: Make the AnnounceFlags 5
Within this path:
Computer – HKEY_LOCAL_MACHINE – SYSTEM – CurrentControlSet – Services – W32Time
Step 5: Restart NtpServer
=====================================
LIKE || COMMENT || SHARE || SUBSCRIBE!
=====================================
↬ Subscribe: https://www.youtube.com/channel/UCGcBvhZf_5ZPK9B42fi_ZNw?sub_confirmation=1
↬ YouTube: https://www.youtube.com/channel/UCGcBvhZf_5ZPK9B42fi_ZNw
↬ Facebook: https://www.facebook.com/groups/2568669623430488
↬ Twitter:
↬ Blogger: https://howtoused.blogspot.com
↬ Website: https://dienmattroimini.com
—————————————————————————-
windows server