How To Disable The APIPA Autoconfiguration IPv4 Address 169.254 .100% Working method (Step by Step)
How To Disable The APIPA Autoconfiguration IPv4 Address 100% Working method
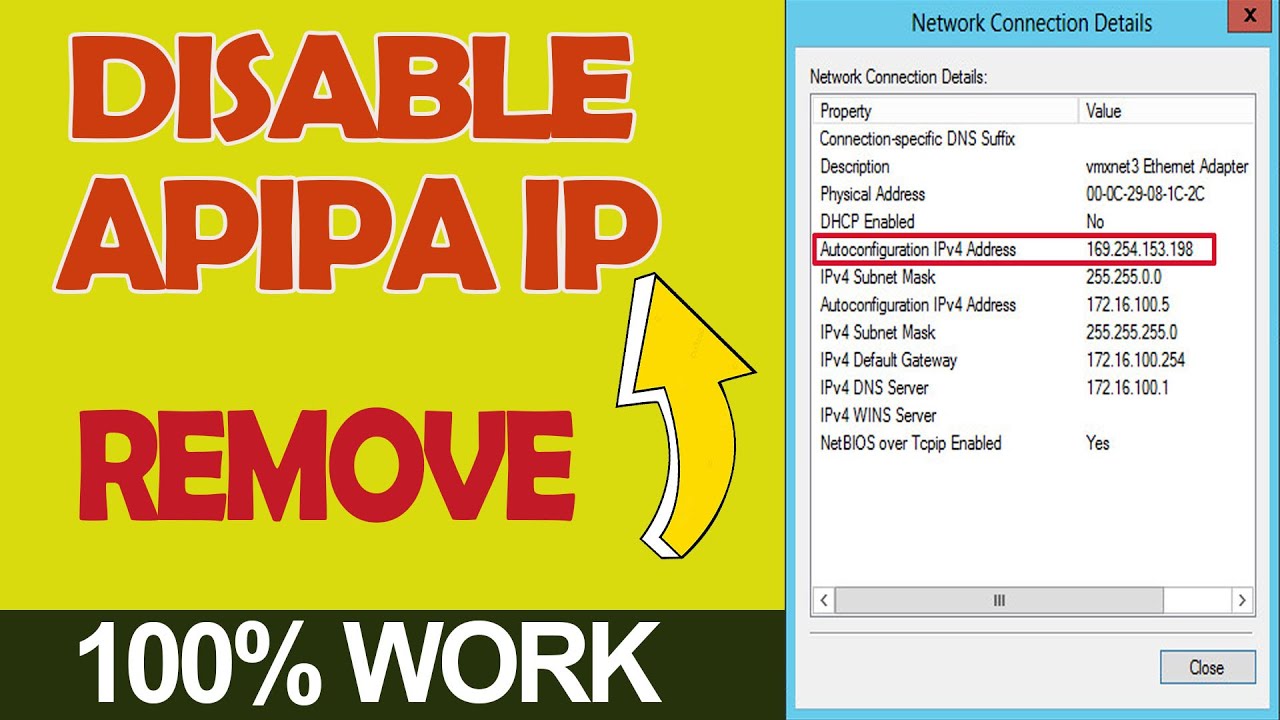
When your computer can’t get an IP address any other way, it assigns itself a 169.254.X.X IP address. It’s a sure sign of a problem.
In this video, APIPA address are covered. Some time this address becomes problem to the user.
Even when the user provides a STATIC Address or DHCP Address the address does not get retrieved due to the APIPA.
To get rid of this problem, watch this video carefully till end because I am going to guide you step-by-step on how to disable the Autoconfiguration IPv4 169.254.X.X IP address.
Step 1:
Open Command Prompt
Type: netsh winsock reset
Step 2:
Go to Run and Type: ncpa.cpl
Right Click and go Properties
Qos packet sheduaer ==== Uncheck
Wait for 8 Seconds
Qos packet sheduler ===== Checked
Step 3:
Go to Cmd command prompt as a Run administrator
Type:ipconfig /renew
Ok Your issue is solved. Please Subscribe a Chanel hit like and press bell icon and share video:
THANKS FOR WATCHING
#AutoconfigurationIPv4Address
#DisableAPIPAIp
#howtoremoveapipaipassress
#Ipaddress
How To Disable The APIPA Autoconfiguration IPv4 Address 169.254.X.X
How to disable the APIPA Autoconfiguration IPv4 169 254 0 0 of IP address
how-to-disable-autoconfiguration-ipv4-address
How to fix auto-configuration ipv4 using LAN?
How to disable the Autoconfiguration of IP address in Windows 8.1
How to disable the Autoconfiguration of IP address in Windows 10
How to remove IP 169.254.X.X I APIPA I how to get rid of 169.254.X.X series IP address
Autoconfiguration IPv4 Address 169.254.0.0 ‘Automatic Private IP Addressing (APIPA)’ Windows 10
Wi-Fi status IPv4 Connectivity No network access. DHCP Enabled but Autoconfiguration IPv4 address
Fix No Internet, Secured Error Windows 10/8/7 || Fix Internet Connected But No Internet Access
ipv4