How to Enable DLNA Media Server in Windows 11 [Solution]
How to Enable DLNA Media Server in Windows 11 [Solution]
DLNA, the Digital Living Network Alliance, is a set of standards to allow sharing video, audio, and pictures easily from a computer or network device to a simpler display device, like a Smart TV or Roku. It provides an easy way to show the movies you have on other screens throughout your connected home.
What is DLNA? How to enable DLNA Server on your computer? How to perform DLNA Windows setup?
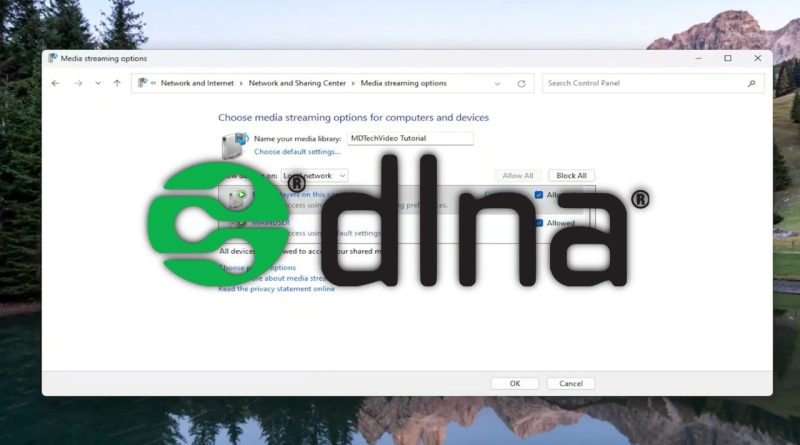
Enable the built-in media streaming feature on Windows 10 or Windows 11 using “Media streaming options” under Control Panel’s Network and Sharing Center.
Issues addressed in this tutorial:
enable DLNA media server
how to set up a DLNA media server
should i enable DLNA
enable the DLNA server
enable DLNA windows 10
DLNA media server windows 10
how to enable DLNA on windows 10
This tutorial will show you how to turn on or off DLNA media streaming for your account or all users in Windows 10 and Windows 11.
DLNA media streaming allows you to share media from your account’s personal Music, Pictures, PlayLists, and Videos folders to other users (same computer), computers, and DLNA supported devices on your network. It also allows you to receive media from other computers and DLNA supported devices.
This tutorial will apply for computers, laptops, desktops, and tablets running the Windows 10 and Windows 11 operating systems (Home, Professional, Enterprise, Education) from all supported hardware manufactures, like Dell, HP, Acer, Asus, Toshiba, Lenovo, Alienware, Razer, MSI, Huawei , Microsoft Surface, and Samsung.
windows server


