How to Enable or Disable Sound Output Device in Windows 10
In Windows 10, the default audio output device is the device that Windows uses to play sound – this can be speakers, headphones, Bluetooth headset, or other audio devices connected or built-in to the PC. In this post, we will show you how to enable or disable Sound Output Device in Windows 10.
Enable or Disable Sound Output Device
We can enable or disable Sound Output Device in Windows 10 in 5 quick and easy ways. We’ll explore this topic under the methods outlined below in this section:
- Via Settings (Device properties) app
- Via Settings (Manage sound devices) app
- Via Device Manager
- Via Playback Devices
- Via Registry Editor
Let’s take a look at the description of the step-by-step process in relation to each of the methods.
1] Settings (Device properties) app

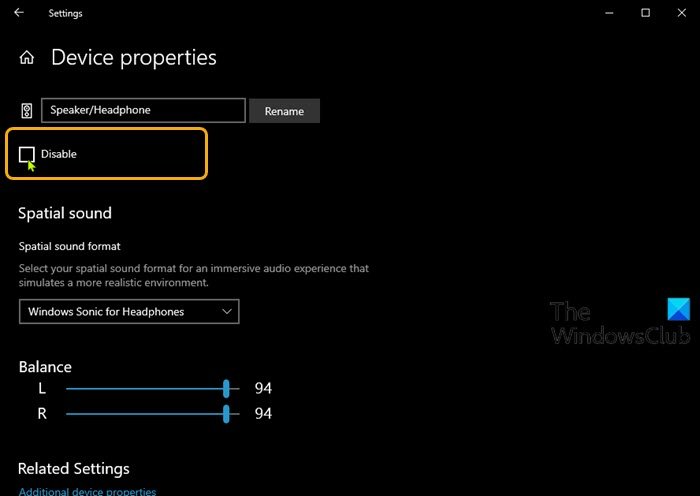
To enable or disable Sound Output Device in Windows 10 via Settings (Device properties) app, do the following:
- Press the Windows key + I to open Settings.
- Click System.
- Click Sound on the left pane.
- On the right pane, select the sound output device (ex: speakers) under Output section,
- Click the Device properties link.
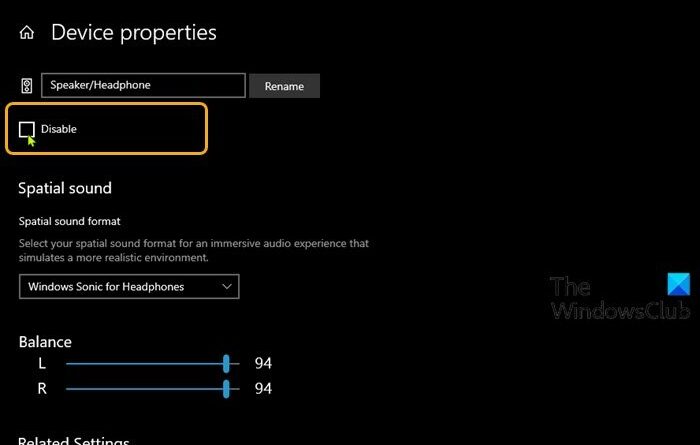
- Check (disable) or uncheck (default – enable) the Disable box per requirement.
- Exit Settings app when done.
2] Settings (Manage sound devices) app
To enable or disable Sound Output Device in Windows 10 via Settings (Manage sound devices) app, do the following:
- Press the Windows key + I to open Settings.
- Click System.
- Click Sound on the left pane.
- On the right pane, click the Manage sound devices link under Output section,
- Click on your sound output device under Output devices,
- Click on the Enable (default) or Disable button per requirement.
- Exit Settings app when done.
3] Device Manager
To enable or disable Sound Output Device in Windows 10 via Device Manager, do the following:
For this method, you must be signed in as an administrator to be able to do the task.
- Press Windows key + R to invoke the Run dialog.
- In the Run dialog box, type devmgmt.msc and hit Enter to open Device Manager.
- In Device Manager, scroll down through the list of installed devices and expand the Audio inputs and outputs section.
- Right-click the sound output device and click Enable device or Disable device per requirement.
- Click Yes on the prompt to confirm.
- Exit Device Manager when done.
4] Playback Devices
To enable or disable Sound Output Device in Windows 10 via Playback Devices, do the following:
- Press Windows key + R to invoke the Run dialog.
- In the Run dialog box, copy and paste the command below and hit Enter to open Sound settings.
rundll32.exe shell32.dll,Control_RunDLL mmsys.cpl,,0
- Click the Playback tab.
- Right-click on an empty area in the box of playback devices, and make sure you have Show Disabled Devices checked.
- Right-click on your sound output device and select Enable,or Disable per requirement.
- Click OK when done.
- Exit Sound settings panel.
5] Registry Editor
To enable or disable Sound Output Device in Windows 10 via Registry Editor, do the following:
As this is a registry operation, it is recommended that you back up the registry or create a system restore point as necessary precautionary measures. Once done, you can proceed as follows:
HKEY_LOCAL_MACHINESOFTWAREMicrosoftWindowsCurrentVersionMMDevicesAudioRender
- At the location, under the Render key in the left pane, expand one after the other the GUID subkey and click the Properties folder until you find your sound output device shown in the right pane (in this case, Realtek High Definition Audio).
- Now, click the GUID subkey for your sound output device.
- On the right pane, double-click the DeviceState entry to edit its properties.
- Input 1 or 10000001 in the Value data field to Enable or Disable respectively, per requirement.
- Click OK or hit Enter to save the change.
- Exit Registry Editor.
That’s it!


