How to Enable Remote Desktop on Ubuntu 20.04 LTS
How to Setup Remote Desktop on Ubuntu in Cloud for Free
The tutorial is about setting up RDP (remote desktop protocol) on Ubuntu 20.04 LTS in the cloud for Free for about months as you are going to get 100$ free for 60 days. Follow along with me by using the following commands to enable Remote Desktop on an Ubuntu Box.
For more interesting tutorials, give a visit on my site https://freetutorials.blog
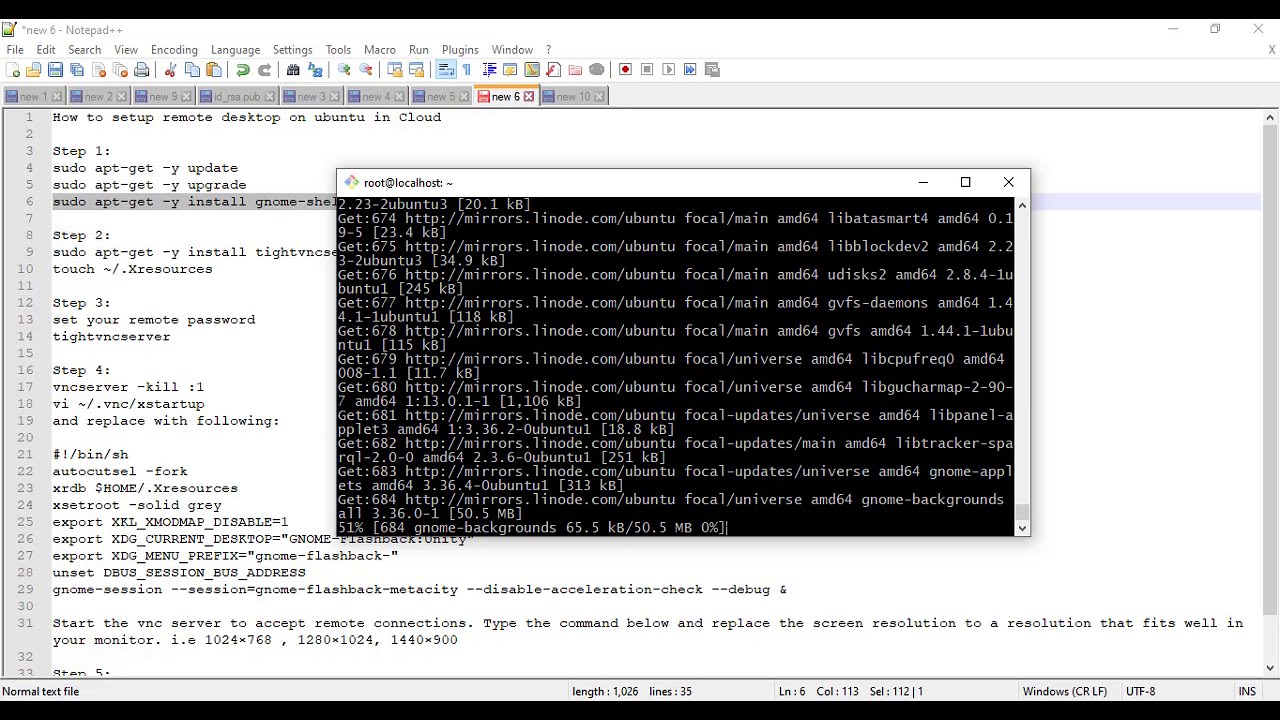
Step 1:
sudo apt-get -y update
sudo apt-get -y upgrade
sudo apt-get -y install gnome-shell ubuntu-gnome-desktop autocutsel gnome-core gnome-panel gnome-themes-standard
Step 2:
sudo apt-get -y install tightvncserver
touch ~/.Xresources
Step 3:
set your remote password
tightvncserver
Step 4:
vncserver -kill :1
vi ~/.vnc/xstartup
and replace with following:
#!/bin/sh
autocutsel -fork
xrdb $HOME/.Xresources
xsetroot -solid grey
export XKL_XMODMAP_DISABLE=1
export XDG_CURRENT_DESKTOP=”GNOME-Flashback:Unity”
export XDG_MENU_PREFIX=”gnome-flashback-”
unset DBUS_SESSION_BUS_ADDRESS
gnome-session –session=gnome-flashback-metacity –disable-acceleration-check –debug &
Start the vnc server to accept remote connections. Type the command below and replace the screen resolution to a resolution that fits well in your monitor. i.e 1024×768 , 1280×1024, 1440×900
Step 5:
start vnc server and access it IP:5901
vncserver -geometry 1440×900
ubuntu