How to fix C++ Runtime Error in NVIDIA GeForce Experience
NVIDIA’s GeForce Experience is a powerful program usually pre-installed on Windows PCs with the NVIDIA graphics card. This application optimizes games and keeps your graphics drivers up to date.
GeForce Experience also has some nice features like enabling you to stream and record your gaming to share clips online and play games with filters. However, GeForce Experience can give you headaches when you get errors or stops working.
For instance, you can encounter the Microsoft Visual C++ Runtime error when you check for NVIDIA graphics card updates. If you’re currently facing this issue, I’ll present you with fixes to eliminate the error for good.
NVIDIA GeForce Experience ‘C++ Runtime Error’
We’ll repair the GeForce Experience C++ Runtime error using the following solutions.
- Restart your computer.
- Use NVIDIA Experience with elevated privileges.
- Disable services associated with NVIDIA.
- Update NVIDIA Experience manually.
- Reinstall NVIDIA Experience and its components.
I recommend that you apply these fixes in the order they’re presented. In case you’re not sure how to carry out the above operations, continue reading this post for the full guides.
1] Restart your computer
Restarting your computer is the most straightforward way to fix superficial problems on your computer, and it has also fixed the GeForce Experience C++ Runtime error for many users.
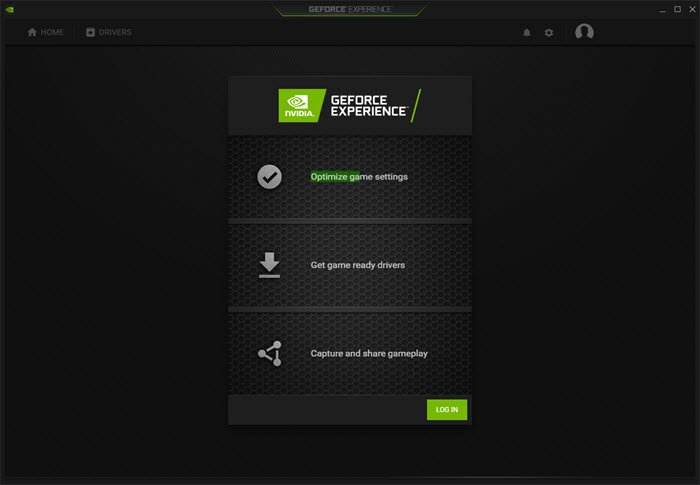
If the error showed up after you updated the driver, it could be that the update didn’t install properly. On starting up following the reboot, launch Nvidia Experience and switch to the Drivers tab.
Here, hit the Check for Updates button. If the update were successful, it wouldn’t find a new version. However, if the program discovers a new driver, download it again. If this doesn’t fix the GeForce Experience C++ Runtime error, continue to the next solution.
2] Use NVIDIA Experience with elevated privileges
The GeForce Experience C++ Runtime error could be a simple permissions issue. This program is integral to the working of your machine. Hence you need elevated privileges to install its updates.
Suppose you’re getting the GeForce Experience C++ Runtime error, close NVIDIA Experience and all of its associated processes.
Next, right-click on the shortcut and select to Run as Administrator from the context menu.
Select Yes when asked in the User Account Control popup to confirm the operation. When Nvidia Experience opens, try to update it again or recreate the error.
3] Disable services associated with NVIDIA

This solution is mostly relevant if you get the GeForce Experience C++ Runtime error when uninstalling Nvidia Experience. It also works if the error comes when you update the program.
This fix works for most cases because the GeForce Experience C++ Runtime error may be a result of conflicting NVIDIA services or dependencies. Stopping the service will get rid of the error.
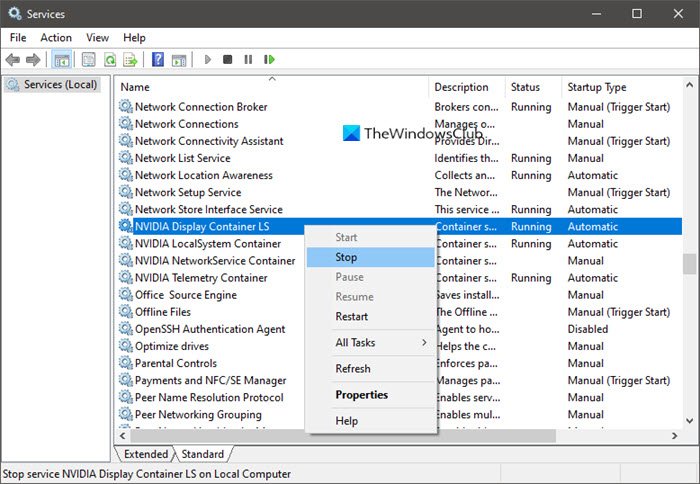
For this fix, we assume that the error is caused by other services that rely on Nvidia. To check this, we’ll have to disable all the services associated with Nvidia. Right-click on the Start button and select Run from the context menu.
In the Run dialog box, enter services.cpl and click on the OK button to open the Services screen. We have to find all the Nvidia-related services on this page, and here’s an easy way to do this.
Click on the Name heading at the top of the column so that the services get arranged in alphabetical order. Next, scroll down to the services whose names begin with an Nv.
Right-click on all of the services with Nvidia in their names and hit the Stop option from the context menu. After stopping all the Nvidia-related services, try to recreate the GeForce Experience C++ Runtime error to see if it’s fixed.
4] Update NVIDIA Experience manually

If you still get the GeForce Experience C++ Runtime error at this point, it’s safe to say that the automatic update won’t work. Fortunately, you can update NVIDIA Experience manually. This way, you don’t depend on the application to download the necessary files.
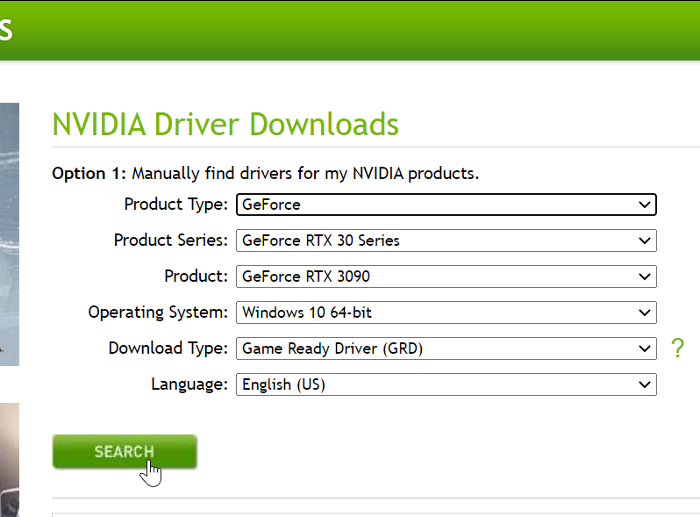
To update NVIDIA Experience manually, launch your internet browser and go to NVIDIA Driver Downloads page. Here, select your Product Type, Product Series, and Product.
Choose your operating system, select Game Ready Driver (GRD) from the Download Type dropdown menu, and click Search. Finally, hit the Download button on the next page to begin the process.
Following a successful download, double-click on the file and hit Yes to agree to open it as an Administrator. On completion of this process, restart your machine.
5] Reinstall NVIDIA Experience and its components

A complete overhaul of Nvidia Experience will fix the GeForce Experience C++ Runtime error. Reinstalling the application eliminates inconsistencies and bugs that might exist in Nvidia Experience or any Nvidia component.
First, you have to uninstall NVIDIA Experience. Press the Windows key + R combination to launch the Run dialog box. In it, enter appwiz.cpl and click the OK button.
In the Programs and Features window, find and uninstall all the applications with NVIDIA in their name by right-clicking on them and selecting the Uninstall option. After doing this, restart your computer.
Next, visit download the most recent edition of NVIDIA GeForce Experience. Double-click on the downloaded file and install it following the on-screen instructions.
Now, launch the program and switch to the Drivers tab. Hit the Check for Updates button at the top and install all the pending driver updates shown there.
Related read: Fix NVIDIA GeForce Experience error code 0x0001.


