How to Fix Windows Search not Working
How to Fix Windows 10 Search not Working
From time to time, it happens that the Windows search bar stops working. Maybe you can’t type in it, or it doesn’t open at all. Usually, this is related to updates but there can be other causes as well. In this tutorial, I’m going to show you a few methods to hopefully solve this problem.
Command 1:
PowerShell -ExecutionPolicy Unrestricted
Command 2:
Get-AppXPackage -AllUsers |Where-Object {$_.InstallLocation -like “*SystemApps*”} | Foreach {Add-AppxPackage -DisableDevelopmentMode -Register “$($_.InstallLocation)AppXManifest.xml”}
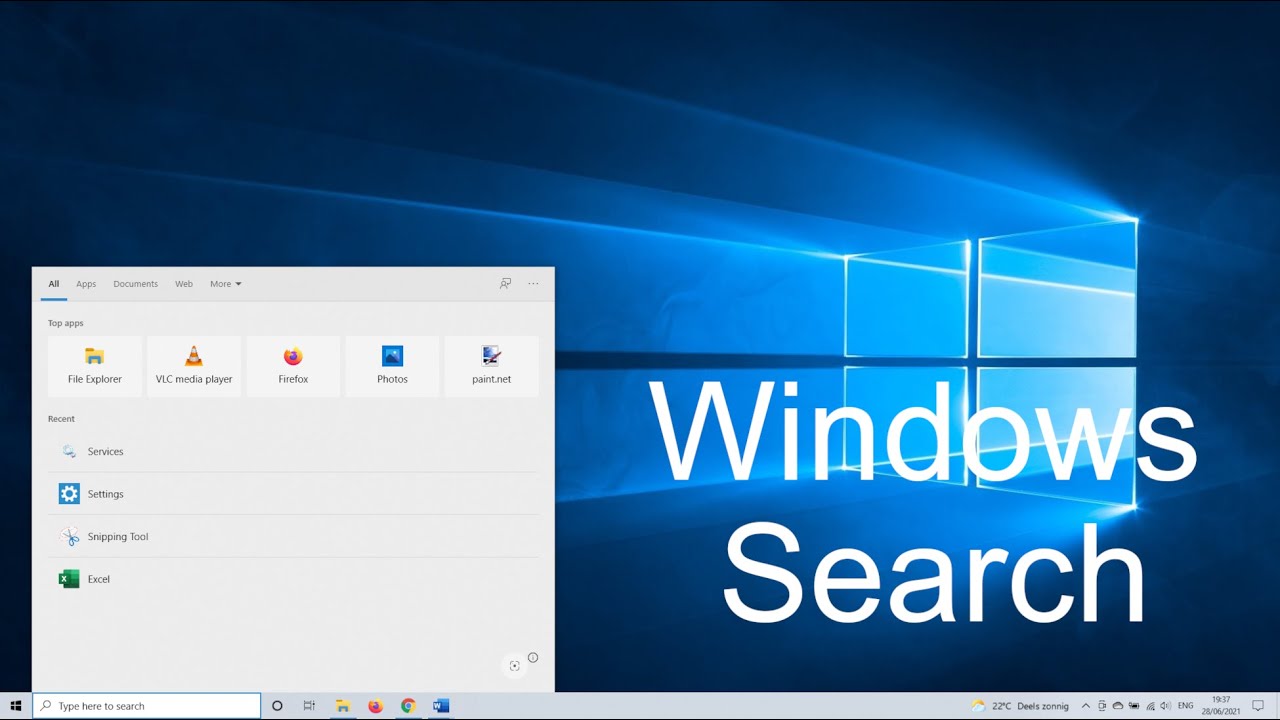
0:00 Intro Windows Search
0:22 Restart Windows File Explorer
0:55 Search and Indexing Troubleshooter
2:19 Windows Search Service
3:15 Fix Windows Search with Indexing
4:13 Windows Search Bar Package
File explorer is responsible for showing files and folders on your computer. To restart this, right-click on the Windows taskbar and select Task Manager or use the keyboard combination Ctrl + Shift + Esc.
Scroll down in background process until you reach Windows Explorer. Select it, and click on the restart button. Sometimes, this is enough to fix problems with Windows search.
Search and Indexing Troubleshooter
In the second method, we are going to use the search and indexing troubleshooter. To do this, use the keyboard combination Windows + R. This opens a run window. Here, you can enter ms-settings:
Click on Update & security. After that, click on Troubleshoot on the left of the settings menu.
Next, click on Additional troubleshooters. Scroll a bit down and select Search and Indexing. Click on Run the troubleshooter. The logical choice is Can’t start a search or see results. You can also check, Search or indexing is slow.
The best option is to go along with what the troubleshooter says.
Windows Search Service
Sometimes, it happens that wrong settings are set for the Windows search bar or that the search service isn’t running. We can check this by going to the services in the Windows taskbar. Use Ctrl + Shift + Esc if you need to reopen this.
Switch to the services tab. Here you can click on Open Services.
Scroll all the way down until you reach Windows Search. First, make sure that the status is set to running.
Before we test if the search bar is back to normal, right-click on it once more and select Properties. Set the Startup type to Automatic. After that, click on Apply.
You can test if this fixed the Windows search bar. Ideally, you restart the PC as well.
Fix Windows Search with Indexing
Next, we are going to rebuild the indexing feature. It might be that this is the cause that Windows search isn’t working properly. Use the keyboard combination Windows + R to open another run window. Type in Control panel and hit Ok.
Search for indexing options. The indexing options menu opens, click on Advanced.
This opens a new window, here you can delete and rebuild the indexing options. When you are ready, click on the Rebuild button. A warning from Windows that this might take some time. Click on Ok.
Wait for this to complete. You will know that it is done once it says indexing complete at the top. You can now try if the search bar is fixed.
Windows Search Bar Package
We have one more thing to try. In the last method, we are going to use PowerShell to redeploy Windows packages, among them the package for the Windows search bar.
To do this, click on the Windows start icon. Scroll all the way down until you reach PowerShell. Right-click on it and select Run as administrator.
Copy the first command from the top of the description.
After entering this, you can enter the second command. Copy the second command. It’s possible that you receive a few error messages while running this command. You can ignore them as they are related to resources that are in use for certain packages.
This concludes our how to fix windows search not working tutorial. Hopefully, your search bar is back to normal.
#Windows10 #tutorial #HowTo
how to repair windows 10


