How to Install GIMP Brushes in Ubuntu
Learn how to add gimp brushes in Ubuntu operating system.
Don’t forget to check out our site http://howtech.tv/ for more free how-to videos!
http://youtube.com/ithowtovids – our feed
http://www.facebook.com/howtechtv – join us on facebook
https://plus.google.com/103440382717658277879 – our group in Google+
In this video tutorial we will show you how to install gimp brushes in Ubuntu.
In order to install gimp brushes in Ubuntu, open the Firefox browser. Go to “deviantart.com”.
Type “gimp brushes” in the search bar and press the “Search Art” button. Select any set of brushes.
On the next page, click on “Download file” on the right.
In the pop-up window select “Save File” and click “OK”. In the “Downloads” window, click twice on the download file. In the following window select the folder with downloaded brushes and copy it to the desktop.
Select all files within the folder, right-click on them and copy to the clipboard.
Go to your home folder and press “Ctrl+H” on the keyboard to show hidden folders.
Find the “.gimp 2.8” folder and open it.
Then go to the “brushes” folder. Right click and insert previously copied brushes to the folder.
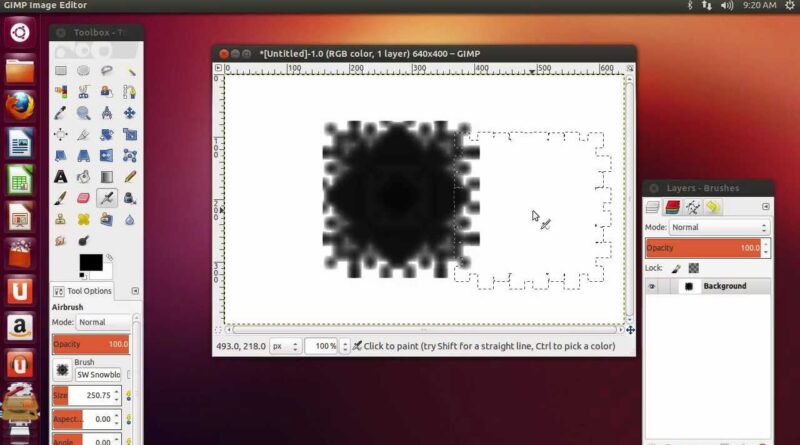
Close the window and start the GIMP editor. Go to the “File” menu and choose “New”. In the appeared window set the image properties and press “OK”. Click on the “Brush” icon and choose one of the new brushes. Draw in the image area to test it.
As you can see, GIMP brushes have been successfully installed in Ubuntu.
ubuntu download


