How to Install GNS3 2.2 on Ubuntu 22.04 | SYSNETTECH Solutions
This video shows you the installation steps of the most widely used GNS3 2.2.32 network simulator program to prepare for Cisco exams on an Ubuntu 22.04 (Jammy Jellyfish) Linux distribution.
✅ S U B S C R I B E ► http://goo.gl/8d0iG9
✅ Article ► https://www.sysnettechsolutions.com/en/install-gns3-ubuntu/
Installing GNS3: 0:00
Fixing AUTOIDLEPC Error: 3:50
Creating a New Project: 6:50
Fixing uBridge Error: 7:25
Uninstalling GNS3: 13:30
To set up #GNS3:
Step 1: If you have not previously installed Ubuntu on a virtual machine, you can access our video tutorial from the link below.
➦ https://www.youtube.com/watch?v=zjcJ5M8WIIw
Step 2: If you are a system and network administrator or a student, one of the first things you should do after installing #Ubuntu might be to install GNS3. In this way, you can create more professional network designs and perform package analysis with this software. Or you can check how various routing protocols work and gain experience with security devices.
Step 3: After powering up your system, open the terminal from your desktop location and first check the current versions of the installed applications.
Step 4: After the control process, execute the relevant upgrade command to upgrade the packages and wait for the process to complete.
Step 5: After making the necessary settings, you can now proceed to setup. Use the relevant command mentioned in our article to start the GNS3 installation.
Step 6: Allow ubridge and packet capture permissions for Wireshark software during installation.
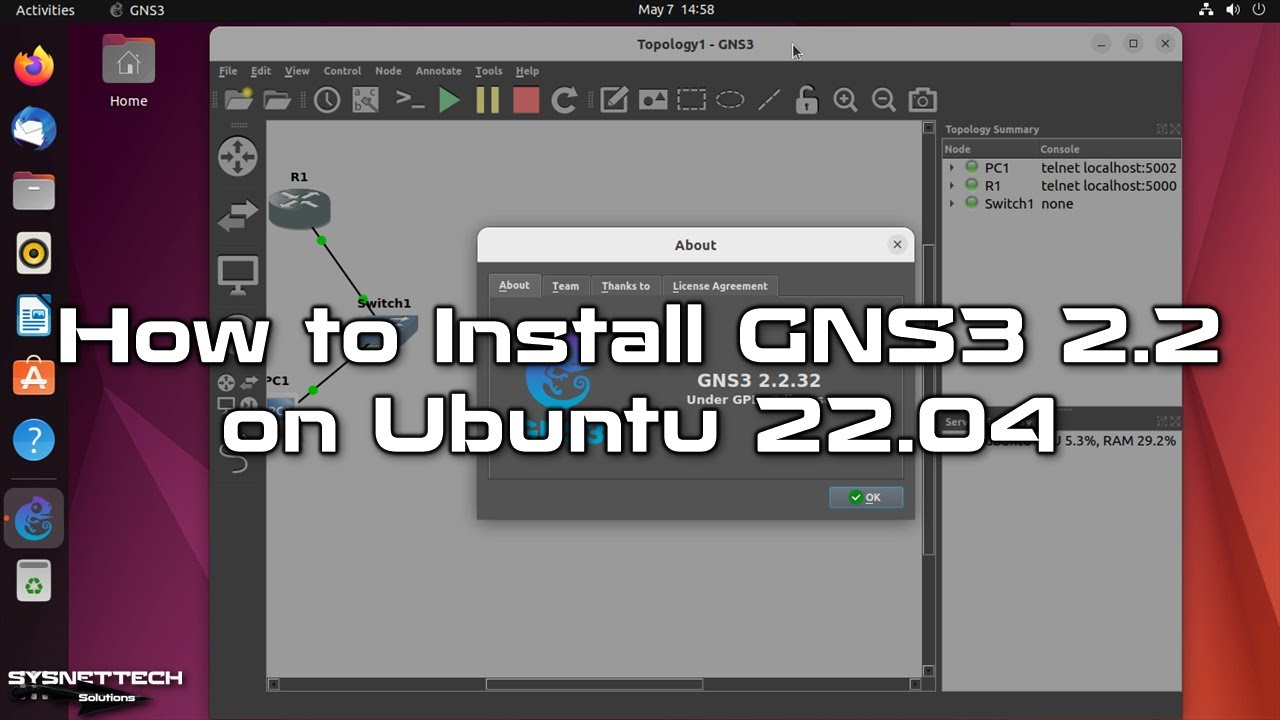
Step 7: After completing the installation, run the GNS3 simulator and create a new project.
Step 8: Add a new Cisco Router IOS image to GNS3 and power up the device.
Step 9: At this stage, the Router will not work because Dynamips does not work properly in Ubuntu 22.04.
Step 10: Users with Ubuntu 64-Bit version encounter Dynamips error. These error reports are that the Idle-PC value cannot be determined and the hypervisor is not working properly.
Step 11: To fix these problems, you can install the 32 Bit version of Dynamips by executing the commands we mentioned in our article on the terminal respectively.
Step 12: You can install and use GNS3 on Ubuntu 22.04 without any problems by following our video tutorial.
───────────────RELATED VIDEOS───────────────
➊ How to Run GNS3 on Kali
➦ https://www.youtube.com/watch?v=SOsCBPfosDU
➋ How to Run GNS3 on Debian
➦ https://www.youtube.com/watch?v=w-uTGNB8gyc
➌ How to Run GNS3 on macOS
➦ https://www.youtube.com/watch?v=Lb7trVp39P0
➍ How to Run GNS3 VM on macOS
➦ https://www.youtube.com/watch?v=rFvsVn0DhnQ
➎ How to Install GNS3 VM on Kali
➦ https://www.youtube.com/watch?v=gAXxTYHZxj4
───────────────FOLLOW US───────────────────
✔ Facebook
➦ https://www.facebook.com/SysnettechSolutions/
✔ Twitter
➦ https://twitter.com/SysnettechS/
✔ Pinterest
➦ https://www.pinterest.com/SysnettechS/
✔ Instagram
➦ https://www.instagram.com/sysnettech_solutions/
✔ LinkedIn
➦ https://linkedin.com/in/tolqabaqci/
███████████████████████████████████████████
ubuntu


Please can you give me the commande to download the package "C7200-adventerprisek9-mz.152…" ? thanks
This video helped me out a lot with GNS3 on Ubuntu…thanks!
Please can i get the commands? This is the solution I have searching all over the internet fro.Thanks
Very good thanks
Bro you're a life saver, since 22.04 that my GNS3 completely broke and when trying the old tutorial it wasn't working. Idk how but one day it started working again. Now i needed it for another laptop and this came really handy. Thank you so much again!
Best of the best