How to Install Windows 11 using Hyper-V in Windows
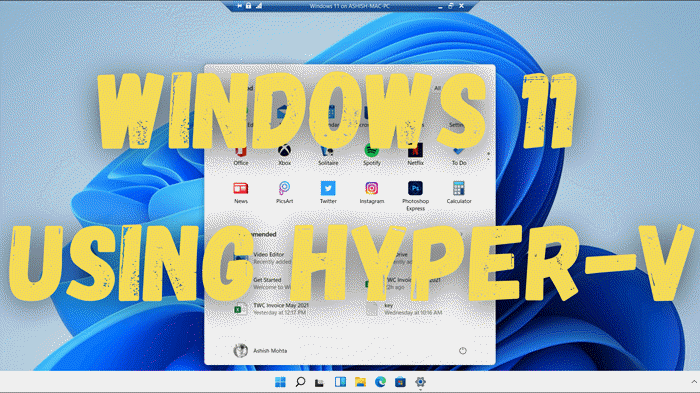
Microsoft has made Windows 11 through the Insider Preview, and if you need to install Windows 11 without endangering your primary work PC, then the best way is to use Hyper-V. It’s an additional feature in Windows that allows you to install Linux Distros, Windows Development version, and any other Windows version. In this post, we are sharing how you can install Windows 11 using Hyper-V in Windows 10.

What Is Hyper-V? Should You Use It?
Hyper-V offers a virtual environment where you can install an operating system and still use the physical computer resources. It offers a safe way to test the OS, any software in it, and so on. This also gives you liberty from installing in a dual boot mode and test them parallelly.
How to Enable Hyper-V in Windows?

Press the Windows key and type Hyper-V. If you do not see any relevant result, then you need to install it. If you see Hyper-V in the list, then skip to the next section.
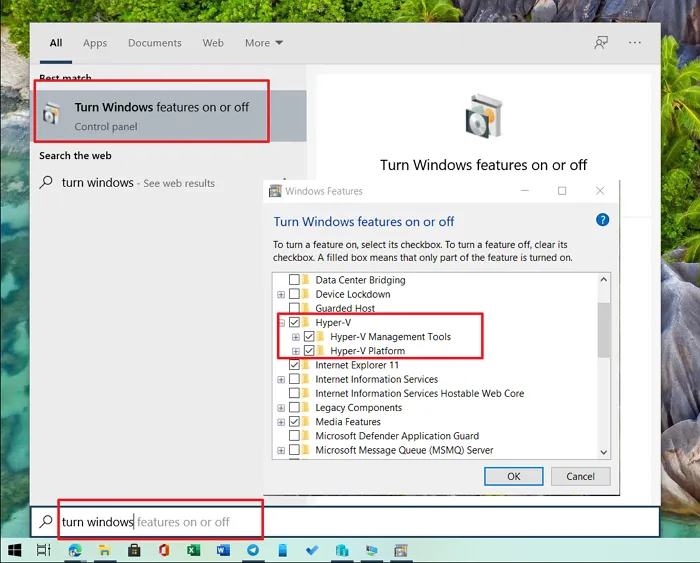
- To install Hyper-V, type Turn Windows Features on or off in the search bar.
- Click to open when it appears in the result.
- Locate Hyper-V from the features list and check options Hyper-V Management Tools and Hyper-V Platform.
Once installed, make sure to reboot the computer once.
How to Install Windows 11 Using Hyper-V in Windows?
- Download Window 10 ISO or the Windows 11 ISO if available.
- Type Hyper-V in the Start Menu, and launch Hyper-V Manager
- Click on New > Virtual Machine
- Click on the Next button and set a name for it.
- If you do not have much space in the primary drive, check the box and select a different location.
- Select Generation 2 if you have a UEFI-based firmware PC; if not sure, choose Generation 1
- Next, Assign memory which should be more than 4GB.
- Under Configure Network option, choose the default switch
- Finally, under Connect Virtual Hard Disk, set the Virtual HDD, Location, and Size name.
Now, the same place offers you to use an old VHD or attach one later.
Under Installation Options, select Install an operating system from a bootable floppy disk.
Then select Image File, and browse to locate the Windows 10 ISO or Windows 11 ISO.
Finally, click on the Next Button for the installation to start.
Once the setup completes and you have used a Windows 10 ISO, it’s time to enroll in Windows Insider Program.
Go to Settings > Update & Security > Windows Insider Programme
Enroll in it, and then choose between Developer, Beta, and Release Preview.
Having done that, click on Check for Update, and it will start downloading Windows 11.
Install the update when it’s ready, and reboot when ready.
Post Restart, you should now see a Windows 11 OS.
It is important to note that you have 3-4 seconds to click on the black screen that shows up when the Virtual Machine starts. You will be prompted to click on any key so it can use the ISO. What follows next is the Windows 11 installation which you should be able to pass through easily.
Be aware that you need to use an existing Microsoft account or create a new one to use it. Except for Windows 11 Home version, a Microsoft account is a must for using Windows 11.
Hyper-V Basic and Enhanced Session Mode
You should know few things to use it easily, and it’s mostly related to Windows Hello. When you double-click on the listed Windows 11 Virtual Machine, it will start and prompt you to set a resolution and use all available monitors.
I had a weird experience when installing it for the first time. I did not get a login screen, and instead, it only displays a lock screen with a shutdown button at the bottom right. Hyper-V offers two types of modes—
- Basic Session and
- Enhanced Session Mode.
The Enhanced mode allows you to use the local resources of your PC such as printers, disk drivers, copy-paste between the VM and the Host OS, additional screen resolution, smart card logins.
Since I had set up a PIN, the Enhanced Mode did not work for me, and the only option was to disable the plugin mode. If that’s the case with you, switch to the basic mode and then disable the PIN-based login. Then come back to enhanced mode, and then login with the Microsoft user account password.
Managing Hyper-V Settings
The last part is about Hyper-V Settings. You can open it by first selecting the Virtual Machine and then click on Hyper-V Settings in the right panel. These are the following settings available:
- Virtual Hard Disks
- Virtual Machines
- NUMA Spanning
- Storage Migrations
- Enhanced Session Mode Policy
- Keyboard
- Mouse Release Key
- Enhanced Sessions Mode
- Reset Check Boxes, i.e., options
The first two option allows you to set up the location of Virtual Hard Disk and Machine. Then comes the NUMA Spanning, which allows the VM to get more memory and resources. Storage Migrations allow you to maintain the VM when there is a lack of space or memory. We have already talked about Enhanced Session Mode, and if you wish to disable it, this is the place.
While the above are Server settings, the second section is about User settings. The first one is how you want to use the Windows key combined with the ALT + Tab when using Virtual Machine. Then you have the Mouse Release key and Enhanced Session mode.
You can read more about Hyper-V in our detailed guide.
I hope the post was easy to follow, and you were able to Install Windows 11 on Windows using Hyper-V.


