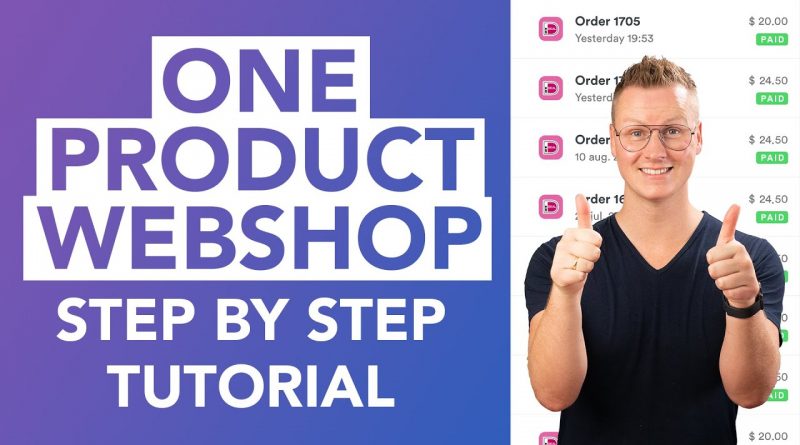
How To Make A Single Product Webshop Using WordPress
In this tutorial, I show you how to set up a converting single product webshop using WordPress, WooCommerce, and CartFlows and how to put everything on autopilot. I use a real product with a real website and already made $1500 with it in the first 30 days. But I have to tell you that my client already had an active Instagram account so when they pronounced their product it was sold multiple times in one day.
I will show you how to get your own domain name and webshosting. Then we will install WordPress and use Elementor Pro in order to create the header, footer, and pages on our website.
After that, we will install WooCommerce to create our product and use Cartflows to create a high converting landing page instead of the standard WooCommerce page. So using WooCommerce we create the product and all the checkout and payment features and with Cartflows we make it look better and make sure it converts better.
We will adjust the form fields using CartFlows Pro so people don’t have to fill in big and overwhelming forms to buy your product. They just have to fill in their necessary information in order to receive your product.
We will talk about shipping and calculate shipping costs based on the total amount of the checkout and integrate Stripe as a payment provider so people can pay with Paypal, Stripe or other ways of you please.
We will make the thank you email look better that people receive when they buy your product and make sure your website is optimized for all devices.
Get Webhosting: https://webhosting134.com
Get Elementor Pro: https://ferdykorp.com/elpro
Get Cartflows: https://ferdykorp.com/cartflows
Example website: https://writingsistersinlaw.com
Overview With Timestamps:
Single Product Timestamps
00:00 Intro
04:56 Get A Domainname And Webhosting
06:29 Choose A Domainname
WordPress
09:44 Install WordPress
12:29 The Backend And Frontend Of WordPress
13:57 Clean Up Your WordPress Website
17:17 Create a Site Title and Tagline
18:33 Add a Menu and Pages
20:30 Configure The Homepage
Elementor Pro
21:01 Get Elementor Pro
25:16 Create A Header From Scratch
27:05 The Basics Of Elementor Pro
35:19 Global Colors And Fonts
37:15 Adjust The Size Of The Website
51:01 Make The Header Mobile Friendly
59:21 Create The Homepage
01:16:15 Get WooCommerce
01:17:56 Create Our Single Product Using WooCommerce
01:21:13 Why Use Cartflows
01:23:32 Create A Flow Using CartFlows
01:26:28 Design The Checkout Page In CartFlows
01:38:09 Optimise The Checkout Page For Mobiles
01:39:23 Create The Terms Of Service and Privacy Policy Pages
01:41:19 Integrate Stripe With Your Website
01:53:58 Create The Thank You Page In CartFlows Using Elementor
01:58:15 Adjust The Confirmation Email In WooCommerce
02:08:57 Configure Shipping Options In WooCommerce
02:15:51 Use CartFlows Pro
02:26:27 Configure The Form Fields In CartFlows
02:28:30 Create A Footer Using Elementor Pro
02:41:04 Create The About And Contact Page
02:47:09 Optimize The Homepage For Conversions
02:52:19 Thank You
by Ferdy Korpershoek
windows server dns forwarder


