How to open Disk Management in Windows 10
Windows 10 ships with a utility called Disk Management – it allows you to create new, resize, extend partitions, as well as delete partitions as you want, directly from Windows. In this post, we will show you the 9 ways to open Disk Management on a Windows 10 computer.
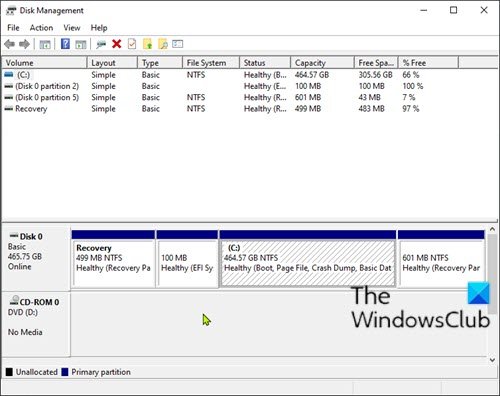
How to open Disk Management in Windows 10
We can open Disk Management in Windows 10 in 9 quick and easy ways. We’ll explore this topic under the methods outlined below in this section:
1] Open Disk Management via Search
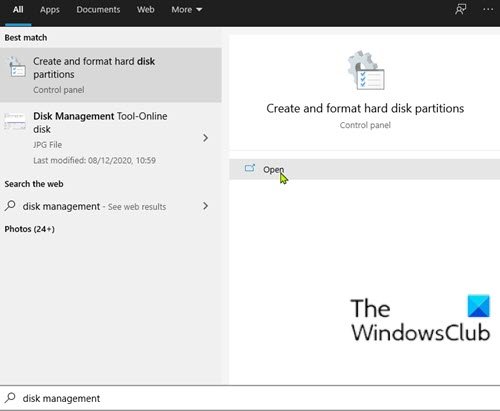
- Click the Search icon or bar on the extreme left of the taskbar OR press Windows key on the keyboard.
- Type the word
disk management. - Select Create and format hard disk partitions from the result or click Open on the right pane.
2] Open Disk Management via Cortana
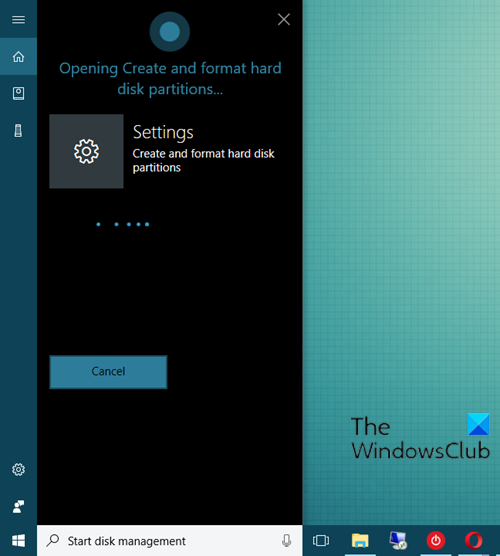
- On the extreme left on the taskbar, click or tap the Cortana icon to activate.
- Alternatively, you can also say Hey Cortana, if you have enabled this feature.
- Now, say Start Disk Management to launch the Disk Management tool.
3] Open Disk Management via Power User (Win+X) Menu
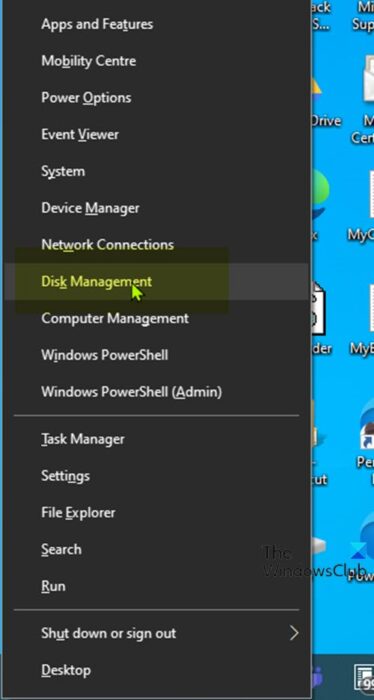
- Press Windows key + X to open the Power User Menu.
- Select Disk Management from the menu or tap K on your keyboard.
4] Open Disk Management via Control Panel
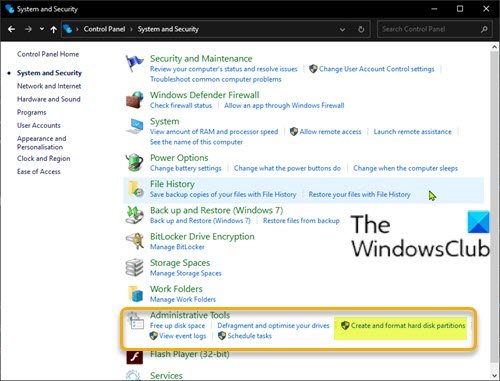
- Press Windows key + R to invoke the Run dialog.
- In the Run dialog box, type
controland hit Enter to open Control Panel. - From the top right corner of the window, set the View by option to Category.
- Select System and Security.
- Click or tap Create and format hard disk partitions link under the Administrative Tools section.
5] Open Disk Management via Desktop Shortcut
You can also create a desktop shortcut for Disk Management and place it on your desktop or anywhere else you want it. When creating the shortcut, specify diskmgmt.msc in the Type the location of the item field. Once you have successfully created the desktop shortcut, to open Disk Management tool, double-click the shortcut.
6] Open Disk Management via Run
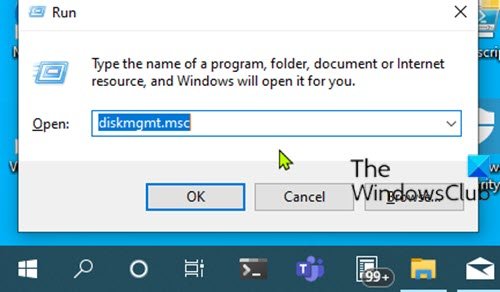
- Press Windows + R key combination to invoke the Run dialog.
- In the Run dialog box, type
diskmgmt.mscand hit Enter.
7] Open Disk Management via Command Prompt or PowerShell
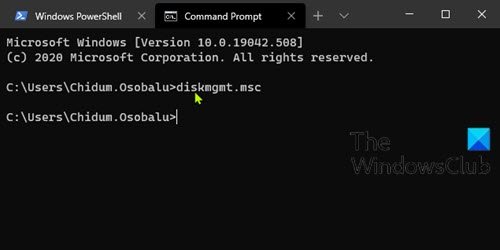
- Press Windows key + R to invoke the Run dialog.
- In the Run dialog box, type
cmdand hit Enter to open Command Prompt. - In the command prompt window, type or copy and paste the command
diskmgmt.mscand hit Enter.
OR
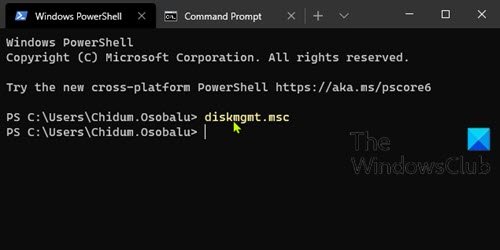
- Press Windows key + X to open Power User Menu.
- Then press I on the keyboard to launch PowerShell.
- In the PowerShell console, type in or copy and paste the same command as above and hit Enter.
8] Open Disk Management via Task Manger
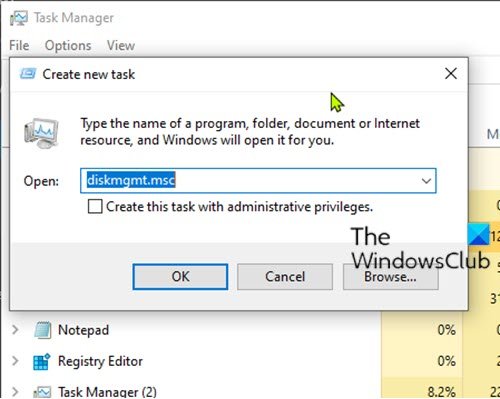
- Press Ctrl + Shift + Esc keys to open Task Manager. If Task Manager opens in compact mode, click or tap on More details.
- Then, open the File menu.
- Select Run new task.
- In the Create new task window, type the command
diskmgmt.mschit Enter on your keyboard or click or tap OK.
9] Open Disk Management via Computer Management console

- Press Windows key + X to open the Power User Menu.
- Select Computer Management from the menu or tap G on your keyboard.
- On the left pane of the Computer Management window, under the Storage, click or tap Disk Management and the utility will load in the middle pane.
That’s it on the 9 ways to open Disk Management in Windows 10!


