How to Show or Hide Empty Drives in Windows 11
This post will show you how to show or hide Empty Drives in Windows 11. We have already see how to hide a Drive in Windows, now let use see how to do this.

Show or Hide Empty Drives in Windows 11
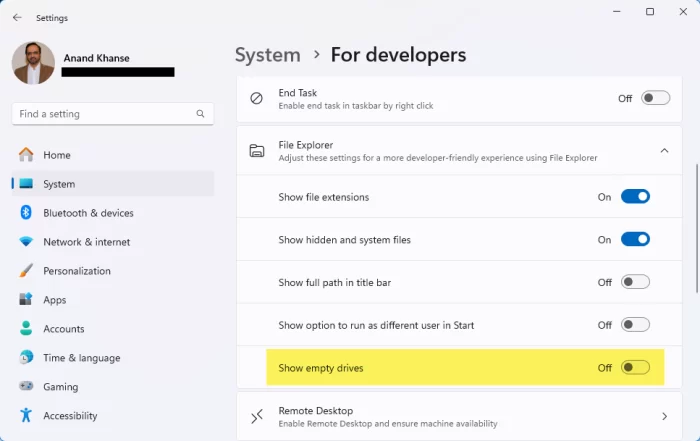
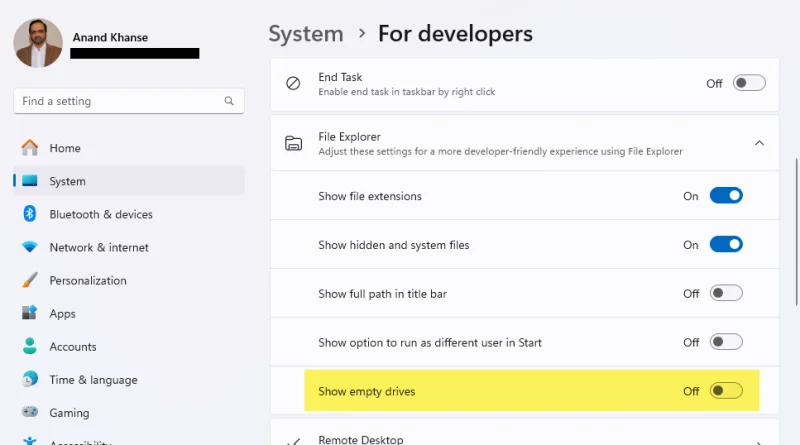
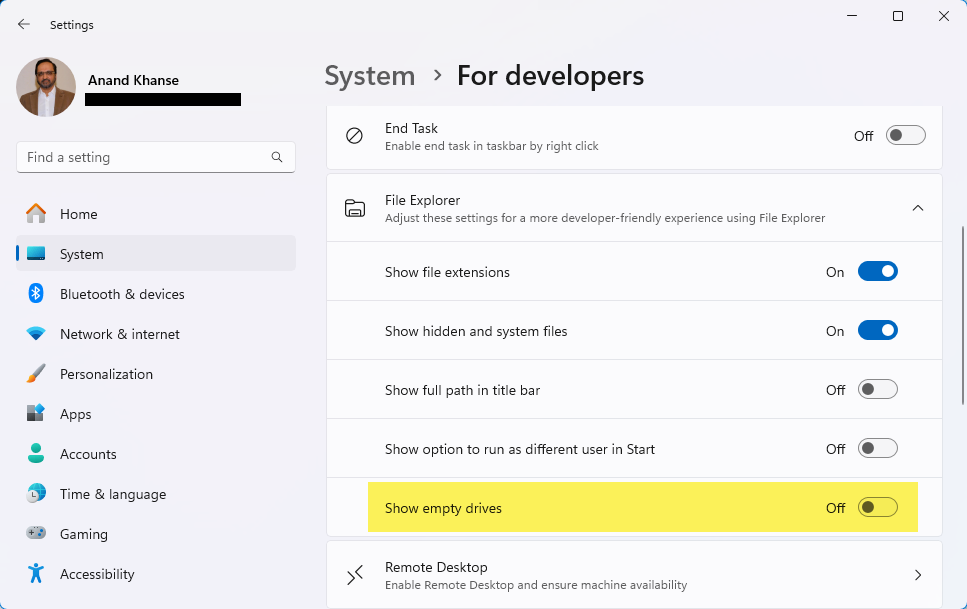
To hide or show Empty Drives in Windows 11 using Settings, take these steps:
- Open Windows Settings
- From the left side, open Sysetm settings
- On the right side locate File Explorer settings
- Turn on or off the toggle against Show empty drives as per your requirement.
- Restart Explorer.
That hidden empty drive will not be seen in File Explorer but can be accessed through a Command Prompt or by typing the drive letter in the address bar of Explorer.
Related: How to show all Drives in This PC folder using Explorer Options.
How do I hide empty drives in Windows 11?
To hide empty drives in Windows 11/10, open File Explorer, click on ‘View’ at the top, select ‘Options’, and then choose ‘Change folder and search options’. In the Folder Options window, navigate to the ‘View’ tab, and under the ‘Advanced settings’ list, uncheck ‘Hide empty drives’. Click ‘OK’ to apply the changes. This method effectively conceals any drives with no content.
Read: How to Show Drive Letters first before Drive Names.
How do I change Drive letter in Windows 11?
To change Drive letter in Windows 11, open Disk Management , right-click on a volume and use Change Drive Letters and Paths option. A small box appears. Here, use the Change button, and another box will open. Now you can select the new letter using the drop-down menu and press the OK button.


