How to use LinkedIn Resume Assistant in Word
We reported a while back that Microsoft had added a new feature to Microsoft Word called LinkedIn Resume Assistant. It is one of the first ways the software giant has proven how it plans to integrate LinkedIn into its key services. Now, not everyone might know how to make use of this feature, which is why we have decided to explain how it works.
Using LinkedIn Resume Assitant in Word
First, you must make sure you are using the latest version of Microsoft Word. Additionally, you will need a LinkedIn account because what we’re going to talk about here does not work without one. From what we’ve gathered, it only works for those who have subscribed to Microsoft Office 365, so keep that in mind.
We should note that LinkedIn Resume Assistant also works with Microsoft Office Online. A competent enough web browser is required for that, one such as Microsoft Edge and Mozilla Firefox.
First were going to look at how to turn on the feature before discussing how to use it.
1] How to turn on LinkedIn Resume Assistant

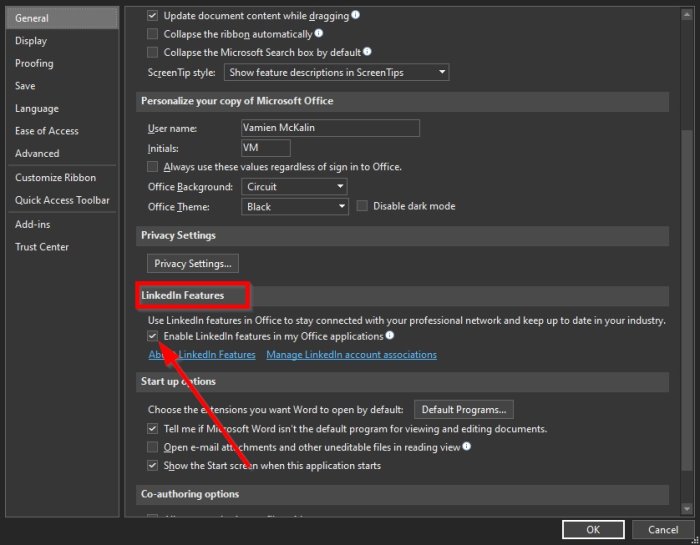
The first thing you should do here is to open a Microsoft Word document, then click on File > Options > General.
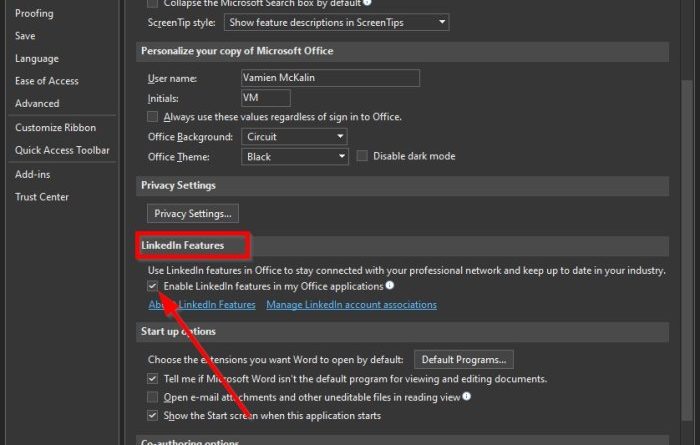
Once that is done, scroll down to LinkedIn Features, then tick the box that sits next to “Enable LinkedIn Features in My Office Applications.”
Click the OK button, then restart Microsoft Office, and that’s it for enabling the feature.
Now that we’ve explained how to turn the feature on, it is now time for us to get knee-deep in the nitty-gritty of things.
2] Click on Resume Assistant
To make the step, you must first click on the Review tab on the Ribbon, then select the Resume Assistant button. From there, a new section will appear to the right of the document.
3] Add your role
The next step is to click on Get Started, then from the next section, type your role in the Add role box, and optionally, you can type the preferred industry. From there, click See Examples.
4] Work Experience examples
At the top, you will see a list of work experience examples. These will give you ideas on how to prepare your resume.
5] Top skills for your added position
Scroll down a little further, and you should now see a list of top skills for your position. It gives you an idea of what employers are looking for. If any of the skills are applicable, then go on ahead and add them to your resume.
6] Articles designed to help prepare your resume
Writing up a confident resume is not always an easy task. This is why Resume Assistant provides a section where you can select articles that can aid your resume creation.
7] Have a look at the suggested jobs
There are many job offers on LinkedIn, which is why we always want users to take advantage of Resume Assistant because it is an eye-opener in several areas.
Now, if you scroll down a little bit more, you will come across Suggest Jobs. It is basically a list of jobs that are similar to what you are looking for. By clicking on anyone, you will be automatically brought to the relevant page on LinkedIn.
From there, you can apply for the position after creating your resume.
Read: How to become a LinkedIn influencer.
8] Let recruiters know you’re open
When you’re done with creating your resume, it is now time to let employers know you are ready and willing to work. Simply select Get started on LinkedIn to make the necessary changes to your profile.
If there is something else you want to know that is not discussed in this article, please leave a message in the comment section.


