install pip ubuntu 18 04 python3 9
Download this code from https://codegive.com
Absolutely, I’d be happy to help you with that! Installing pip for Python 3.9 on Ubuntu 18.04 involves a few steps. Here’s a step-by-step tutorial:
Before installing pip, it’s good practice to update your system’s package list and upgrade the existing packages to their latest versions. Open a terminal and run:
By default, Ubuntu 18.04 might not have Python 3.9 available in its repositories. You can use a PPA (Personal Package Archive) to install it. First, install the required tools:
Then add the deadsnakes PPA, which includes various Python versions:
To verify the installation, type:
You should see the Python version displayed, confirming that Python 3.9 has been successfully installed.
Python 3.9 should come with ensurepip by default, which allows you to install pip for this version without additional installations. Run the following command:
If you prefer using the system-wide Python 3.9, you can skip creating a virtual environment.
If you created a virtual environment in the previous step, activate it using:
Check if pip is installed by typing:
You should see the pip version displayed, confirming its installation.
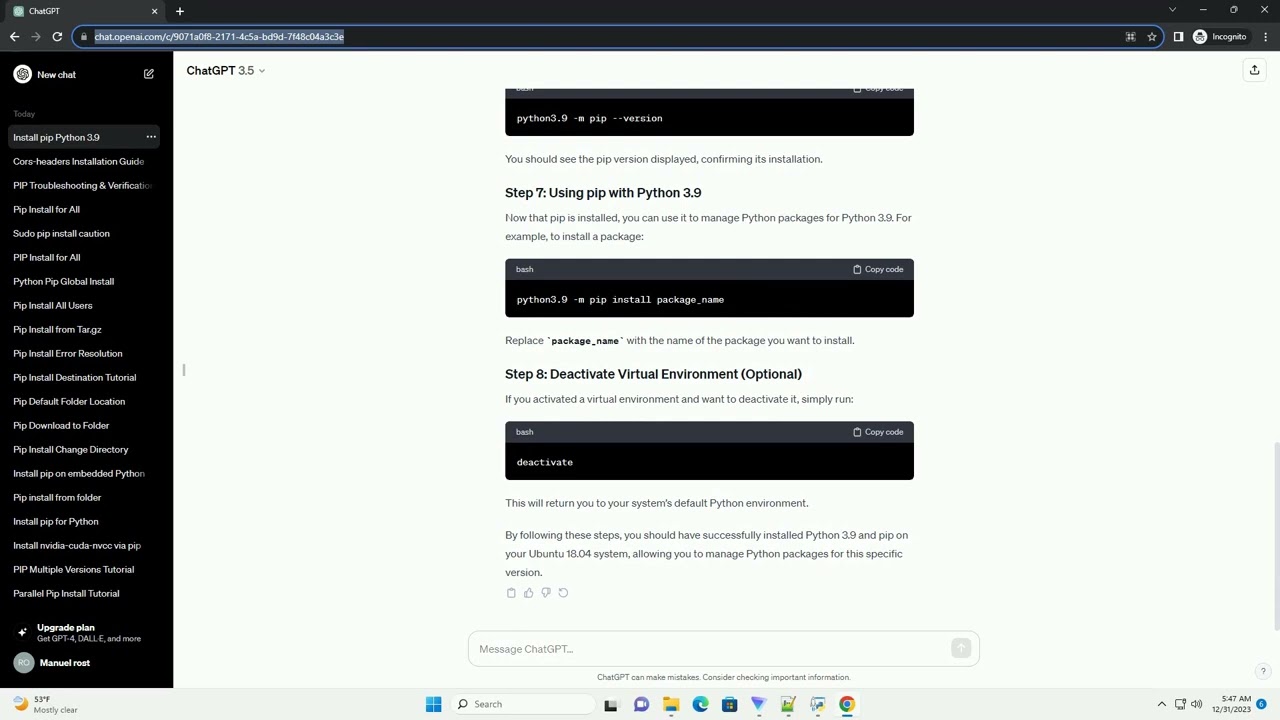
Now that pip is installed, you can use it to manage Python packages for Python 3.9. For example, to install a package:
Replace package_name with the name of the package you want to install.
If you activated a virtual environment and want to deactivate it, simply run:
This will return you to your system’s default Python environment.
By following these steps, you should have successfully installed Python 3.9 and pip on your Ubuntu 18.04 system, allowing you to manage Python packages for this specific version.
ChatGPT
ubuntu