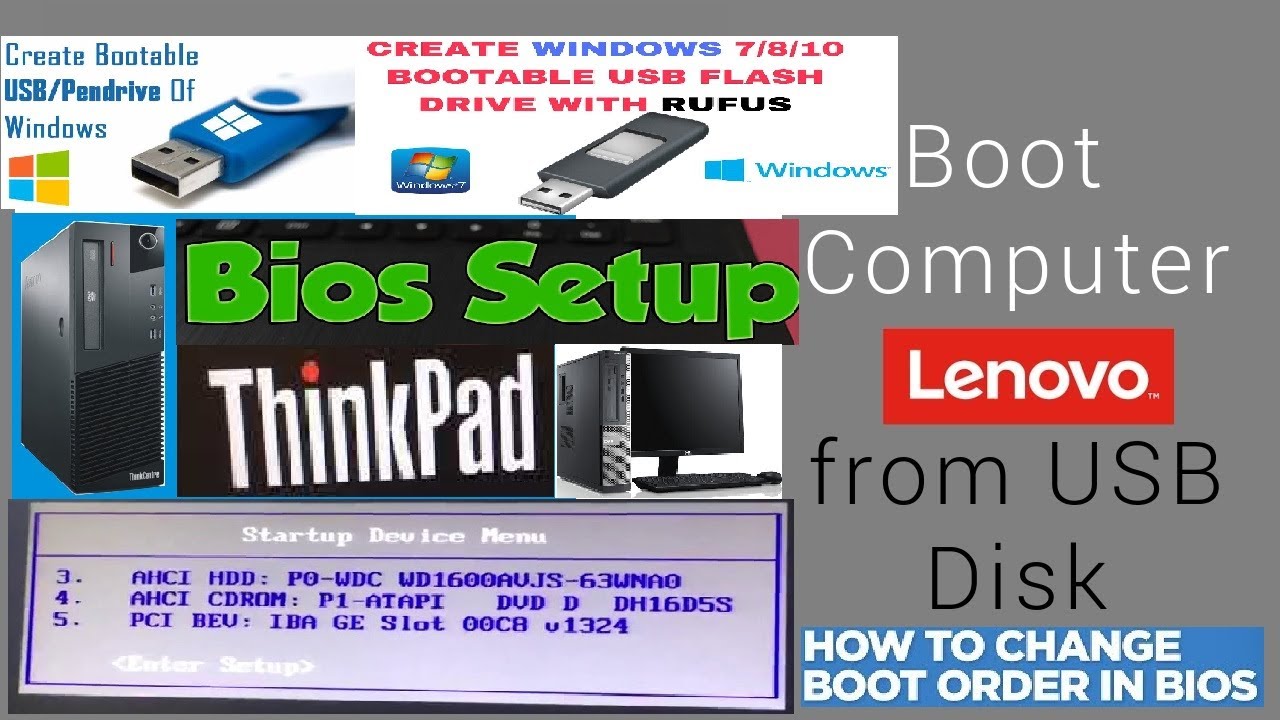
Lenovo ThinkCentre CPU Boot from USB how to Fix | How to Enter the Boot Menu Lenovo ThinkCentre
How to enter the BIOS on most Lenovo ThinkCentre desktop – The very easy step.
Lenovo ThinkCentre CPU format by the USB to booting with windows 8 and many more installation.
How to fix the first booting option for formatting in lenovo ThinkCentre cpu.
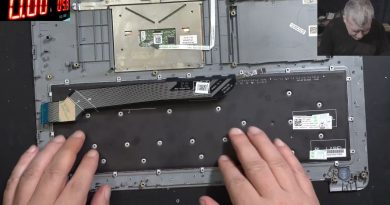
If your Lenovo Laptop Computer is stuck in a Boot Loop situation where it keeps restarting or if it gets stuck loading, diagnosing PC, or in automatic repair, AFTER the startup logo screen, this video will help. It will take you through all the possible causes and show you how to repair them. If, after all these steps, your computer still is not fixed, then install Windows as seen here; Upgrading From Windows 1.0 to Windows 8 On Actual Hardware
If you’re watching this video, you’ve probably seen the other videos that prove it is possible to upgrade from Windows 1.0 all the way to Windows 8. However, those videos use VMware to perform the upgrades on a virtual machine (a guest operating system running within a host operating system). This video proves that it is possible to upgrade from Windows 1.0 to Windows 8 on actual hardware, without the use of a virtual machine. The computer I’m using is an Asus EEE PC 1005HA, which is a netbook. The hardware is not exactly the same as it was when I received the computer, as I have replaced the screen, the RAM, and the hard drive. Here is the upgrade path I followed:
Windows 1.01
Windows 2.03
Windows 3.0
Windows 3.1
Windows 95
Windows 98
Windows Me
Windows XP
Windows Vista
Windows 7
Windows 8.1 Preview
In Windows 2.03, you can see I deleted some files. That is because for some reason, those files prevent Windows 3.0 and Windows 3.1 from being installed. In Windows 3.1, I had to rename the WIN.COM file in order to install Windows 95B. I installed 95B as opposed to regular 95, because 95B supports FAT32 file systems, while regular 95 does not. If I had installed regular 95, I would have had to use a FAT file system, for which the maximum size is 2 gigabytes. I didn’t want to have to deal with converting the drive to FAT32 and extending it, so I stuck with FAT32 from the beginning. In Windows XP, I had to convert the drive to NTFS in order to install Windows Vista. I also changed the RAM from a 256 megabyte chip to a 2 gigabyte chip. This was necessary because the older versions of Windows such as 95, 98, and Me have a limit to how much RAM they can take, while newer versions of Windows require more RAM.
Anyway, even though the video is sped up 4X, it’s still quite long. Sorry about the poor video quality – I don’t have a very good camera. And there’s no audio (I decided that there’s no music I can put on that everyone would like, and if anyone is actually going to even watch this entire video, they can just put on their own music). So if you’re going to watch the whole thing, I suggest you make some popcorn, put on your favorite music, sit back, relax, and enjoy the video!
#ComputerSetup #Boot #Lenovo
how to repair windows 7