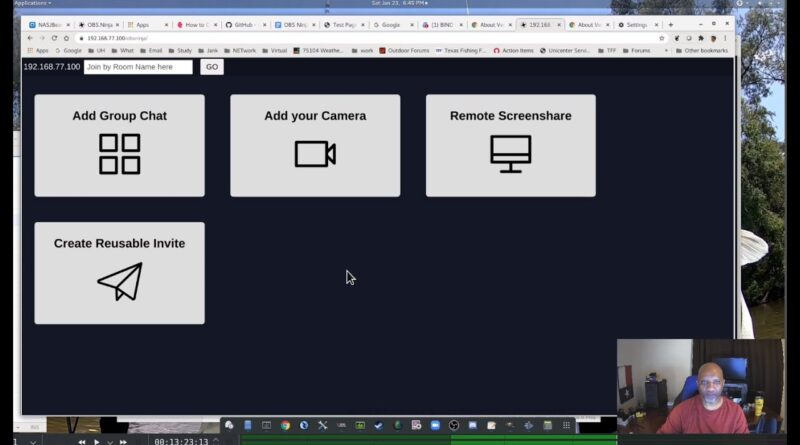
obsninja self signed cert connecting with ip address and obs ninja docker installation.
This is a two part video. I started working on connecting with an IP, then I somehow wandered off into a docker installation.
The first part of the video covers installing a self-signed certificate with openssl. If you want to use the common name (CN) created in the cert, the name must exist in DNS or be added to the local hosts file.
Docker installation begins at 13:26 if you want to skip ahead. I used the “docker export” command because the centos installation gave me an error when trying to use “docker save”. Both commands work on a debian based installation.
Like and Subscribe!!!
Links:
Create Certificate: https://deliciousbrains.com/ssl-certificate-authority-for-local-https-development/
OBS Ninja
https://obs.ninja/
OBS Ninja Source
https://github.com/steveseguin/obsninja/archive/master.zip
Openssl
https://www.openssl.org/
NGINX SSL
https://nginx.org/en/docs/http/configuring_https_servers.html
Docker:
Dockerfile:
FROM nginx:latest
RUN mkdir -p /etc/nginx/certs
COPY blahdeblah.dom.crt /etc/nginx/certs
COPY blahdeblah.dom.key /etc/nginx/certs
COPY obsninja-master /usr/share/nginx/html
COPY server.conf /etc/nginx/conf.d
RUN echo “US/Central” > /etc/timezone
RUN apt update
RUN apt -y upgrade
Build and run:
docker build -t obs.ninja.14.3.local .
docker run –net jankmacnet –ip 10.10.25.113 –name obslocalip -d
OR
docker run -p 443:443 –name obslocalip -d obs.ninja.14.3.local
Export Docker Image:
docker export -o obslocalip.tar obslocalip
ip address


