Share Local Resources with Hyper-V Virtual Machine in Windows 11
Hyper-V allows you to integrate your host device with your virtual machine courtesy of Enhanced Mode as it allows Hyper-V to connect to virtual machines using RDP (Remote Desktop Protocol). In this post, we will see how to share local resources with Hyper-V Virtual Machine in Windows 11.
Share Local Resources with Hyper-V Virtual Machine in Windows 11
To share Local Resources with Hyper-V Virtual Machine, you need to follow the steps mentioned below.
- Enable Enhanced Mode
- Start your virtual machine
- Configure audio and share local resources
Let us discuss them in detail.
1] Enable Enhanced Mode
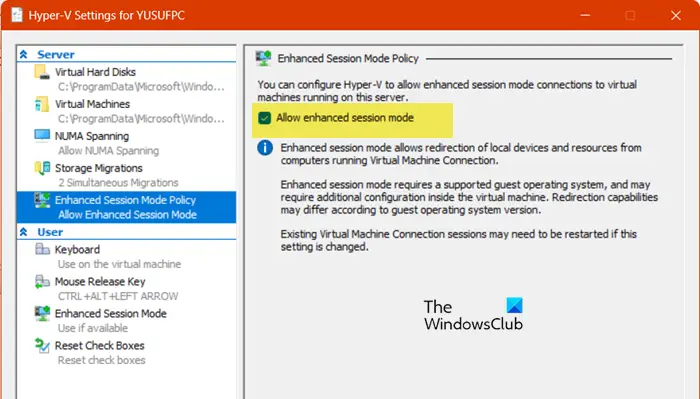
First of all, we are required to enable Hyper-V Enhanced Session in Windows 11. For that, right-click on your host computer, go to Hyper-V Settings, go to the Enhanced Session Mode or Enhanced Sessions Mode Policy tab, and tick the Use enhanced session mode or Allow enhanced sessions mode checkbox.
2] Start your virtual machine
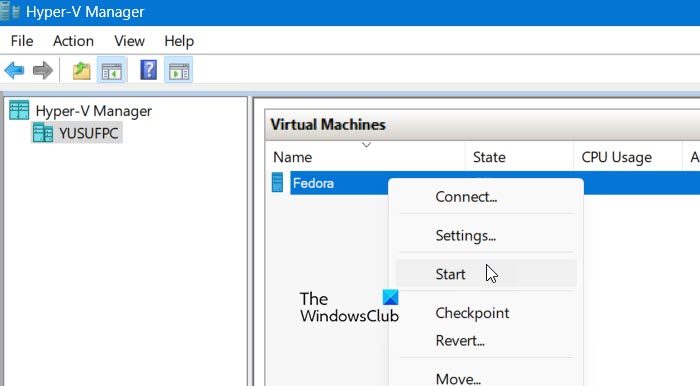
Now, you need to go ahead and boot up your virtual machine. For that, just right-click on the VM and select Start. Now, again right-click on the VM and select Connect.
3] Configure audio and share local resources
After connecting to the virtual machine, you will see a dialog box that will ask you to configure the display, below the slider, you will see Show options, click on it.
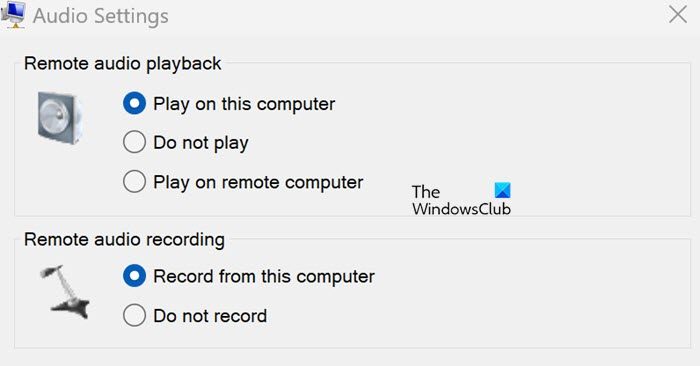
Then, go to the Local Resources tab. Now, to adjust Remote audio, simply click or tap on the Settings button associated with it. Virtual machines using Enhanced session mode will pass audio by default, allowing you to hear audio from the virtual machine. It will use the audio device currently selected on the host machine. You can adjust these settings or add a microphone passthrough to record audio in a virtual machine. If you are using the machine locally, either select Play on this computer or Play on remote computer, they both will be exactly the same.

To make changes to the Local resources and devices, go back to the connect dialog box, but this time, tick the devices mentioned there, and if you want to add some other devices, click on More. You will see a list of devices you can add or share with your virtual machine, tick their respective boxes, and once done, click on Ok.
Finally, go through all your changes and click on Connect.
Once your virtual machine starts, you can use all the devices you allow to be accessed from the VM.
That’s it!
Read: How to set up Hyper-V USB Passthrough on Windows 11
How do I access local resources in Hyper-V?
To access local resources, you must first enable Enhanced Session Mode in Hyper-V Settings. Then, when the VM starts, click on Show options and go to Local devices and resources > Mode. You will see a list of resources. Tick the boxes of the services you need to use, and click on Ok.
Read: How to install Kali Linux on Hyper-V in Windows 11?
How do I connect my local machine to Hyper-V?
Your local machine is, by default, connected to the guest VM. To add a remote host, right-click on the Hyper-V Manager item in the left pane and select Connect to Server. You can then enter all the details asked and connect to the remote server.
Also Read: Install macOS in Hyper-V on Windows 11.