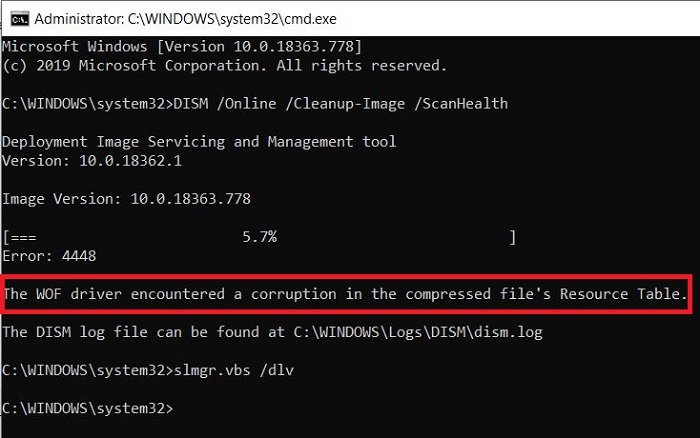
The WOF Driver encountered a corruption
Users may get this error when they try to run DISM to resolve some issues on their operating system. However, sometimes due to corrupted system drivers, DISM fails to complete the process, resulting in the error Error 448, The WOF Driver encountered a corruption in the compressed file’s Resource Table. If you are also facing the same issue then kindly read through this article – we will help in resolving it for you.

WOF Driver or wof.sys is more specifically known as Windows Overlay Filter driver. It “overlays” virtual files into a directory that also contains normal physical files. It is an important system file that is required for the smooth working of the Windows operating system. The Windows Overlay File System Filter Driver is unable to start if the FltMgr service is stopped or disabled.
The WOF driver encountered a corruption
Try the following solutions to resolve the DISM error:
- Start Component Cleanup
- Restore Health
- Configure an alternative Windows Repair Source
- Use Windows installation as the repair source
1] Start Component Cleanup
Next, execute the following command:
dism.exe /online /Cleanup-Image /StartComponentCleanup
This will clean up the component store so that everything can run properly again.
2] Restore Health
Restart and then Run SFC /scannow in Safe Mode.
Restart your system and see if you can run the following command now:
dism.exe /online /Cleanup-Image /RestoreHealth
This should help!
3] Configure an alternative Windows Repair Source
You can configure your system to use an alternative repair source, via a Group Policy setting. This could be helpful in resolving the issue.
4] Use Windows installation as the repair source
To use a running Windows installation as the repair source, or use a Windows side-by-side folder from a network share or from a removable media, such as the Windows DVD, as the source of the files, you can use the following command:
DISM.exe /Online /Cleanup-Image /RestoreHealth /Source:C:RepairSourceWindows /LimitAccess
Here you will have to replace C:RepairSourceWindows with the location of your repair source.
TIP: Folks who have received Windows Update error 0x80073712 have been known to see this DISM error when they try to run it to fix their Update error. You may need to fix your broken Windows Update using DISM then.


