Uninstalling Git on Ubuntu 24.04 LTS (1 minute Tutorial)
Are you looking to uninstall Git from your Ubuntu 24.04 LTS system? In this tutorial, we’ll guide you through the process, ensuring a smooth removal of Git and its dependencies.
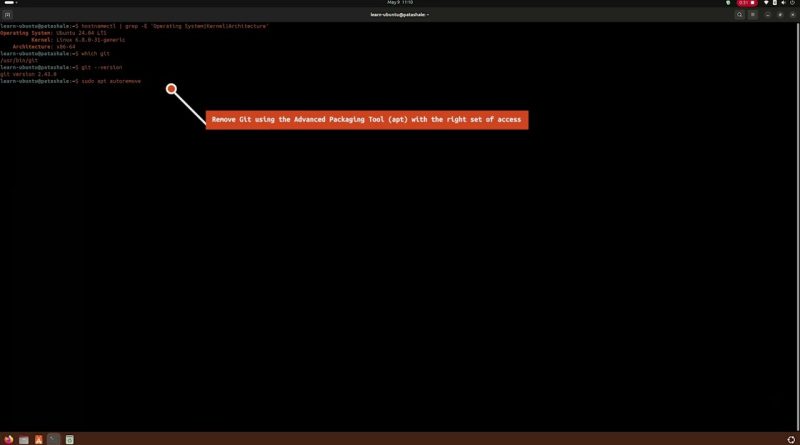
First, we’ll begin by checking essential system information including the operating system, kernel version, and architecture of your device using command `hostnamectl`. This step ensures compatibility and clarity throughout the process.
Next, we’ll verify whether Git is currently installed on your system by using simple commands like `which git` and `git –version`. These commands will help us determine Git’s presence and version on your Ubuntu setup.
Once we confirm Git’s presence, we’ll proceed with the uninstallation process. By executing the command `sudo apt autoremove git`, we’ll remove Git along with any dependent packages that were installed alongside it. This ensures a clean removal without leaving any residual components on your system.
After successfully removing Git, we’ll double-check to ensure its complete removal. We’ll once again utilize commands like `which git` and `git –version` to verify that Git has been successfully uninstalled from your device.
Follow along with our step-by-step guide to seamlessly uninstall Git from your Ubuntu 24.04 LTS system, ensuring a tidy and efficient cleanup process.
ubuntu


