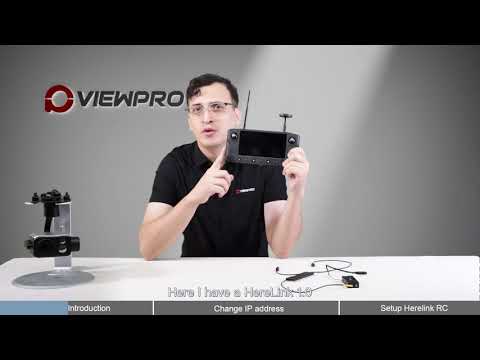
Unlock the Power of Connectivity: Here-Link Integration with ViewLink Cameras | Step-by-Step Guide!
Hello, drone enthusiasts! Welcome back to another exciting episode. Today, we’re diving into the world of seamless connectivity as we explore how to connect and optimize Here-Link with our ViewLink cameras.
Let’s get started by gathering the necessary materials:
Materials Needed:
Here-Link remote controller
HDMI Cable
Ethernet Cable
S-Bus Cable
Power supply cables
Antenna
Here-Link Air unit
ViewPro gimbal camera with connector
Now, let’s walk through the setup process step by step:
1. Power Supply Connection (00:30):
Begin by connecting the power supply cables to the Here-Link Air unit. Follow the on-screen instructions for a hassle-free connection.
2. S-Bus Connection (00:48 – 2:10):
Connect the S-Bus cable to the UART port, ensuring a secure and professional connection. Match the marks on the cables for a seamless setup.
3. HDMI or Ethernet Connection (01:05 – 1:20):
Based on your Here-Link version, connect either the HDMI or Ethernet cable. In this tutorial, we’ll demonstrate the HDMI connection for Here-Link 1.0 users.
4. IP Address Configuration (2:49):
For Here-Link 1.1 users opting for Ethernet, follow these steps to change the camera’s IP address. Connect your gimbal camera to your PC via TCP, make the necessary IP adjustments, and save the changes.
5. Change PC IP Address (04:04):
To visualize your camera’s feed on ViewLink, modify your computer’s TCP/IPv4 IP address. Follow the on-screen instructions to set the IP and default gateway accordingly.
6. RTSP-TCP Configuration:
Adjust the RTSP link and TCP IP address on ViewLink to ensure smooth streaming.
7. Herelink Connection (5:20):
For first-time Herelink users, bind the receiver to the controller. Follow the on-screen instructions to pair the devices successfully. Monitor the LED indicators for a seamless connection.
8. Remote Control Setup (6:50):
Configure the remote control buttons on HereLink. Connect your gimbal camera to your PC, adjust channels on ViewLink accordingly, and perform a test to ensure optimal performance.
By the end of this tutorial, you’ll be ready to capture breathtaking aerial footage with the perfect integration of Here-Link and ViewLink. Stay tuned for more drone tips and tutorials. Happy flying!
www.viewproonline.com
ipv4


