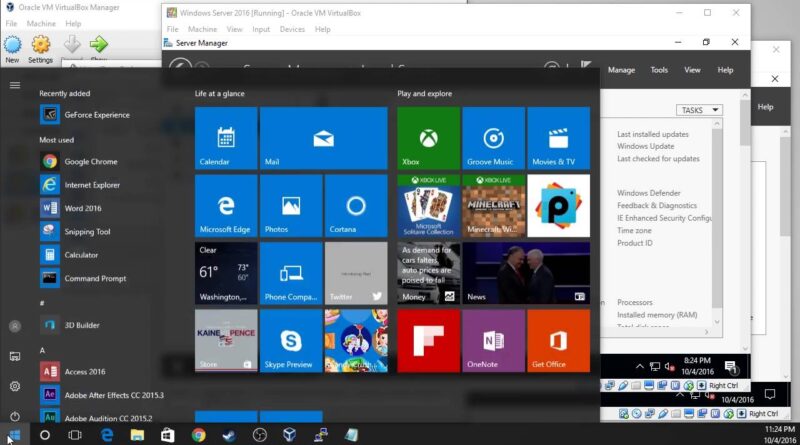
VirtualBox Tutorial – Giving VMs Internal Network, Host PC and Internet Access
Try ServerAcademy for free here: https://www.serveracademy.com/?utm_source=yt&utm_medium=virtualbox&utm_campaign=home
*** Host-Only networks has been moved to the “Global Tools” menu bar ***
Please like and subscribe =)
VirtualBox Tutorial – Giving VMs Internal Network, Host PC and Internet Access
You can use a NAT networking adapter and Host-only networking adapter to allow VMs to communicate with each other, the Host PC and the internet.
Step 1) Create Host-only Network (this will act as our internal network)
Step 2) Add Host-only network to VMs
Step 3) Configure the Network Adapters on the VMs
Step 4) Open traffic for the VM Firewalls on the Host-only Network Adapter
Everything about this video is 100% free and for you!
Video Timeline:
0:00 – Introduction and tutorial overview
1:00 – Creating the internal (Host-only) network
1:53 – Notes on VirtualBox DHCP
2:15 – Finding an Available Network on your Host PC
3:40 – Adding the Network Adapters to your VMs
5:22 – View IP address of VM 1 by default with no DHCP
6:67 – Setting a Static IP address on Windows Server 2016
8:46 – Verifying internet access on VM 1
9:05 – Testing connection between VM 1 and Host PC without opening the firewall
9:42 – Opening the Firewall on our VM 1 so it can communicate over internal (Host-only) network
11:00 – Verify VM can ping the Host PC and Internet Connection
11:47 – Repeat above steps for VM 2
13:42 – Verify VM 2 can ping VM 1, Google.com and host Computer
14:24 – Verify VM 1 can ping VM 2, Google.com and host Computer
by Server Academy
linux web server


