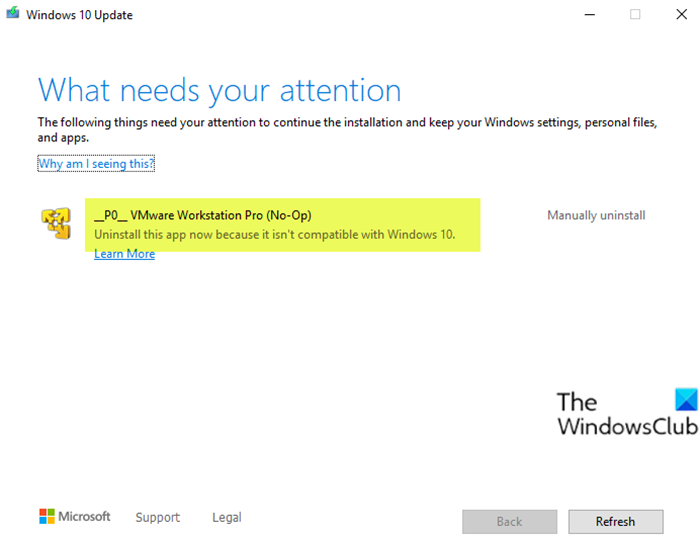
VMware Workstation Pro can’t run on Windows 10 computer
Some PC users when upgrading from Windows 7/8.1 or earlier versions of Windows 10, to Windows 10 newer versions might encounter a VMware Workstation Pro error message. This post is intended to help affected users to resolve this issue. In this post, we will provide an adequate solution you can try to successfully resolve this issue.
Uninstall this app now because it isn’t compatible with Windows 10

VMware Workstation Pro can’t run on Windows 10
If you’re faced with this issue, you can simply uninstall VMware Workstation Pro and then retry the upgrade process. But uninstalling the software via the Programs and Features applet in Control Panel on Windows 10 won’t cut it; as some users reported that either the button to uninstall is greyed out or that even after they were able to uninstall the software, they still had the issue. This is so because there are still residual files from the software that’s leftover on the Windows 1o PC. So, we will walk you through the invasive method on how you can completely remove VMware Workstation Pro and all its dependencies.
- Uninstall VMware Workstation Pro using the software installer
- Uninstall VMware Workstation Pro using third-party Uninstaller software
- Uninstall VMware Workstation Pro via Command Prompt
Let’s see the description of both methods.
1] Uninstall VMware Workstation Pro using the software installer
If you do not have a copy of the installer, you can download from the VMware website or any other site hosting the installer file.
Do the following:
- Log in to the Windows host system as the Administrator user or as a user who is a member of the local Administrators group.
If you log in to the domain, the domain account must also be a local administrator.
- Double-click the VMware-workstation-abcd-abcdabc.exe file, where abcd-abcdabc is the version and build numbers.
- Click Next on the Welcome screen and then click Remove.
To save product license and Workstation Pro configuration information, select the appropriate checkboxes.
- Click Next to begin uninstalling VMware Workstation Pro.
2] Uninstall VMware Workstation Pro using third-party Uninstaller software
While Windows comes with an “Add or remove programs’ option, all too often you’ll be presented with a message telling you that some components couldn’t be removed, or the uninstall has failed. Additionally, it will often leave existing files, folders, and shortcuts in place meaning you have to delete these manually. It doesn’t also properly updated the registry, either. Third-party software uninstallers can do a more thorough job.
3] Uninstall VMware Workstation Pro via Command Prompt
If you are uninstalling Workstation 5.x or later versions, use the Workstation uninstaller. You’ll need to download the appropriate installer to your hard drive on your PC.
Do the following:
- Press Windows key + R to invoke the Run dialog.
- In the Run dialog box, type
cmdand then press CTRL + SHIFT + ENTER to open Command Prompt in admin/elevated mode. - In the command prompt window, type the command below and hit Enter.
VMware-workstation-5.0.0-13124.exe /c
This command with the /c switch will automatically remove the MSI registration information for VMware Workstation from your Windows 10 PC.
If you are using Workstation 12.x, 11.x, 10.x, 9.x, 8.x, or 7.x, run the installer program with the /clean switch in elevated CMD prompt. Your command should look something like this:
VMware-workstation-full-7.1.2-301548.exe /clean
That’s it! Once you have completely uninstalled VMware Workstation, you can proceed with the Windows 10 upgrade – the process should complete without any errors.
Now read: VMware Workstation cannot enter Unity mode.


