Windows Defender error 0x800700aa, The Service couldn’t be started
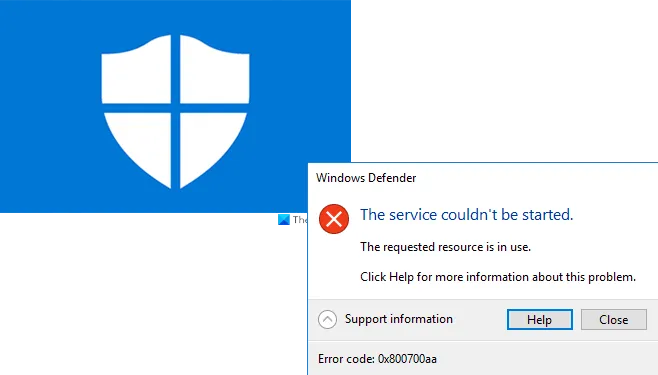
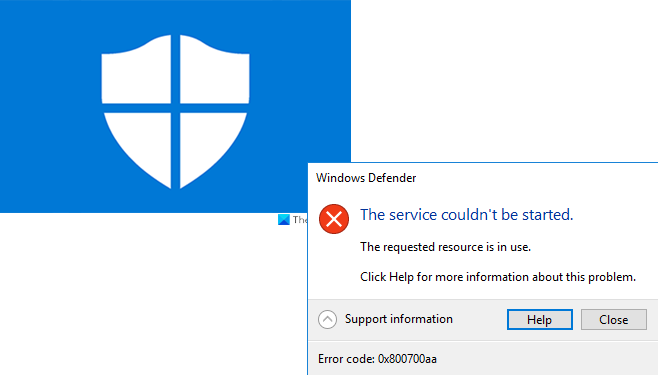
A corrupted system file may result in Windows Defender not starting automatically and displaying an error message with the following description –
Windows Defender
The Service couldn’t be started
The requested resource is in use.
Error code: 0x800700aa.
Even starting it manually has no effect. Read what steps you should take to fix Windows Defender error 0x800700aa.

Windows Defender error 0x800700aa, The Service couldn’t be started
The message clearly says that a required Windows Service could not be started. Here are the areas you need to take a look at:
- Check Windows Defender service status.
- Edit value of WinDefend key in the Registry Editor.
- Re-register Windows Defender DLL files.
- Reset Microsoft Defender settings to default.
Let’s explore the above methods in a bit of detail!
1] Check Windows Defender service status
The Windows Defender Firewall service helps to protect your computer by stopping any unauthorized users from getting access to it via the Internet or other networks. However, at times, it can behave oddly and throw up errors like 0x800700aa.
To fix it, run services.msc (the Services Manager) and make sure the following Services show the given status:
- Windows Defender Firewall – Automatic | Started
- Windows Defender Advanced Threat Protection – Manual
- Microsoft Defender Antivirus Network Inspection Service – Manual
- Microsoft Defender Antivirus Service – Manual.
Related: The Service Couldn’t Be Started, Error 0x80070422 in Windows Defender.
2] Edit value of WinDefend key in the Registry Editor
If the above method fails to work, you can try the registry hack. It requires you to edit the Value data entry for the WinDefend key by taking its full ownership.
Please note, making changes to the Registry Editor incorrectly can have serious consequences. System-wide problems may occur and require you to reinstall Windows to correct them. So create a System Restore point first.
1. Press Windows Key + R combination, type put Regedt32.exe in Run dialog box and hit Enter to open the Registry Editor.
2. Navigate to the following location:
HKEY_LOCAL_MACHINESYSTEMCurrentControlSetServicesWinDefend
3. Firstly, take full ownership of WinDefend key. After taking ownership, in the right pane of this location, look for the DWORD named Start. Since you’re facing the issue, it must be having its Value data as 4 and by default, its Value data should remain 2. Differences in the Value data resulted in this happening. So in order to fix it, double click on the same DWORD to get this:
4. In the above box, replace the Value data from 4 to 2. Click OK. You may close the Registry Editor now and try to enable Windows Defender protection.
It should work fine by now.
3] Re-register Windows Defender DLL files
In Windows operating systems, when you run a program much of its functionality may be provided by DLLs. This event creates a dependency. So, If there’s some program that overwrites or breaks this dependency, the original program may not successfully run. The same can be the case with the Windows Defender service. To fix it, you’ll need to re-register the Windows Defender DLL files.
Open an elevated Command Prompt window, type the following commands, and hit Enter one after the other:
regsvr32 wuaueng.dll
regsvr32 wucltui.dll
regsvr32 softpub.dll
regsvr32 wintrust.dll
regsvr32 initpki.dll
regsvr32 wups.dll
regsvr32 wuweb.dll
regsvr32 atl.dll
regsvr32 mssip32.dll
Hereafter, when the Windows Defender starts automatically or manually, you should not see the error message with the code 0x800700aa.
4] Reset Microsoft Defender settings to default
If you wish, you may download and use our portable FixWin to reset Microsoft Defender settings to default.
Just launch the program and navigate to the Additional Fixes entry in the left panel as shown in the image above.
Then, switch to the Quick Fixes tab on the right and scroll down the Reset Windows Defender Settings tab. Hit the tab to reset Defender’s settings to default.
Hope that helps!


