WordPress Migration: How to Install Linux, Apache, MySQL, and PHP on DigitalOcean
Welcome to the second video tutorial of “How to Migrate Your WordPress Blog from Bluehost to DigitalOcean” In this tutorial I show how to install Linux, Apache, MySQL, and PHP on DigitalOcean. So lets dive in,
1. Install Apache:
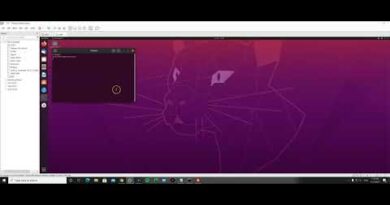
Using putty to access to your server. On Putty terminal,
sudo apt-get update
sudo apt-get install apache2
Once you done, check Apache service:
sudo apache2ctl configtest
You should see the output like bellow
AH00558: apache2: Could not reliably determine the server’s fully qualified domain name, using 127.0.1.1. Set the ‘ServerName’ directive globally to suppress this message
Syntax OK
Then set global server name for Apache.
sudo nano /etc/apache2/apache2.conf
scroll down to bottom of the editor and add the bellow line
ServerName your_ip_address
And then,
sudo apache2ctl configtest
the output should be change to,
OK
copy and past your IP address on address bar of your browser to make Apache is working.
2. Install MySQL
sudo apt-get install mysql-server
Y for the question then input password for root user.
sudo mysql_secure_installation
Y to check your password
2 for high security check
Enter key if you strange score over 80.
3. Install PHP
sudo apt-get install php libapache2-mod-php php-mcrypt php-mysql
sudo nano /etc/apache2/mods-enabled/dir.conf
move index.php to font
Clt+x, Y to save, and then hit Enter key
sudo nano /var/www/hmtl/index.php
Add html tag
then save the file.
sudo systemctl restart apache2
you’re done.
Get DigitalOcean $10 Hosting credit:
Follow me on social profiles: http://bit.ly/2e374sy
Facebook: http://facebook.com/kimseasok.writer
Twitter: http://twitter.com/kimseasok
More tips about blogging and marketing visit,
http://basicblogtalk.com
http://blogmarketingsea.com
by Kim Codes Monkey
linux web server