Install DHCP Server Role – Windows Server 2012 R2 Core
In this tutorial we will look at how to install the DHCP server role on a server running Windows Server 2012 R2 Core. We also look at how to create an IPv4 DHCP scope, set server options and authorise the DHCP server.
PowerShell commands used in this video:
1) Get-WindowsFeature -Name dhc*
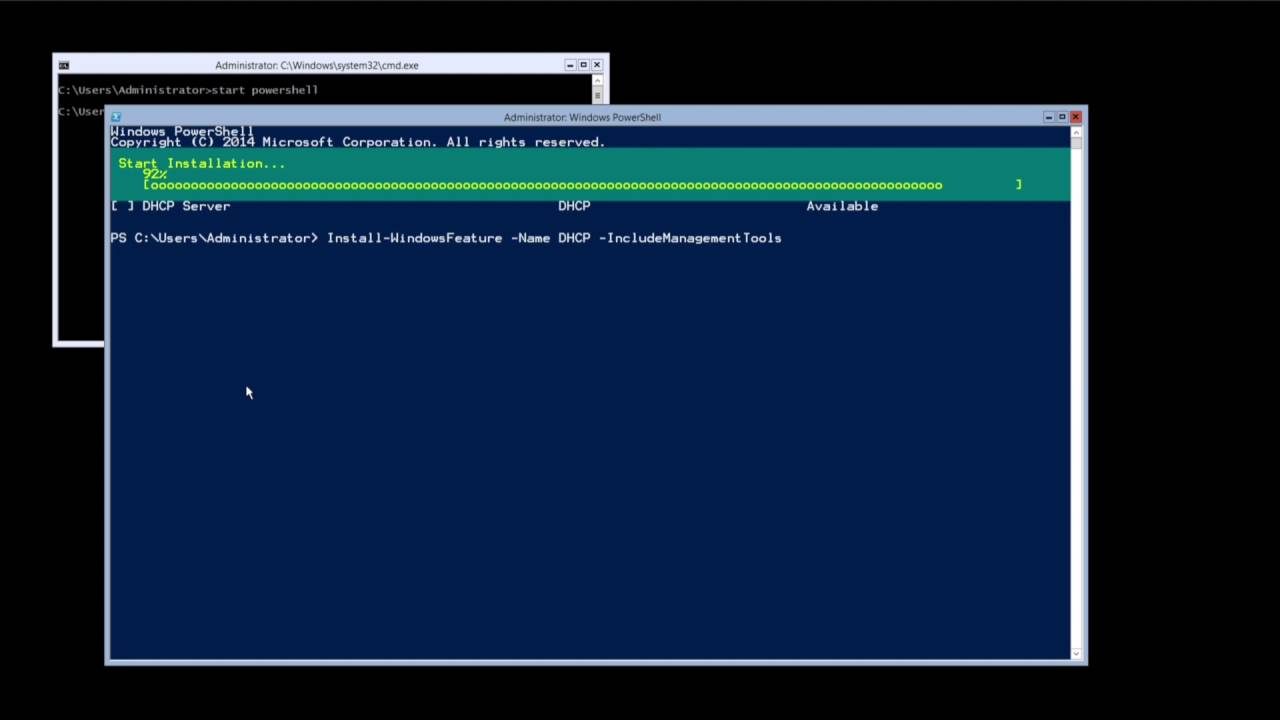
2) Install-WindowsFeature -Name DHCP -IncludeManagementTools
3) Add-DhcpServerv4Scope -ComputerName CORESVR01 -Name “Top Spin Scope” -StartRange 10.0.2.29 -EndRange 10.0.2.30 -SubnetMask 255.255.255.224 -LeaseDuration 8:0:0:0
4) Set-DhcpServerv4Optionvalue -computername CORESVR01 -Router 10.0.2.1 -dnsserver 10.0.2.28 -DnsDomain TOPSPINTOYS.local
5) Add-DhcpServerInDC CORESVR01 10.0.2.28 **
** Please don’t do this on a production network where a properly configured DHCP server is already running, bad things will happen and you won’t be very popular!
by mullinsJ08
windows server dhcp