Part1 – OpenStack Queens Installation on CentOS 7
OpenStack Queens Installation on CentOS 7
Hostname : openstack1.tic.local
OS : CentOS 7.9 Minimal
enp11s0:
IP address = 192.168.11.237
netmask = 255.255.255.0
Gateway = 192.168.11.254
DNS = 8.8.8.8
– Step 1: Check Release, Hostname and IP Address
# cat /etc/redhat-release
# uname -a
# ip a
# egrep –color ‘vmx|svm’ /proc/cpuinfo | wc -l
Output: (should not be zero)
4
– Step 2: Disable NetworkManager , Firewalld
# systemctl stop firewalld NetworkManager
# systemctl disable firewalld NetworkManager
– Disable SELinux
setenforce 0
– Step 3: Update System and Install RDO
# yum update
# cat /etc/hostname
openstack.tic.local
# yum install centos-release-openstack-queens
# yum upgrade
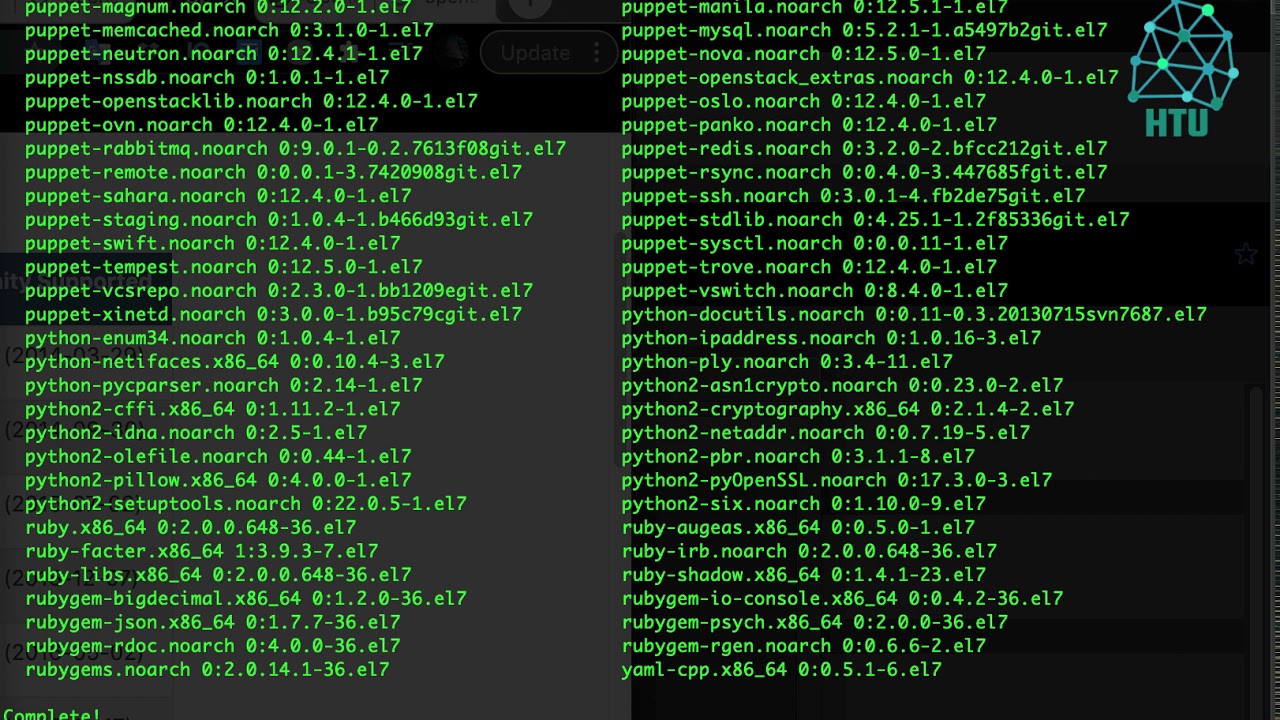
– Step 4: Install Packstack : It’s utility that uses Puppet modules to deploy various parts of OpenStack
# yum -y install openstack-packstack
# yum -y install python-setuptools
– Step 5: Generate Packstack Answer File OR command used direct packstack
# packstack –gen-answer-file=opnstacktest-answere-file.txt
# vi opnstacktest-answere-file.txt
Change:
CONFIG_DEFAULT_PASSWORD=server
CONFIG_SWIFT_INSTALL=n
CONFIG_CEILOMETER_INSTALL=n
CONFIG_AODH_INSTALL=n
CONFIG_NAGIOS_INSTALL=n
CONFIG_PROVISION_DEMO=n
CONFIG_KEYSTONE_ADMIN_PW=P@ssw0rd
CONFIG_MARIADB_PW=mypassword1234
Save & Exit
– Step 6: Install Openstack Using Answer File
# packstack –answer-file opnstacktest-answere-file.txt
** OpenStack Has been Successfully Install **
OpenStack Related Service
Services on Controller node right after OpenStack installation:
# systemctl list-unit-files | grep openstack
Services on Network node right after OpenStack Mitaka installation:
# systemctl list-unit-files | grep openstack
# systemctl list-unit-files | grep neutron
# systemctl list-unit-files | grep ovs
Services on Compute node right after OpenStack Mitaka installation:
# systemctl list-unit-files | grep openstack
# systemctl list-unit-files | grep neutron
# systemctl list-unit-files | grep ovs
OVS configuration on Compute node right after OpenStack Mitaka installation:
# ovs-vsctl show
Verify GlusterFS Storage mount point (Controller node only):
# df -hT
## Controller
# systemctl status httpd.service
# systemctl status memcached.service
# systemctl status mariadb
# systemctl status ntpd
## Nova
# systemctl status openstack-nova-api.service
# systemctl status openstack-nova-cert.service
# systemctl status openstack-nova-consoleauth.service
# systemctl status openstack-nova-scheduler.service
# systemctl status openstack-nova-conductor.service
## Neutron ##– Networking
# systemctl status neutron-server.service
# systemctl status neutron-openvswitch-agent.service
# systemctl status neutron-l3-agent.service
# systemctl status neutron-dhcp-agent.service neutron-metadata-agent.service
# systemctl status openvswitch.service
# systemctl status neutron-openvswitch-agent.service
## Glance — Image Service
# systemctl status openstack-glance-api.service
# systemctl status openstack-glance-registry.service
## Horizon — Openstack Dashboard
# systemctl status httpd.service
# systemctl status memcached.service
source
centos 7